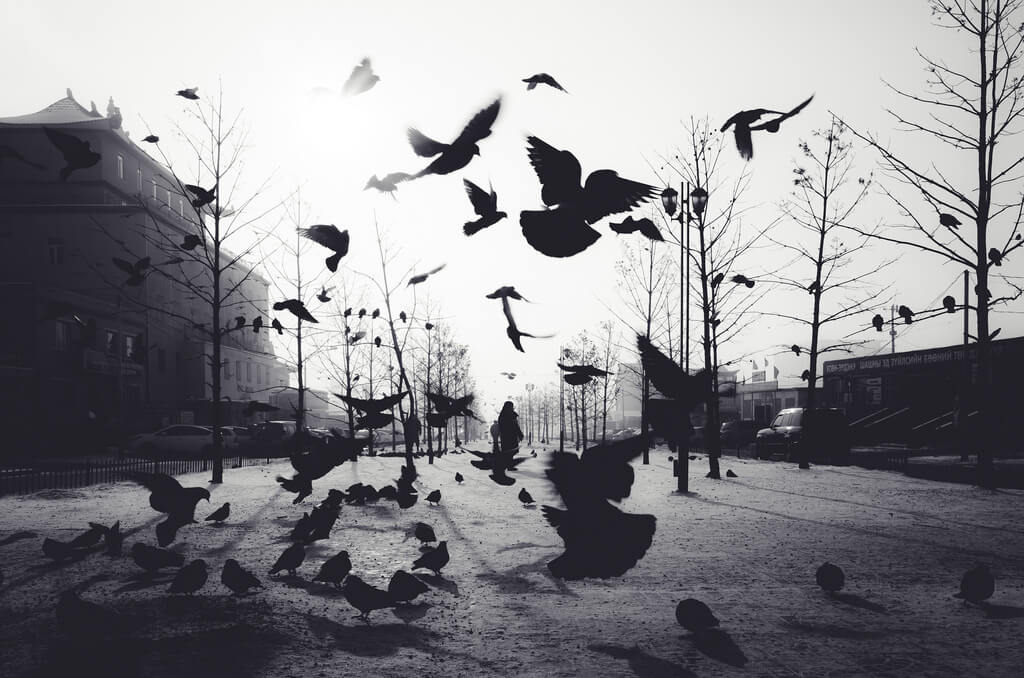
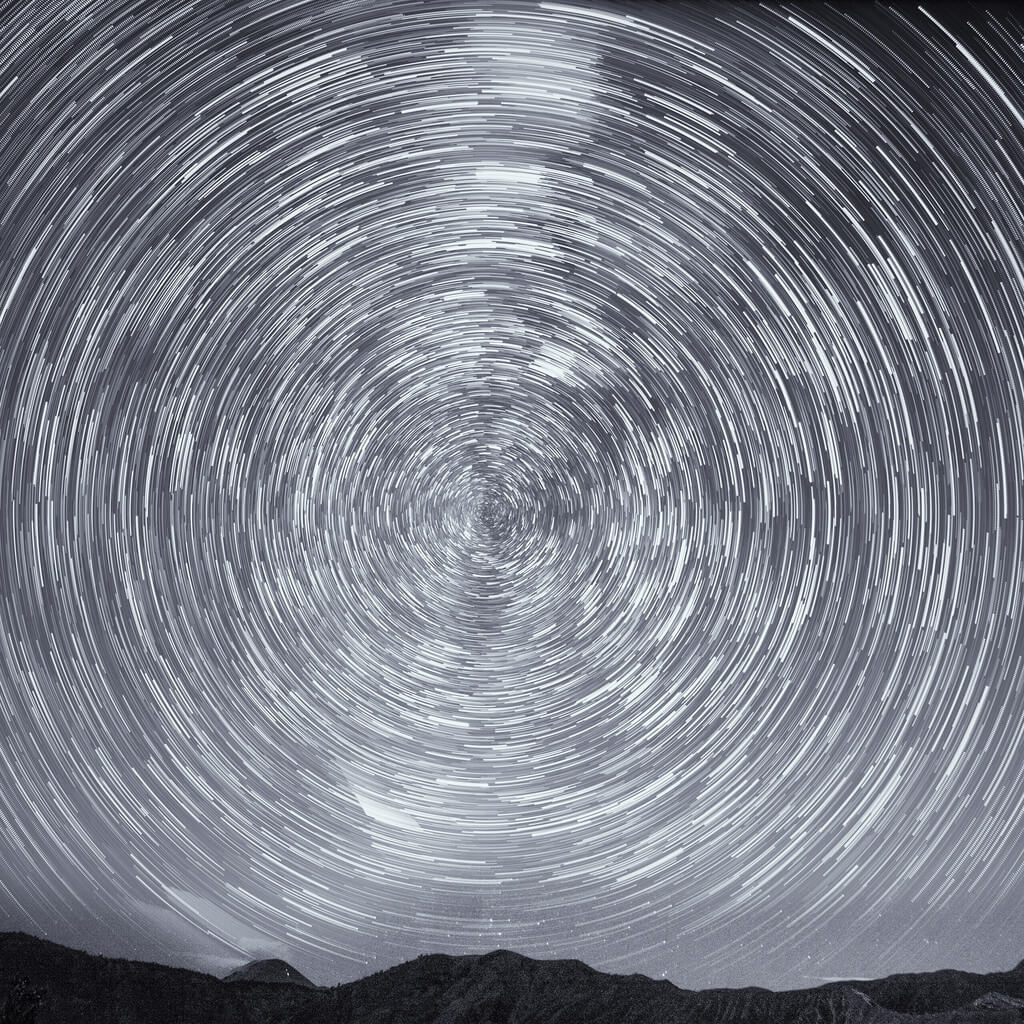
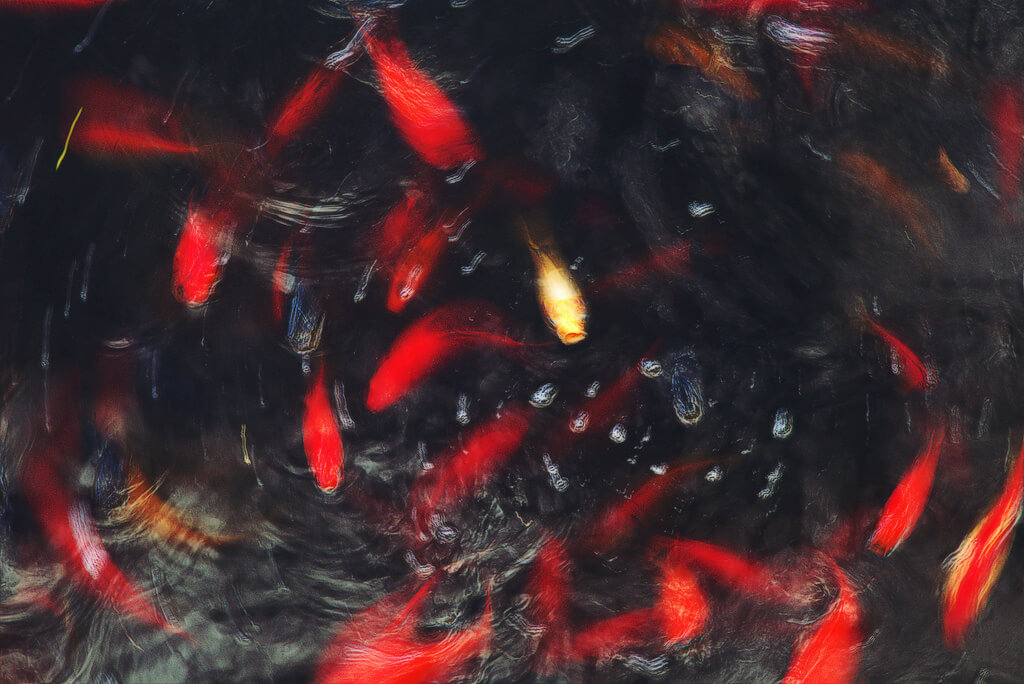
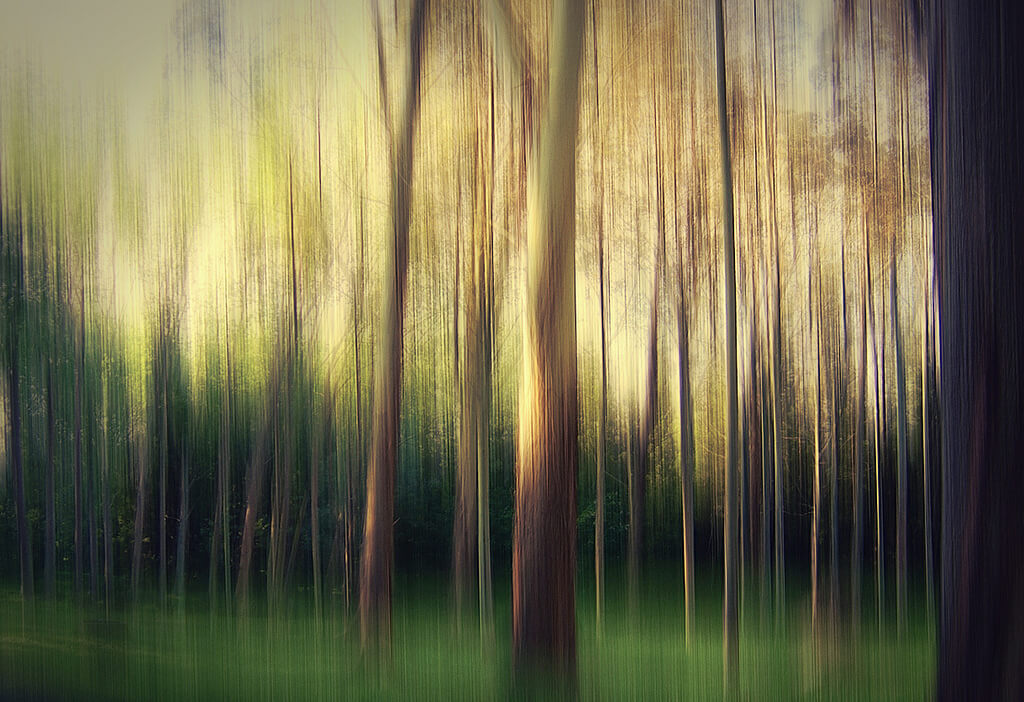
This year, we’re buckling down on knowledge and technique, starting with this photography challenge. With 52+ techniques, this challenge will help you expand your skills, push your boundaries, and become a better photographer.
Best of all, you won’t need to buy any new gear! We’ve chosen techniques that don’t require extra money or special equipment besides a decent camera and a basic tripod. Even a smartphone with a cheap, mini tripod would be fine, as long as you’re open to downloading photography apps.
We’ve organized this challenge into 6 main groups: Composition, Lighting, Shutter Speed, Depth of Field, and Concepts. This way, you can focus on one area at a time if you’d like.
We’ve also included an additional category, Extra Credit, if you want to push yourself to do more than 52 techniques or switch out a simple technique for something more challenging.
Many of the techniques combine well together, so if you’re short on time, you could try practicing two or three techniques during the same photo shoot. For example, you could experiment with different compositional techniques using the same subject.
In other words, if you’re struggling to keep up with the challenge, try blocking out time once a month for several photos instead of doing one every week. Find what works for you!
Still feeling intimidated? If you’re not quite ready for this challenge, consider doing one of our other challenges from previous years:
2018: 52 Places to Photograph
2017: 52 Subjects to Photograph
As with previous years, post your photos in our Flickr group, tag #thephotoargus on Instagram, or share them with us on Twitter and we’ll repost our favorite shots.
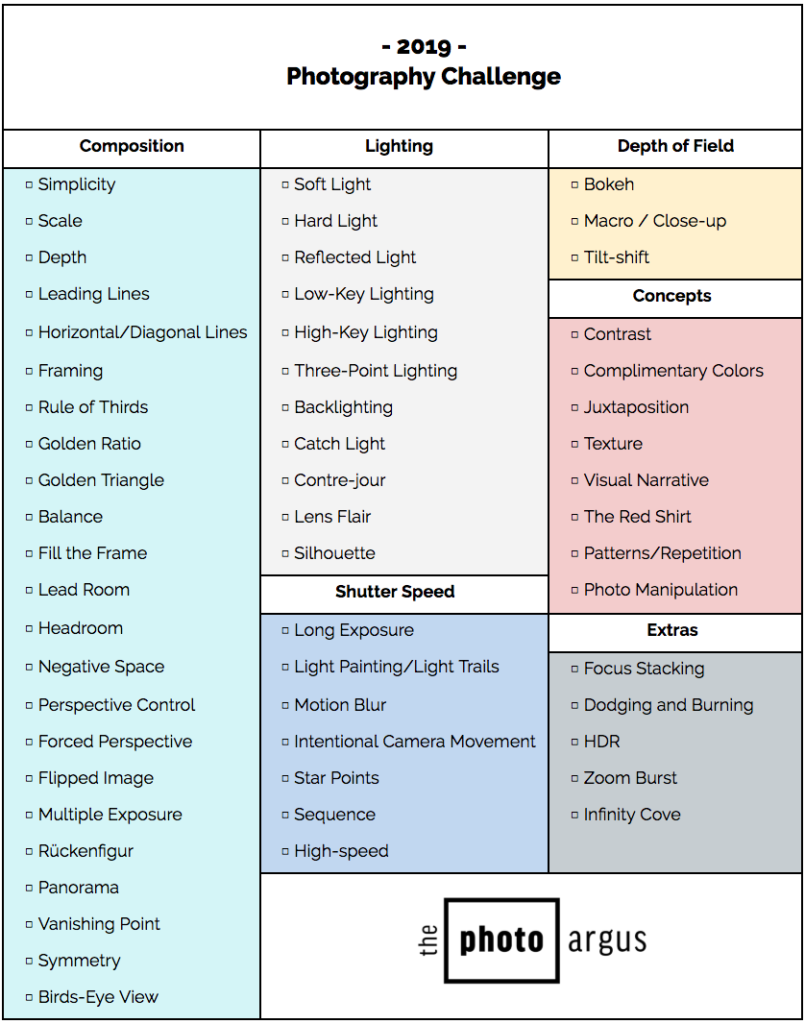
Click the image below for a printable PDF.
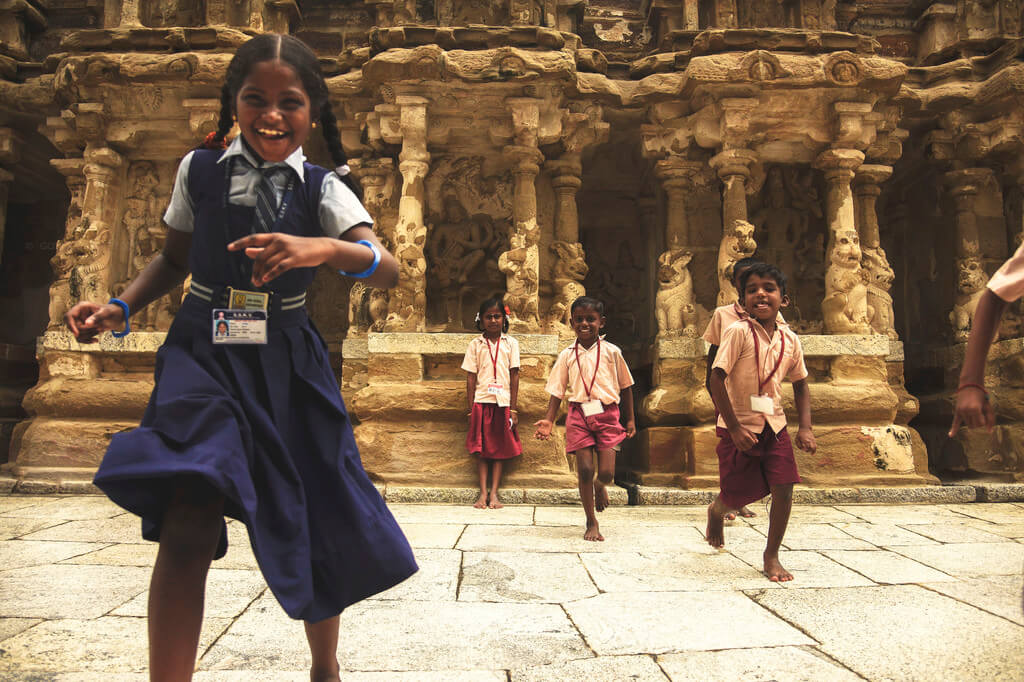
For inspiration and examples of each technique, check out the following images selected from our fantastic Flickr group.
Composition
The majority of the techniques in this challenge are compositional techniques. That is, they give you different strategies for arranging the elements in a photo so that it looks and feels “right.” Because composition is so important for creating eye-catching photos, it’s worth spending time experimenting with and thinking about these techniques.
Simplicity
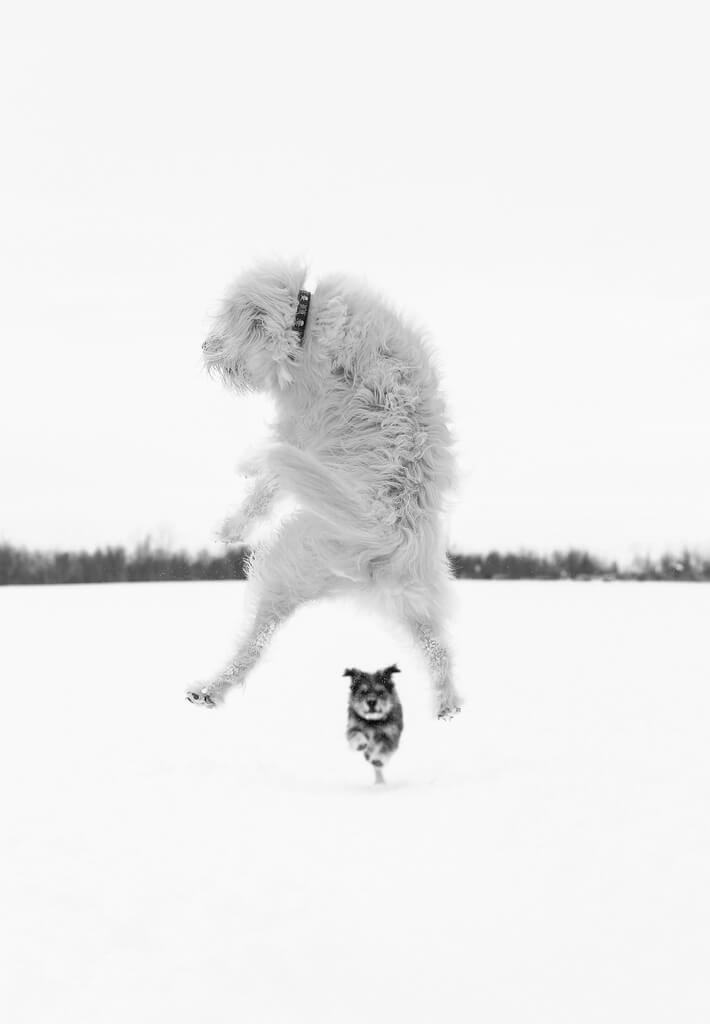
Simplicity is just that: keep things simple. Choose a clear subject, then leave everything else out.
Scale
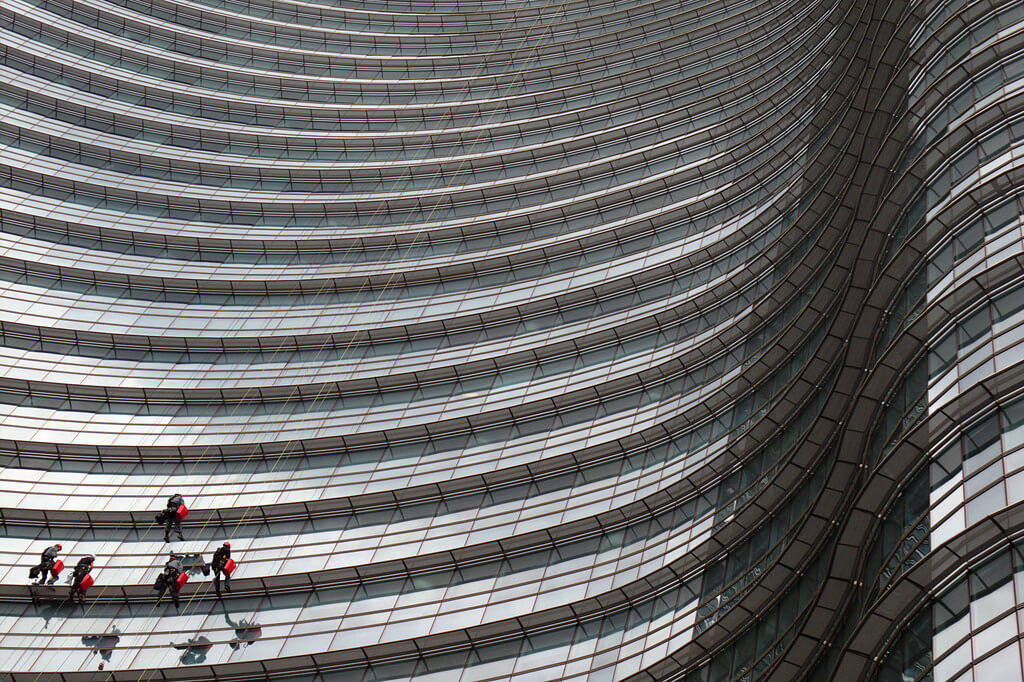
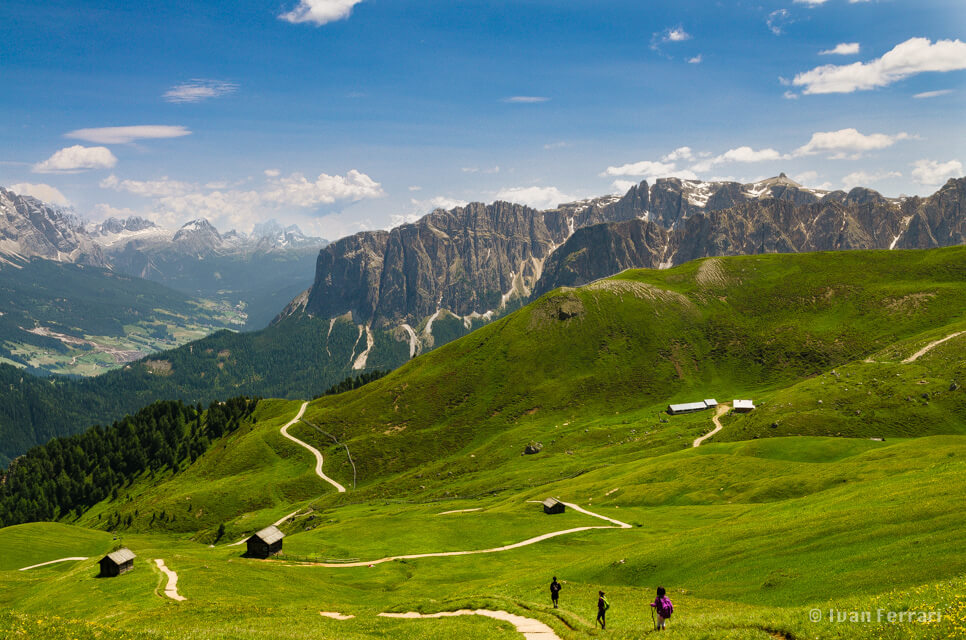
Scale is an important compositional technique for images with large subjects, such as mountains or skyscrapers. Scale allows viewers to compare the size of this subject with a much smaller element, typically a person. This comparison creates drama and makes the image more awe-inspiring.
ivan ferrari photo – Alta Val Badia
Depth
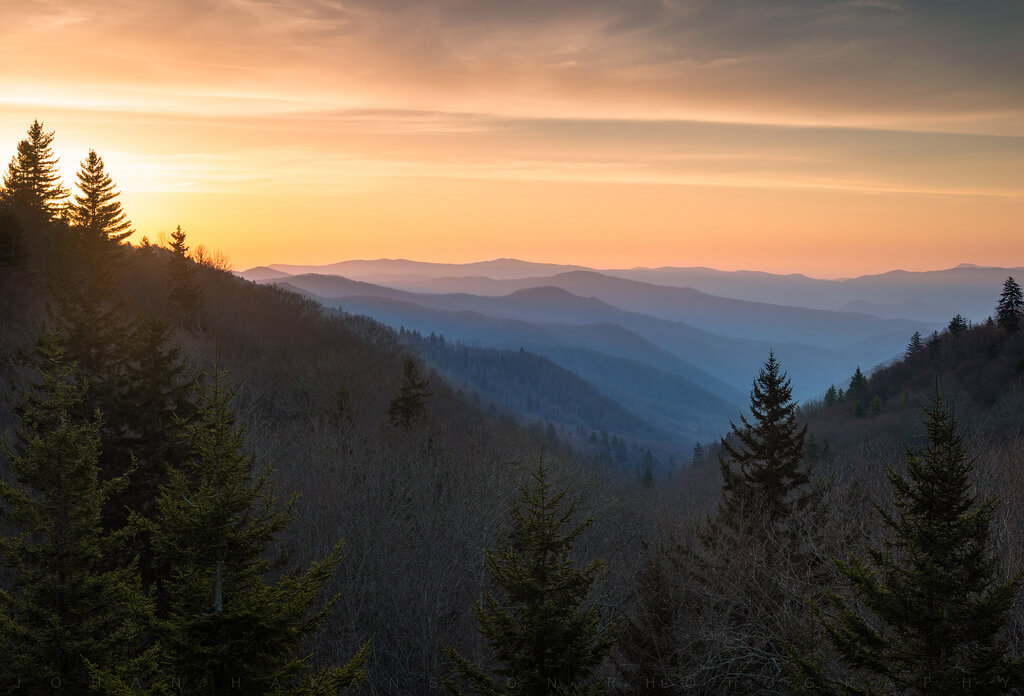
Depth makes a two-dimensional image seem three-dimensional, often by having a strong foreground, a good background, and a middle ground that links everything together. This technique draws in the viewer’s eye and keeps it lingering on the image.
Johan Hakansson Photography – Smoky Mountain Gold
Leading Lines
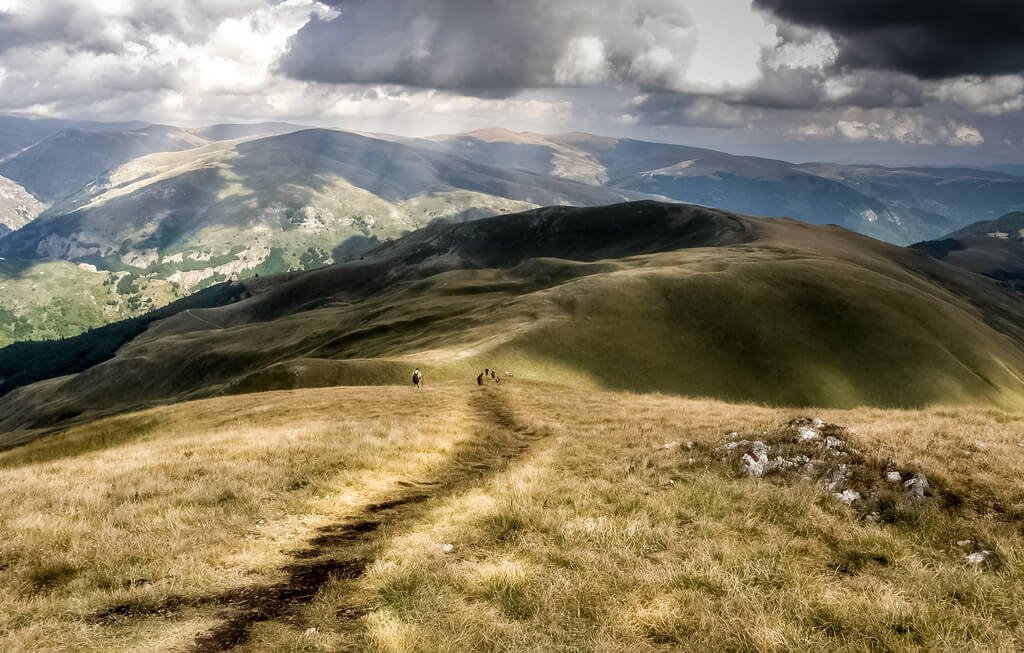
Lines that go from the bottom of the frame to the top are called leading lines. They help to create depth, as well as highlight your subject. Roads and paths are often used as leading lines, but you can find many other types of leading lines, too.
✓ Елена Пејчинова – Heavy Skies
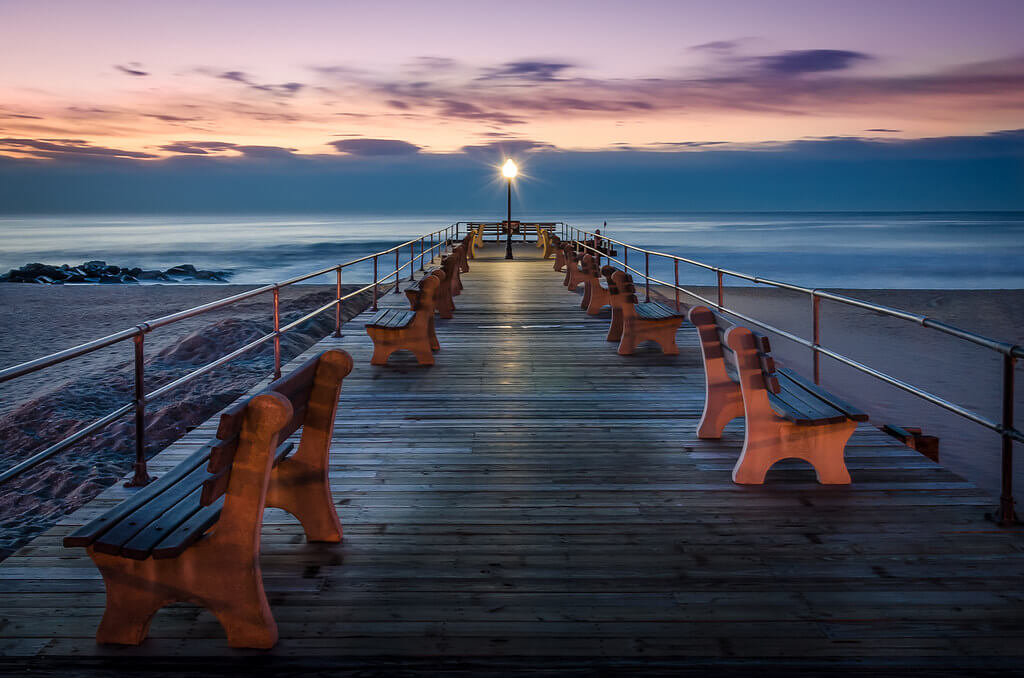
Steve Stanger – sunrise at the pier
Horizontal/Diagonal Lines
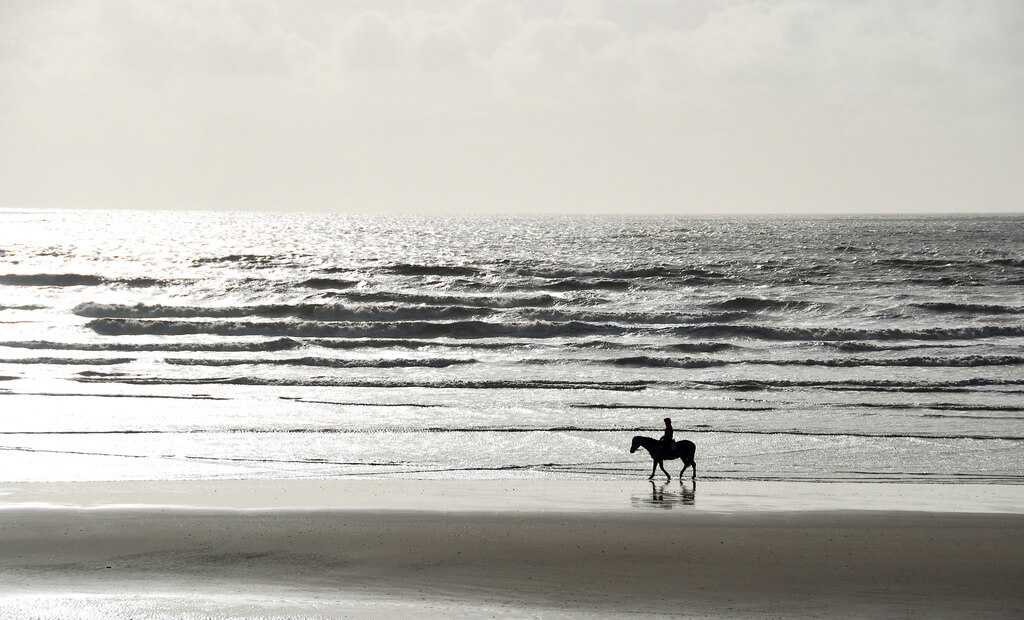
Horizontal and diagonal lines create strong images, albeit in different ways. Straight, horizontal lines provide a sense of stability and peace, while diagonal lines breath life into a dull image.
Whichever type of line you choose, try to make it clearly one or the other. Horizontal lines that are skewed, or diagonal lines that flatten out, lose their power.
Richard Watkins LRPS – Camber Sands
Framing
Framing is exactly what it sounds like: putting elements around your subject to create a frame, which keep the viewer focused on your subject. This frame be a literal, box-like frame or a more natural one, like trees. If you want to get really technical, you could even try using a repoussoir, a type of framing that was popular in 17th-century Dutch landscape paintings.
Rule of Thirds
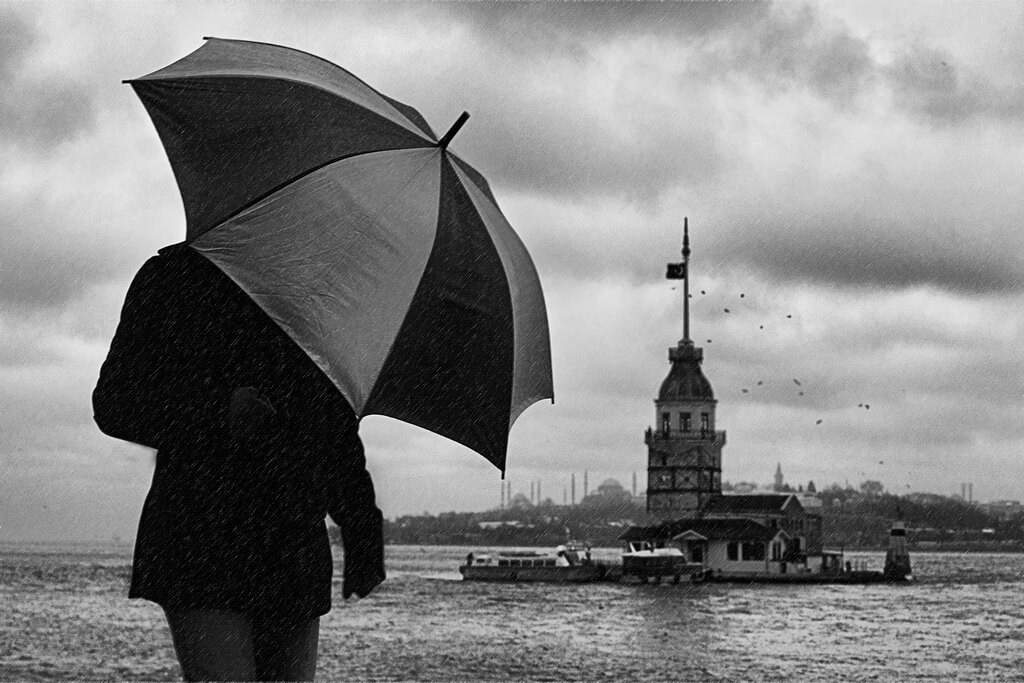
You’ve probably already heard about the Rule of Thirds, since it’s the go-to composition for beginners. If you haven’t, though, read through this explanation from the Digital Photography School to get a good idea of what it is.
Creating Keepsakes – Rule-of-Thirds Grid

Bahadır Bermek – Rain Man Turkey – Istanbul
Golden Ratio
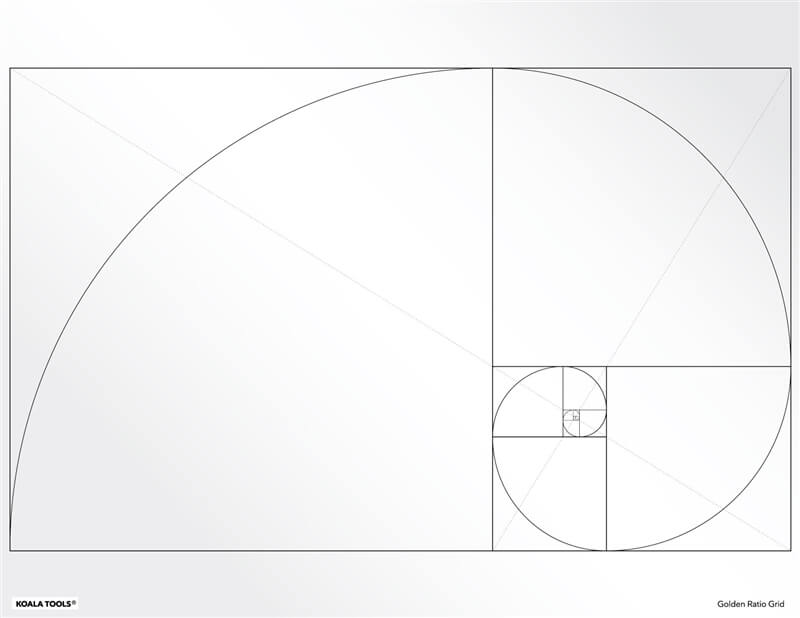
Tired of the Rule of Thirds? Then it’s time to try the Golden Ratio, a more complicated composition that’s arguably better than the Rule of Thirds (if you can figure it out!). Read about how to use the Golden Ratio, then try your best to photograph it!
Koala Tools – Golden Ratio Grid Transparency Sheet
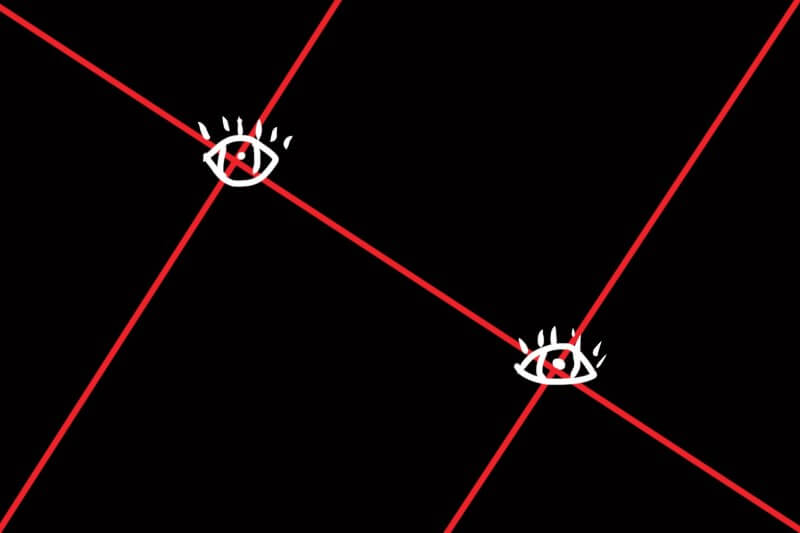
Golden Triangle
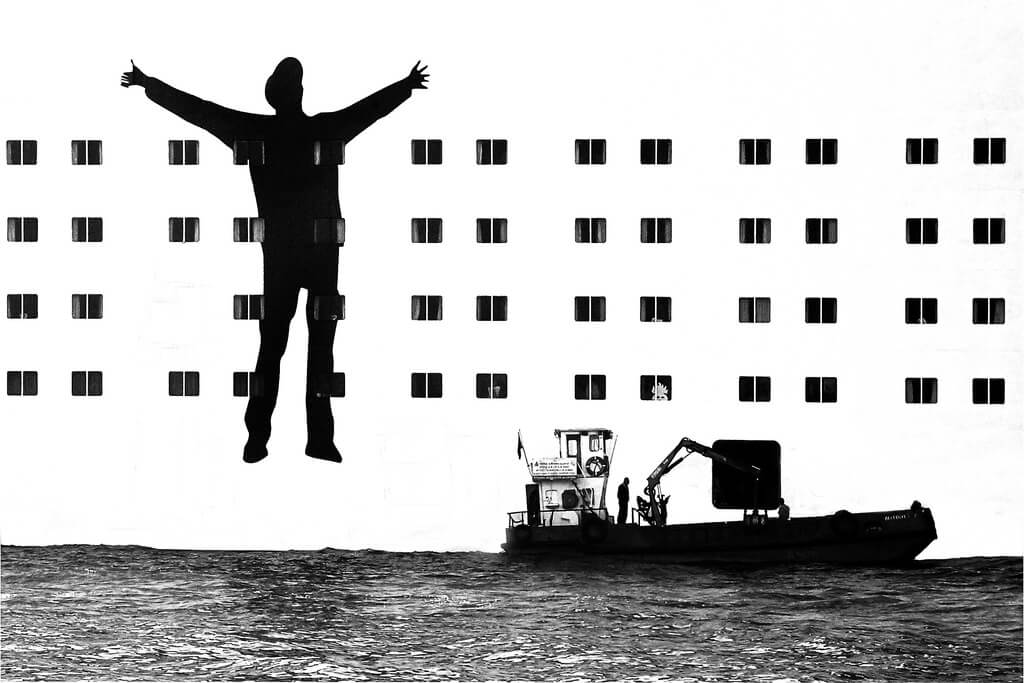
The Golden Triangle is super simple, so if your mind is worn-down from using the Golden Ratio, give the Golden Triangle a try. Eric Kim has a great blog about the Golden Triangle with a variety of examples.
Bahadır Bermek – feed me Turkey – Istanbul
Balance
Balance is a somewhat vague compositional technique, yet it’s crucial for creating effective images. Essentially, balance is achieved when the different parts in your image have equal visual weight. In other words, neither side of the photo is “heavier” than the other. For a longer explanation and more examples, read this blog about balance from SLR Lounge.
Fill the Frame
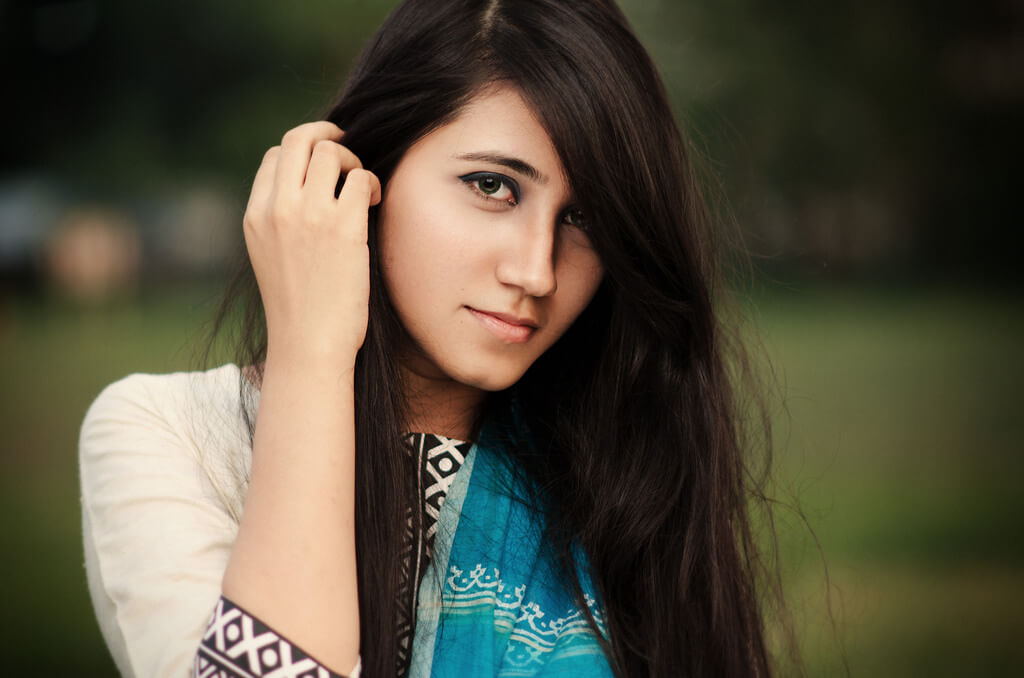
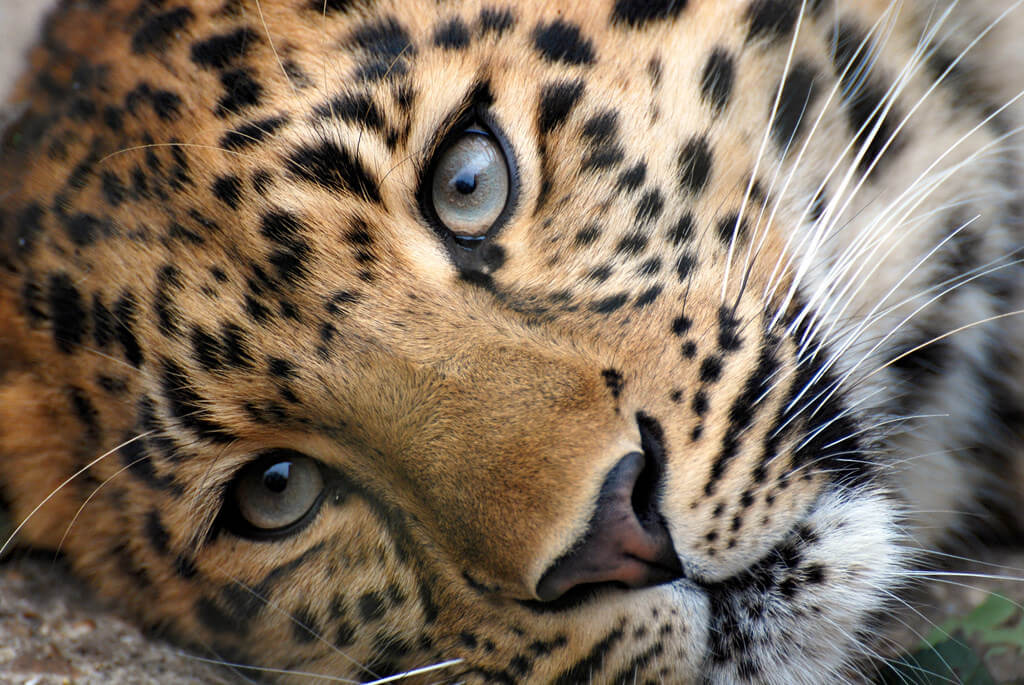
“Fill the frame” is a compositional technique often used for close-up photos of people, flowers, animals, or any other subject where the details matter. By filling the frame with your subject, you bring these details into focus, so the viewer won’t have to squint to see them. Filling the frame also helps you cut out unnecessary elements, keeping the photo simple and powerful.
Steven Scott – Imperfect Beauty
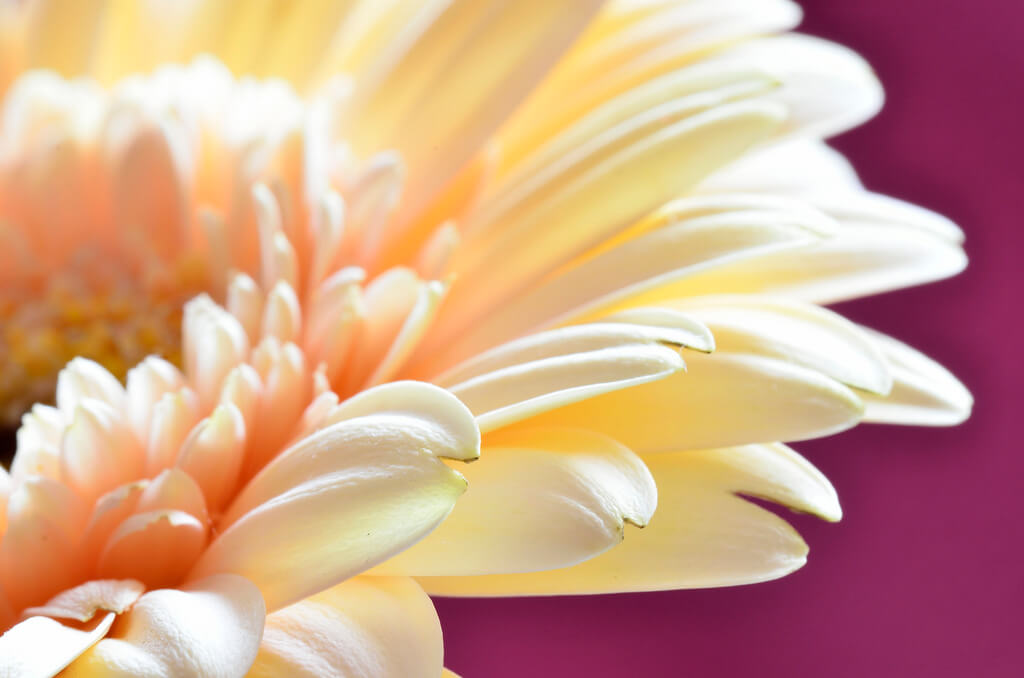
sure2talk – her eyes were full of dreams
Lead Room
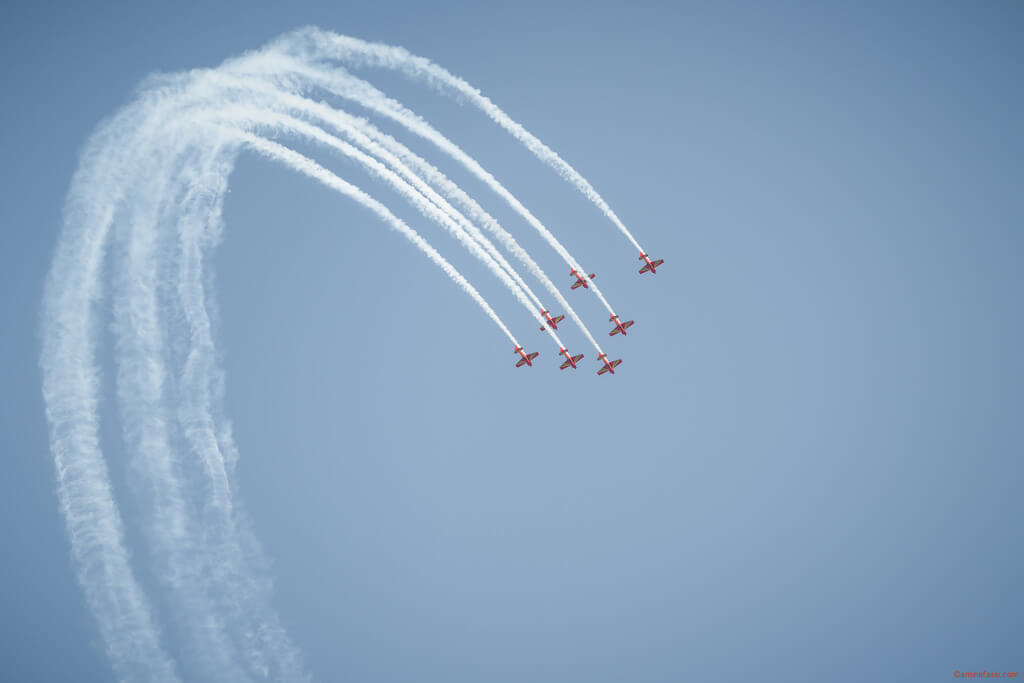
If you enjoy photographing cars, planes, runners, and other moving subjects, this compositional technique is valuable to learn. Also called “nose room,” lead room is when you put space in front of a moving subject to show where it’s going next. Without lead room, a moving subject can appear “boxed in” rather than progressing forward.
aminefassi – Patrouille ” Marche Verte ”
Headroom
Headroom is the amount of distance you put between the top of a subject’s head and the top of the frame. There’s no hard-and-fast rule for how much headroom is “right”; the amount of space will change depending on how much the subject is filling the frame.
Nevertheless, some artists and photographers try to place the eyes of the subject one-third of the way down the frame, following the rule-of-thirds concept. Don’t feel stuck to this guideline, though. Feel free to experiment and discover how much headroom looks best in your portraits.
aminefassi – Fez – Nougat Shop

Negative Space
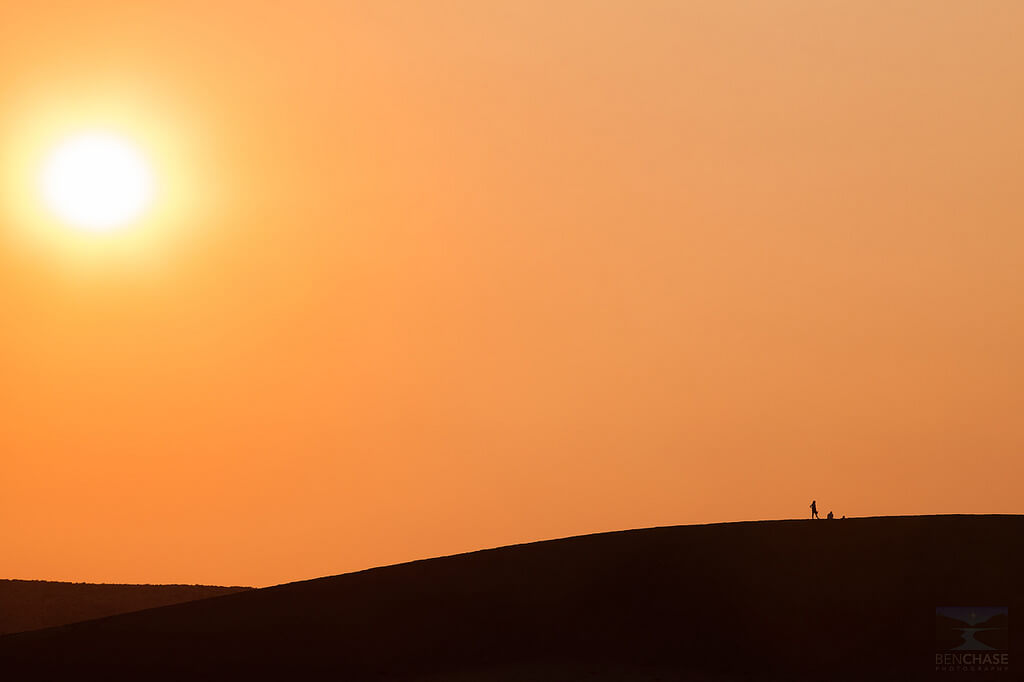
Negative space refers to any part of the image that doesn’t attract attention. It’s the opposite of positive space, or the parts of the photo that do jump out (typically your subject). Negative space pairs well with simplicity. If you use a lot of negative space, your image is likely to remain simple, and thereby powerful.
Benjamin Chase – Southern Idaho Sun
Perspective Control
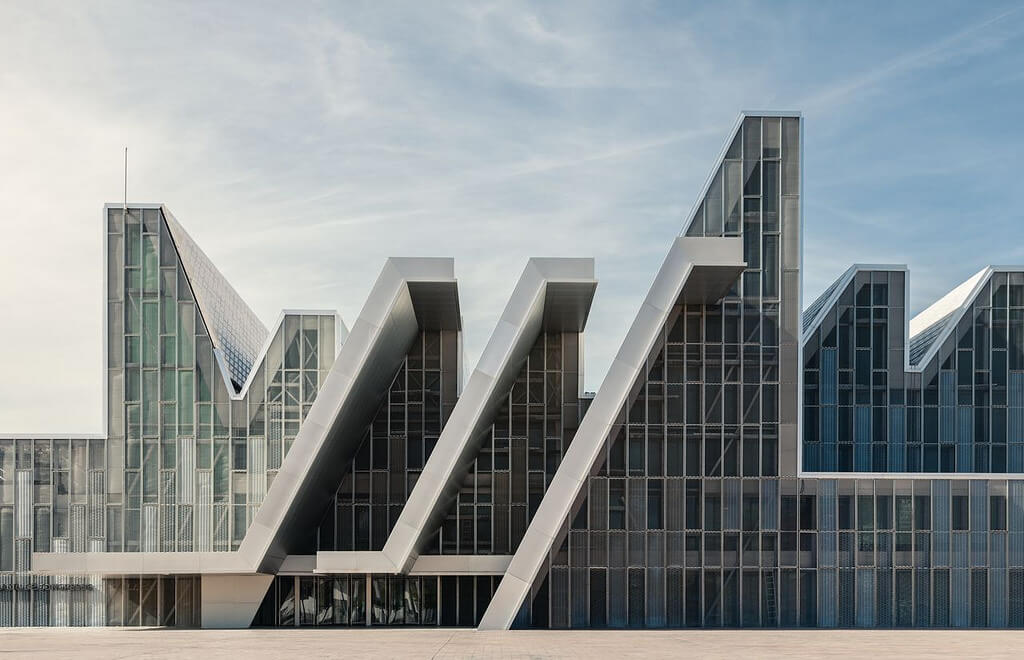
Perspective control is when an image is composed or edited to make architectural subjects look true to reality. For instance, any vertical lines in reality (like columns or lampposts) should also look vertical in your image.
This might sound like common sense, but it’s surprisingly difficult to achieve in some situations, especially if you need to tilt the camera up to photograph a building. This change in perspective can distort the building’s “true” appearance. In cases like these, you’ll need to create perspective control by correcting this distortion during post-processing.
Ximo Michavila – Nieto Sobejano. Aragon Convention Center #1
Forced Perspective
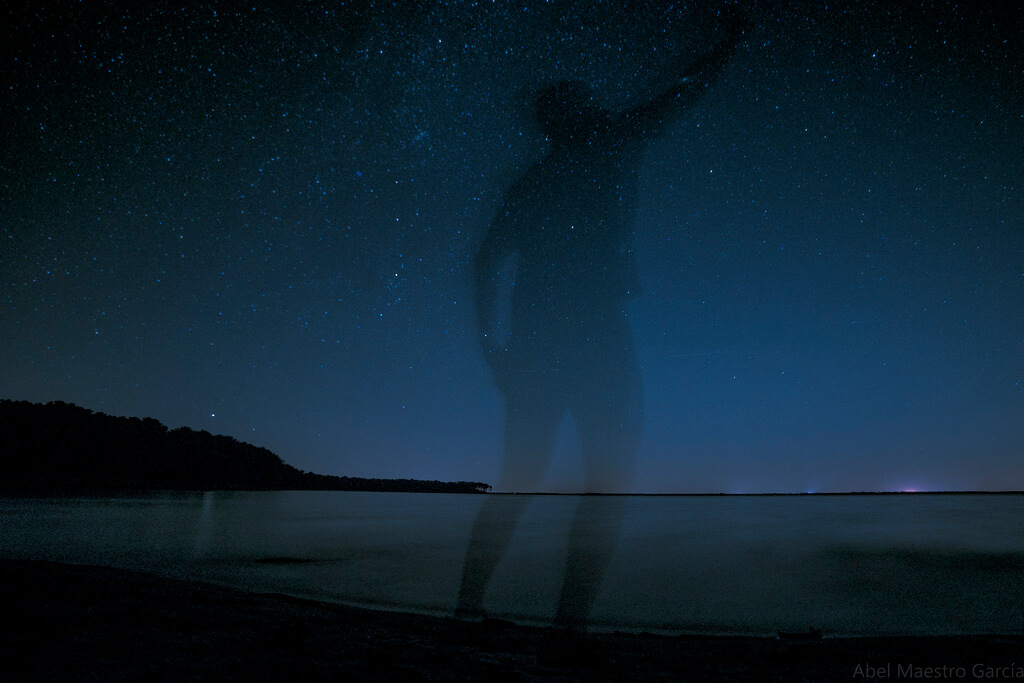
Forced perspective is the opposite of perspective control. With forced perspective, you intentionally compose the photo so it doesn’t look like reality. Often humorous, this technique is especially popular among tourists (e.g., holding up the Leaning Tower of Pisa), though you can use it for serious, beautiful photos, too. For more guidance, check out these 7 tips for creating excellent forced perspective photographs.
Abel Maestro Garcia – El pintor de estrellas – The Star Painter
Flipped Image
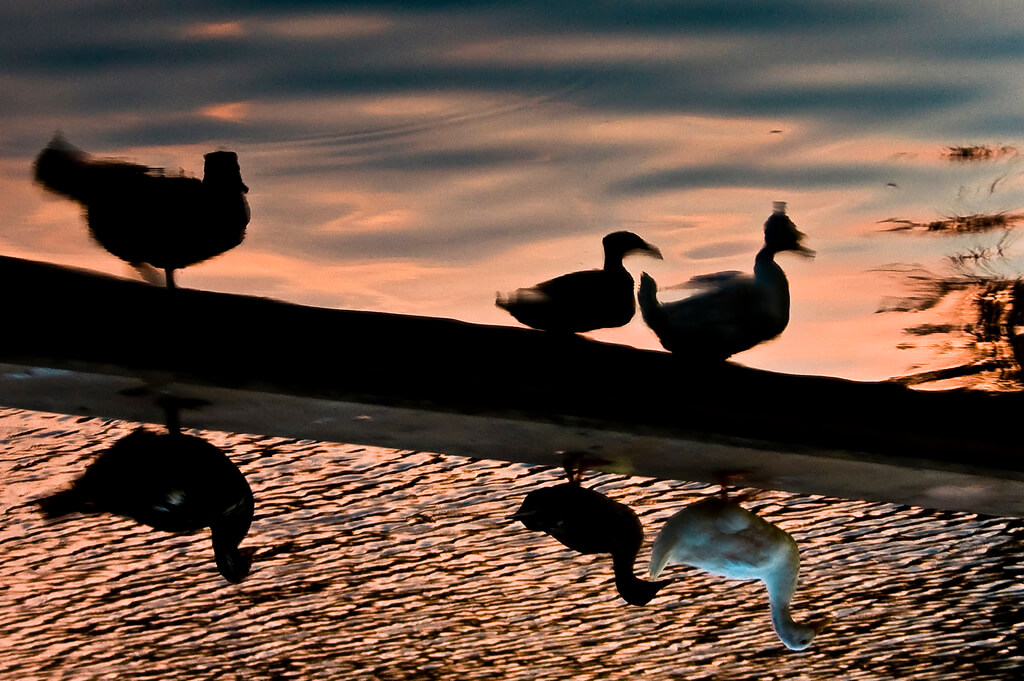
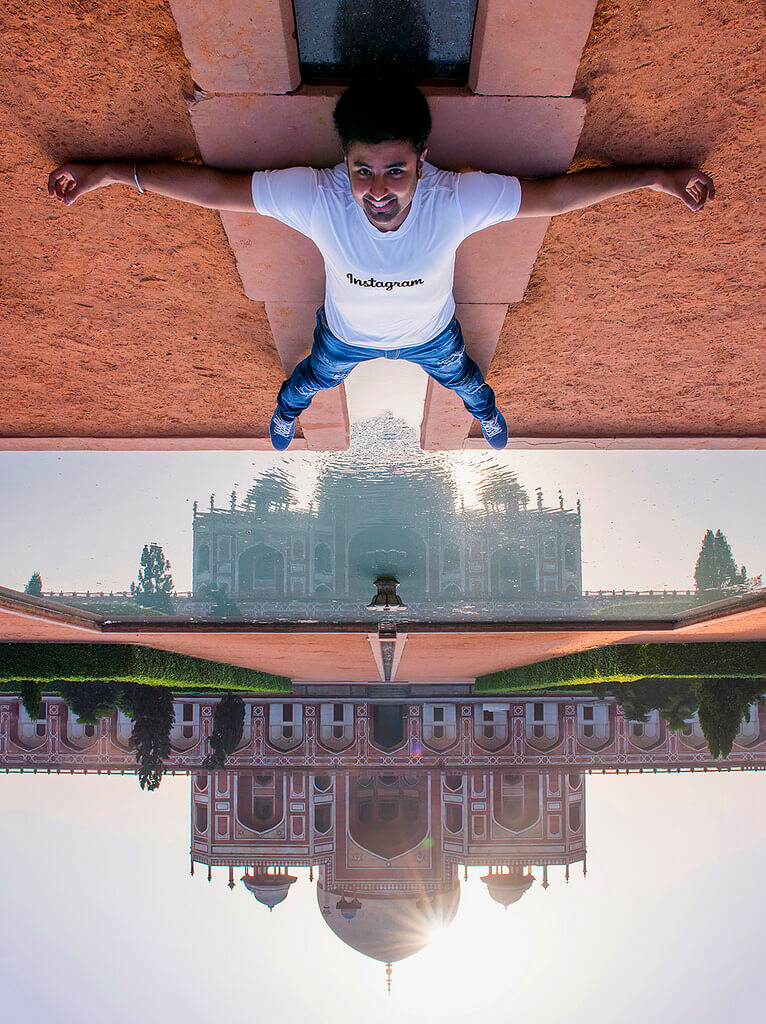
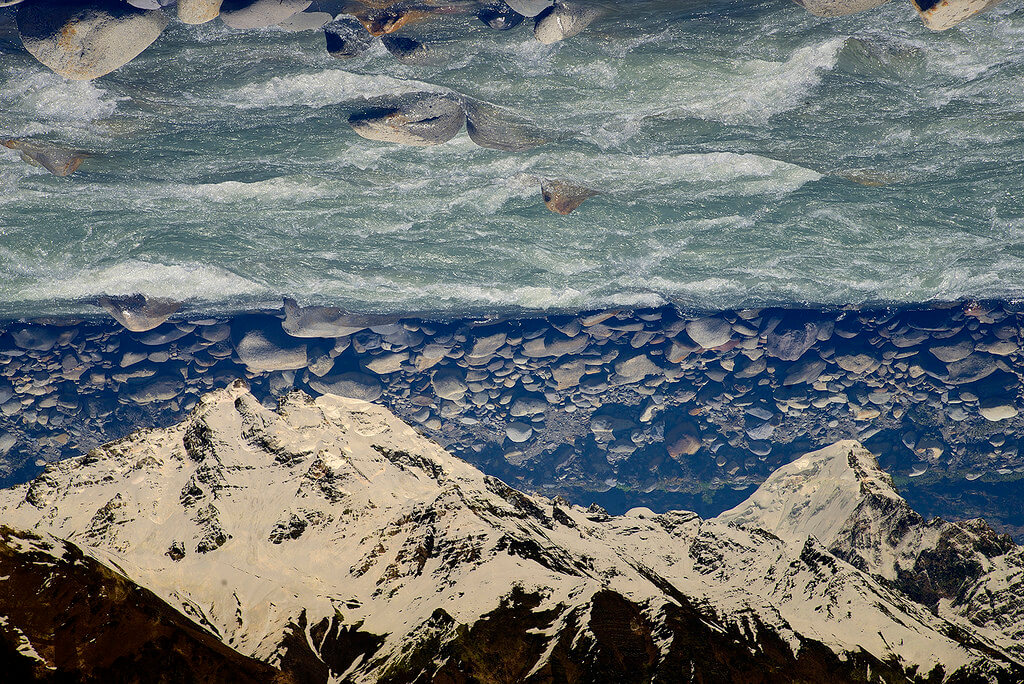
Generally, photographers flip images in order to create optical illusions. A successful flipped image won’t look upside down right away, though something will seem odd or “off” about the image. This oddity can catch and keep the viewer’s attention, even after they’ve figured out the illusion.
Multiple Exposure
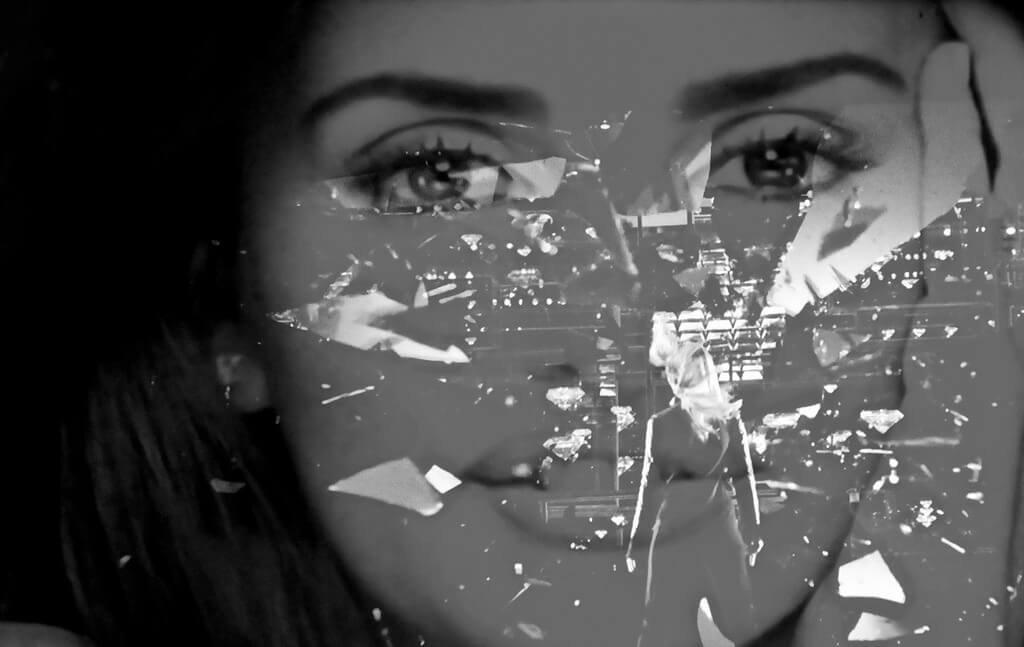
Also referred to as “double exposure,” this technique layers two or more images to create a single interesting image. With film cameras, this technique is part strategy, part luck. But with digital cameras, you can carefully compose and layer the images with a photo editor or smartphone app. Either way, multiple exposures are ultimately a composition technique, as its success depends on how you compose the images together.
For more examples, check out these 20 excellent double exposure photos.
DAVID60 – Brillante Penelope ….
Rückenfigur
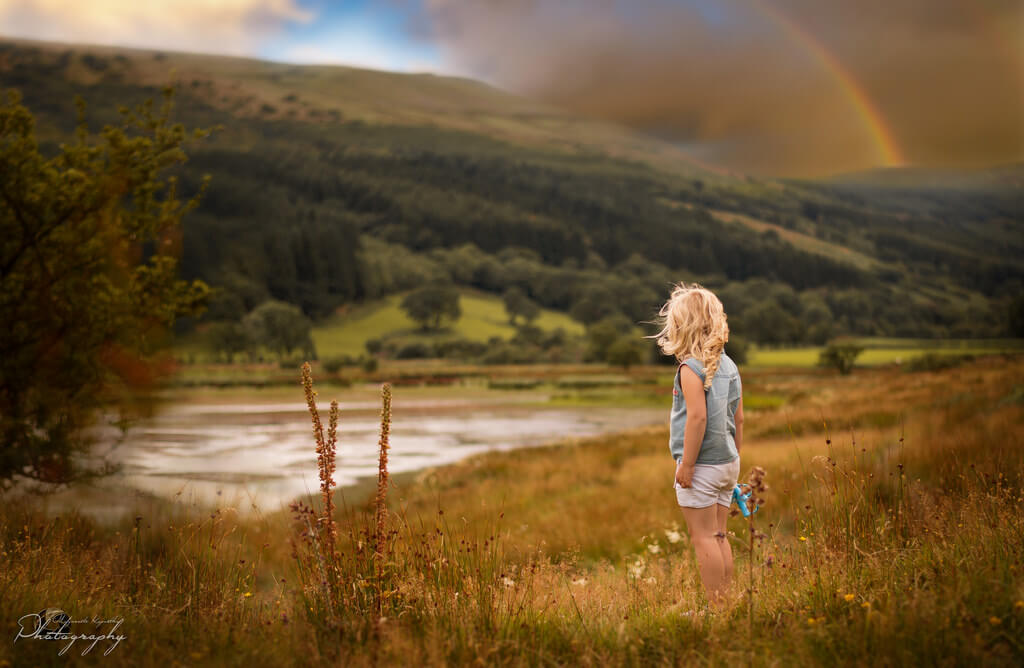
Translated as “The Figure Seen From Behind,” the Rückenfigur refers to subjects who are turned away in the foreground and contemplating a scene in the background.
The technique dates back to antiquity, though its heyday began in the 18th and 19th centuries among German Romantic artists. It’s still a popular device in advertising and photography, as it creates a bond between the viewer and the subject, who share the same view.
Malgorzata Kapustka – … colour of the rainbow …
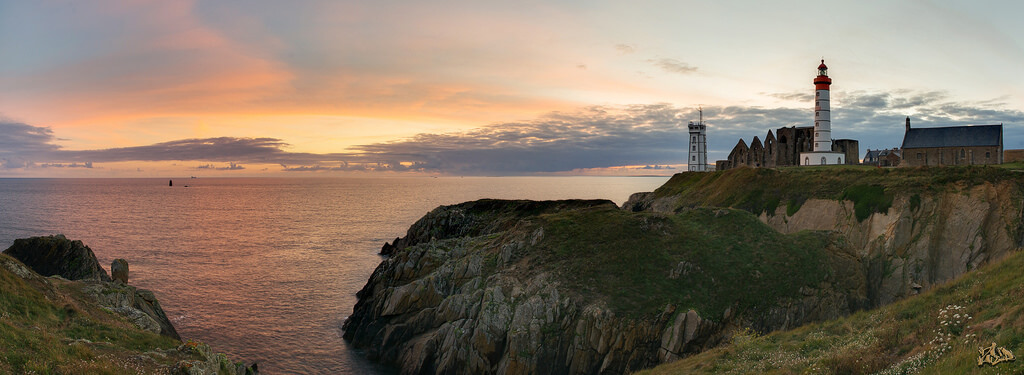
Panorama
The panorama technique is even older than the Rückenfigur. Panoromas have been found in paintings and murals from as early as 20 CE, and they continue to be an interesting technique today. In photography, panoramas include any photos with a wide view of a scene, including wide-angle shots or even several regular-sized photos lined up to show a 360-degree view.
Zed The Dragon – Panorama de La Pointe St Mathieu, Finistére (29) France
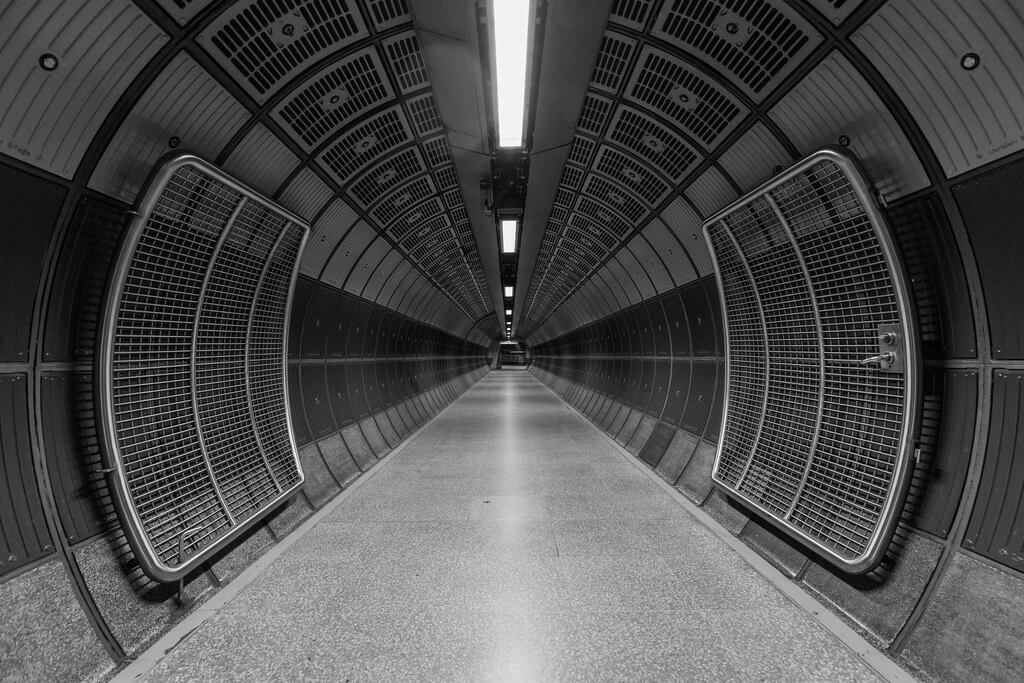
Vanishing Point
Photos with a vanishing point show parallel lines that seem to converge in the distance. It can give the impression of a large size or distance, making a landscape look grand or a tunnel looks especially long.
Sam Codrington – London Bridge Tunnel
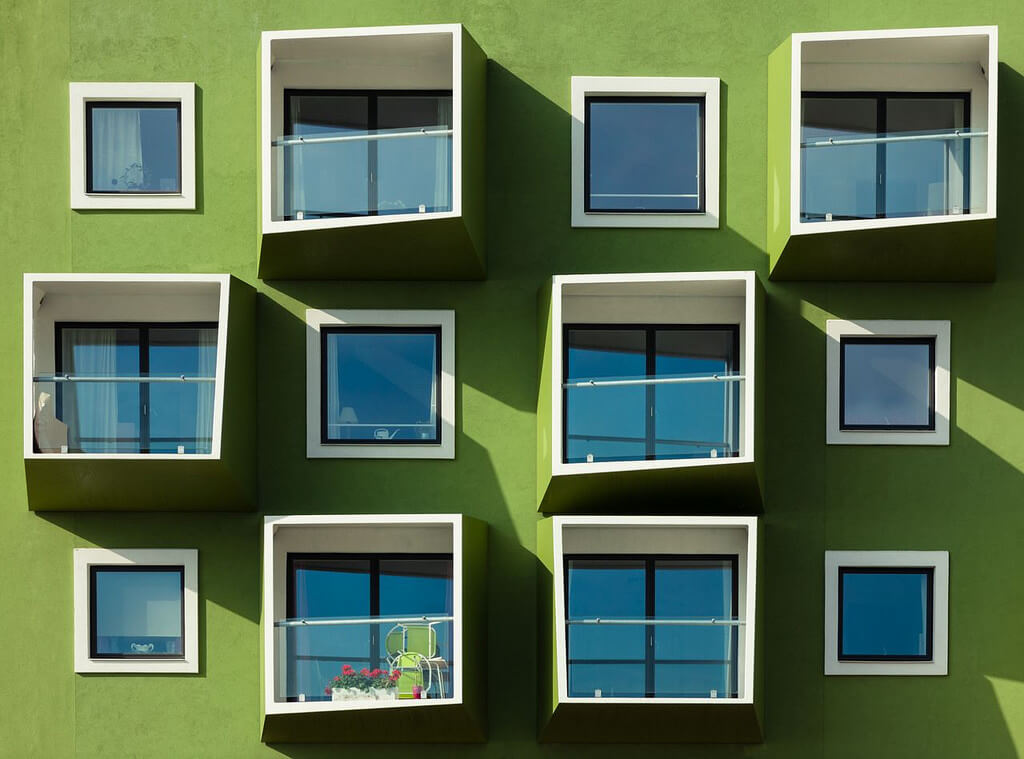
Symmetry
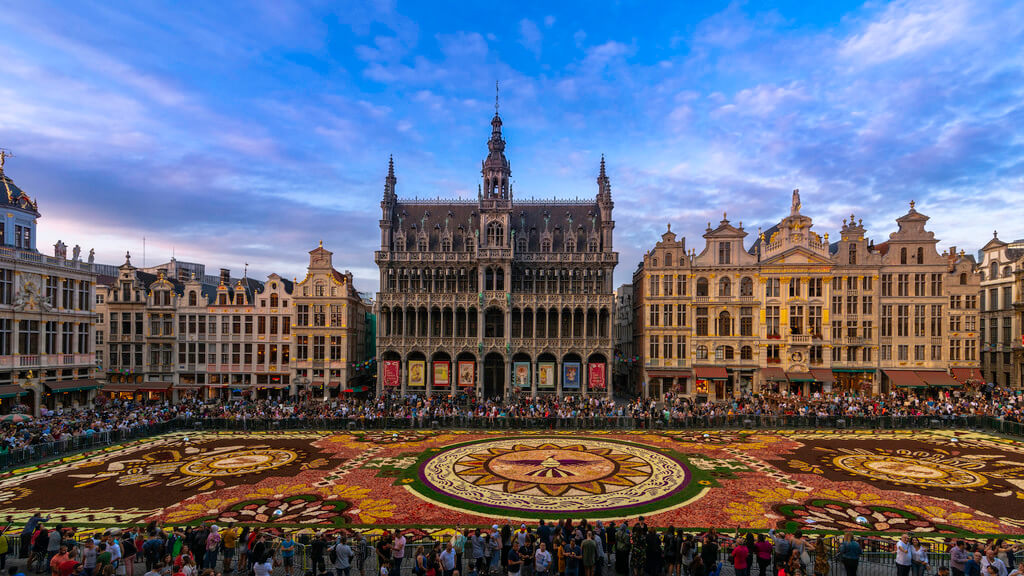
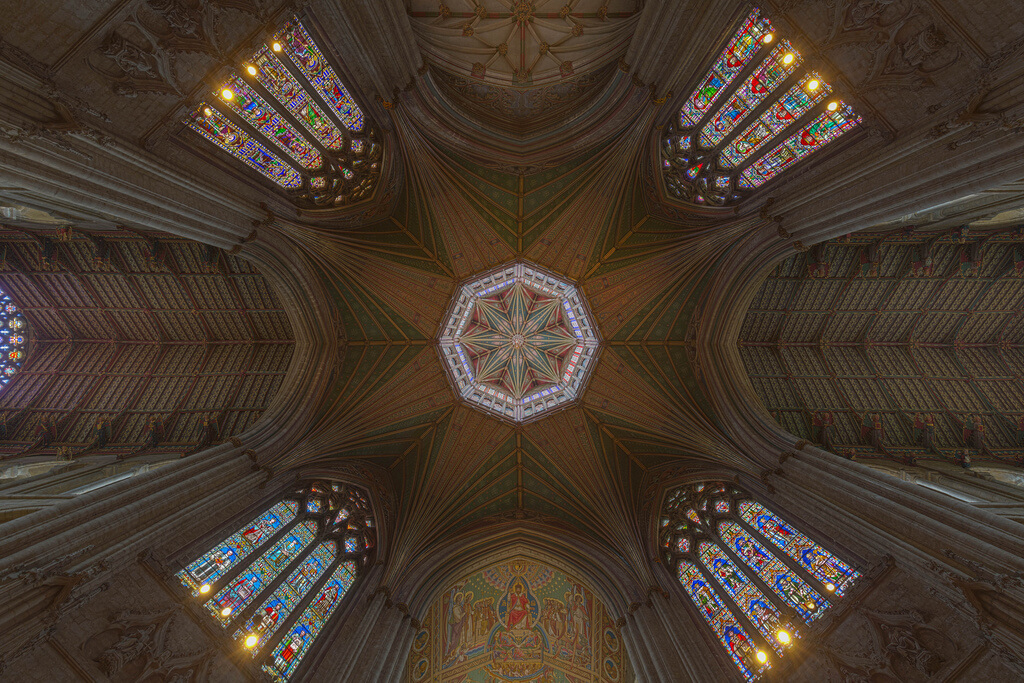
Symmetry gives photos a sense of harmony and balance that’s aesthetically pleasing. Photos with symmetry can either be entirely symmetrical (one side being a mirror image of the other) or partly symmetrical. Both approaches can lead to strong, lovely images.
Ximo Michavila – CPH Architecture #34
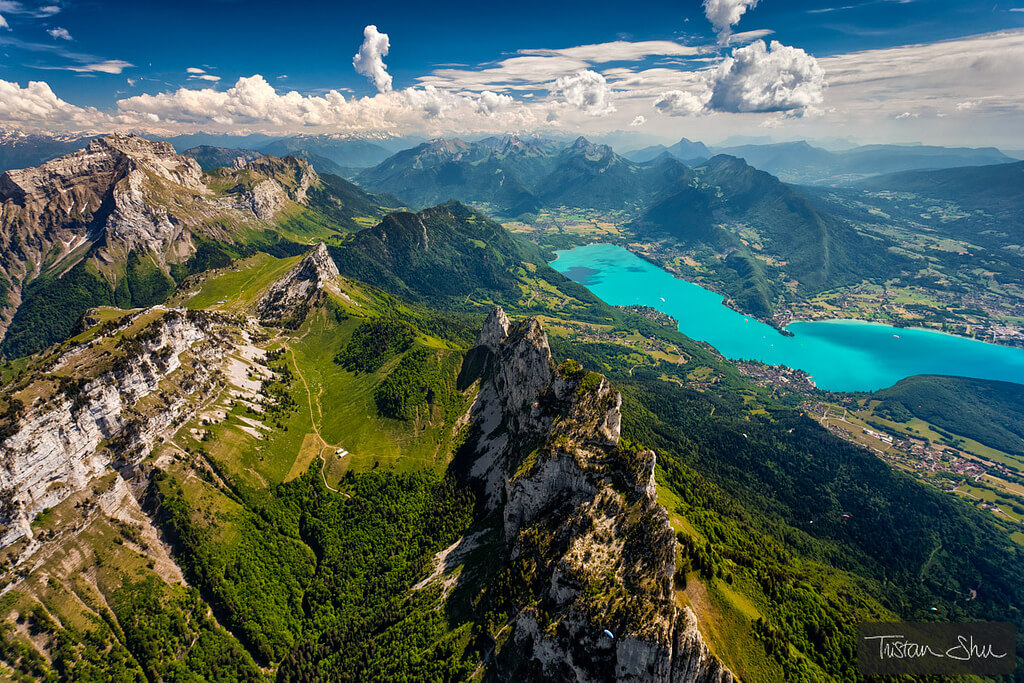
Birds-Eye View
This compositional technique gives viewers a fresh perspective of a person, landscape, or object, sometimes even making it unrecognizable. Using a birds-eye view has become more popular lately, as more photographers have started to use drones for aerial photos. However, you can achieve the same effect by shooting from a mountain or skyscraper, or simply standing above your subject.
Tristan ‘Shu’ Lebeschu – High Up
Lighting
Some photographers blame poor lighting as the reason for their poor photos, but in fact, you can get great photos in any type of lighting with the right techniques. Learning these techniques is crucial if you want to be flexible as a photographer. Instead of waiting for the right lighting conditions, you’ll have techniques to help you deal with any type of lighting condition.
Soft Light
Soft light “wraps” around your subjects, giving them soft edges and a glowing appearance. It’s especially popular among portrait photographers because it makes people look more beautiful.
The main way to create soft light is through diffusion – spreading out the light source so it envelops your subject. You can do this in many ways: by going near a window, bouncing light off the wall, shooting in the shade, or using DIY lighting equipment. Or, you can just go out during the Golden Hour to have soft light everywhere.
Hard Light
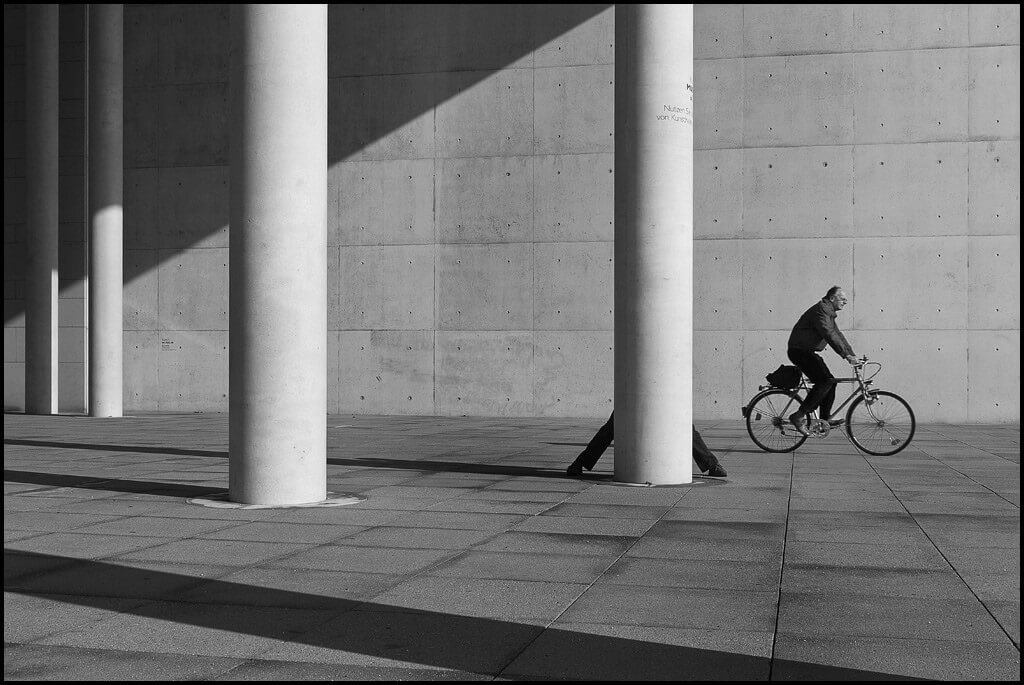
Photographers tend to avoid hard light because it’s more challenging to work with than soft light. Hard light emphasizes shadows, textures, and details, creating sharper edges and more contrast. Though it’s not as merciful as soft light, it can create striking images when used correctly.
Ansgar Trimborn – High Noon IV
Reflected Light
You can reflect light with nearly anything: a wall, a mirror, a white sheet, a piece of paper… The most obvious tool, though, is a reflector, which you can buy for $20 on Amazon. Reflectors are a common part of professional studios because they’re one of the most effective photography tools. Here are 6 great ways to use them.
Low-Key Lighting
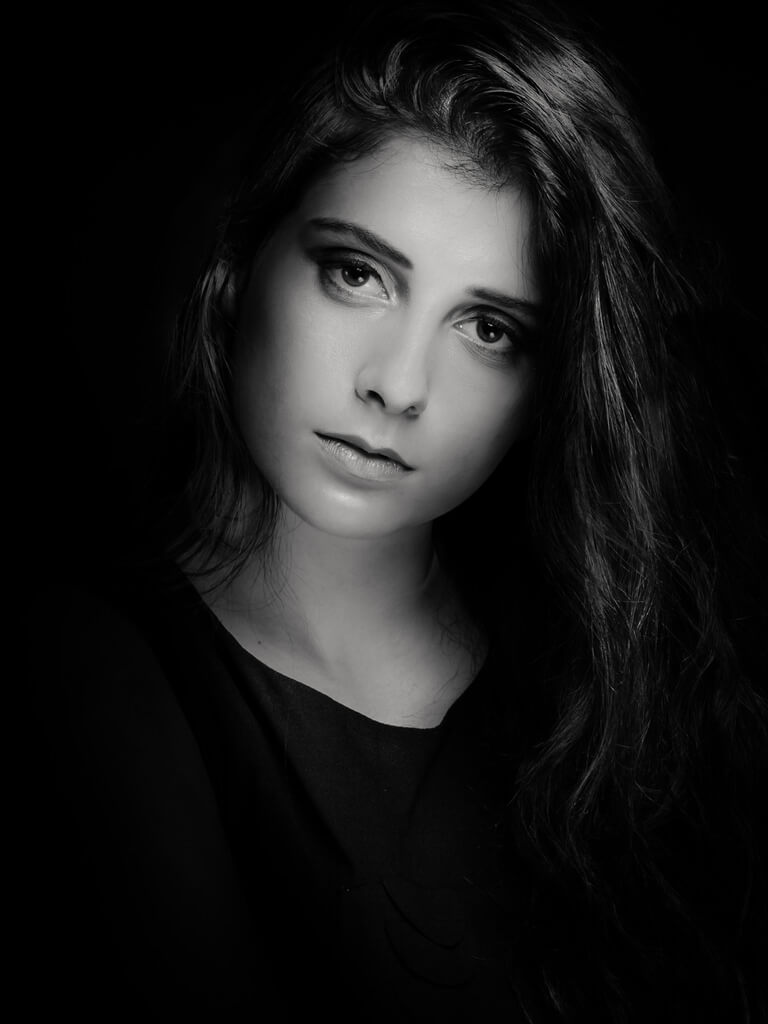
Low-key lighting uses a lot of shadows to bring out the contours of a subject. It’s a big part of chiaroscuro photography, as well as film noir. To create low-key lighting, all you need is one main light and perhaps a reflector to fill some of the shadows.
High-Key Lighting
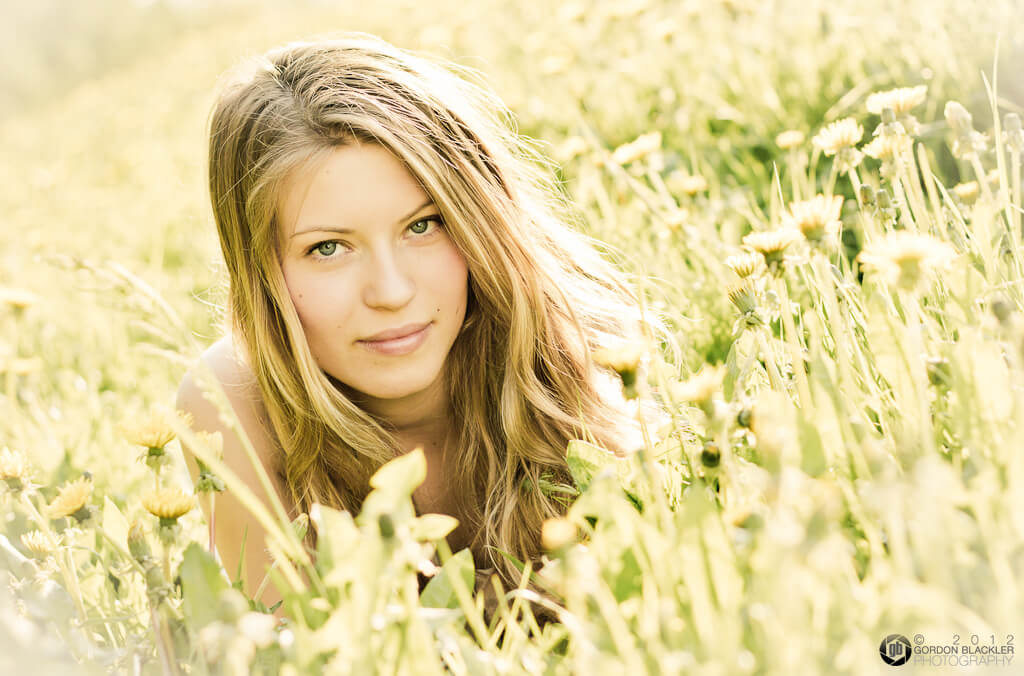
High-key lighting is the opposite of low-key. Instead of using a lot of shadows, you’re filling the scene with light. This technique was originally used because early television and film couldn’t handle high contrast very well, but it has remained popular ever since.
Gordon Blackler – Spring Beauty 2
Three-Point Lighting
Three-point lighting is the most common technique used in studio photography. It uses three sources of light (a key light, a fill light, and a back light) to illuminate a subject and control the shadows. Typically, strong three-point lighting is used for high-key photos, but the two don’t always go hand-in-hand. It all depends on what kind of lights you use and how you position them.
Backlighting
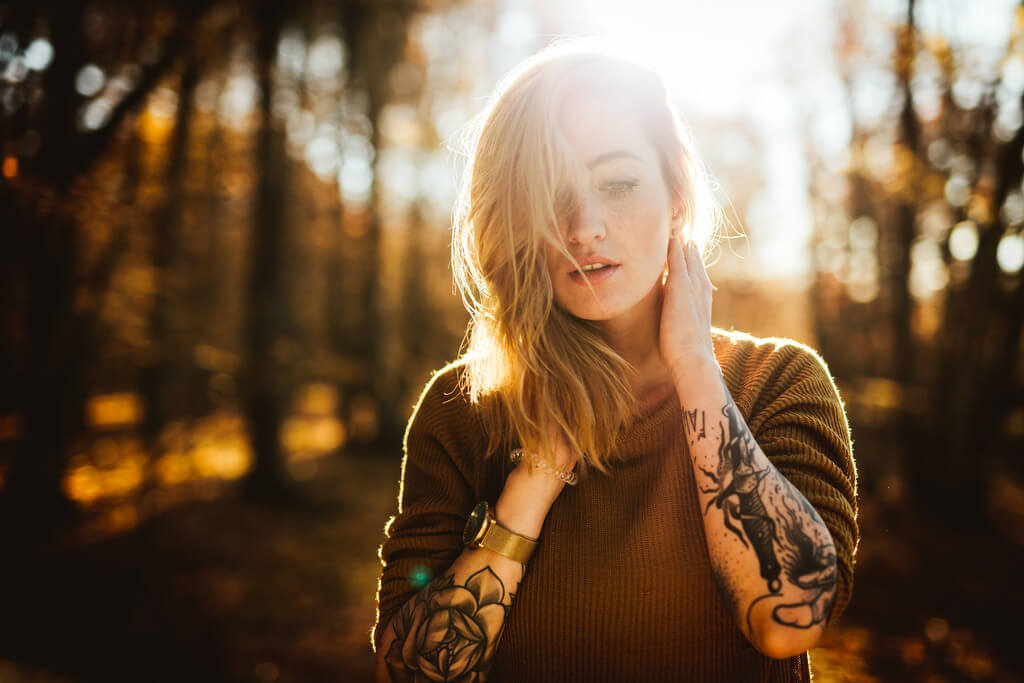
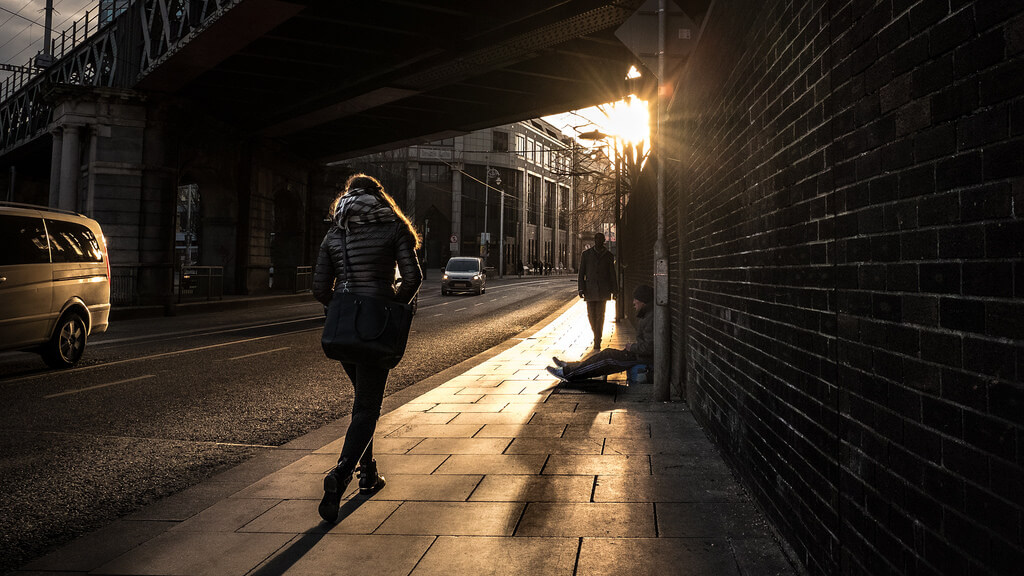
When you use backlighting, your main source of light is behind your subject, creating a glow effect. It’s a great technique for all kinds of subjects, like mist, flowers, or self-portraits. For tips on using backlighting, check out this introduction to backlight photography from Contrastly.
Giuseppe Milo – Gardiner street – Dublin, Ireland – Color street photography
Catch Light
A catch light is any light that reflects in the subject’s eyes, causing them to stand out in the photo. This technique is used to draw the viewer’s attention to the eyes, especially when the viewer might get distracted by other elements in the scene.
Contre-jour
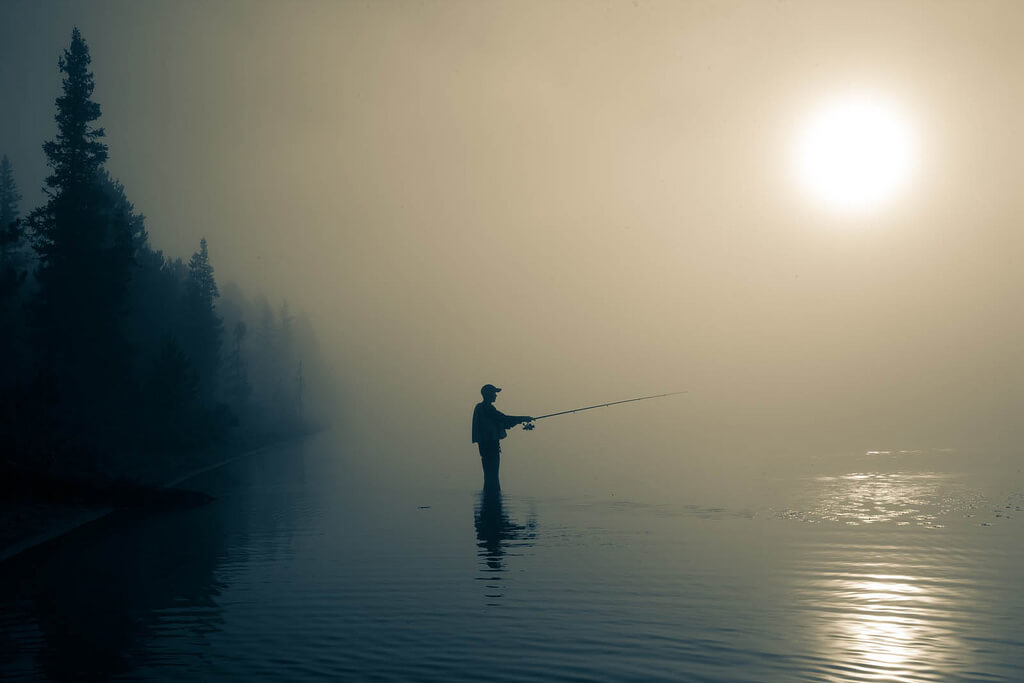
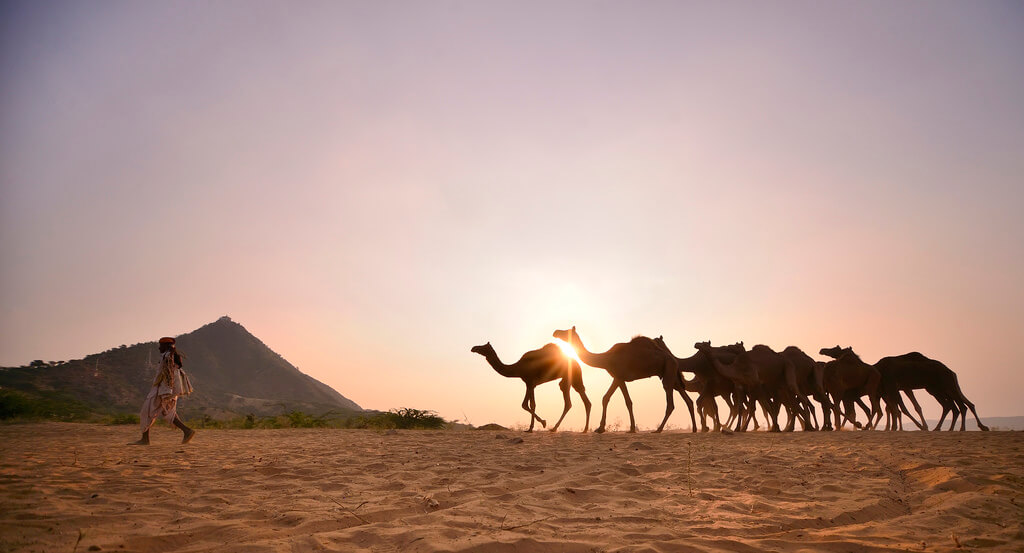
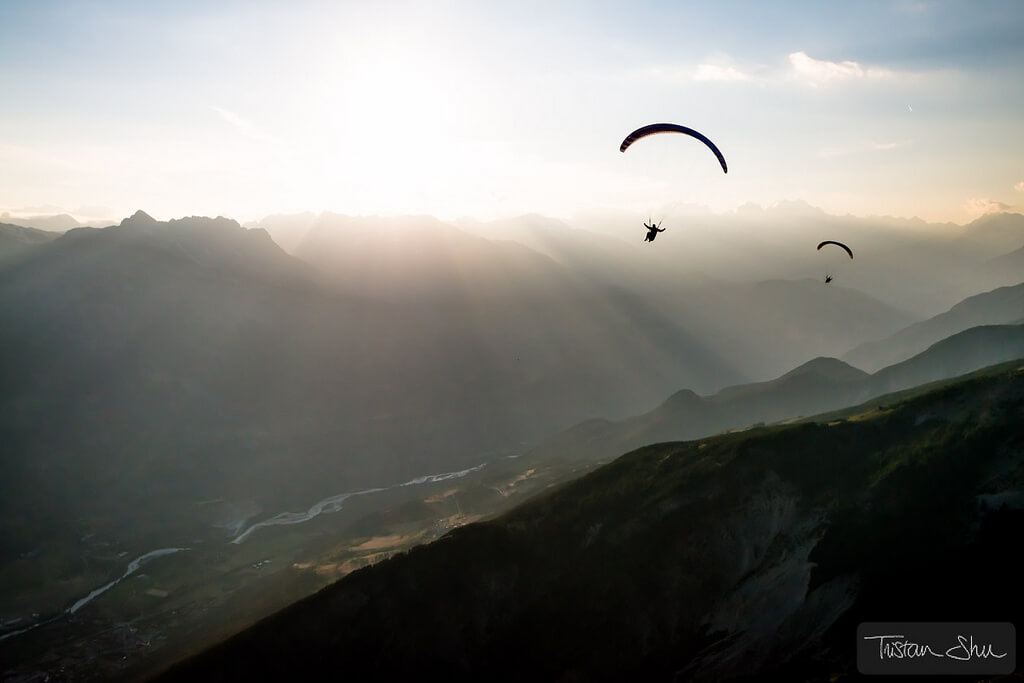
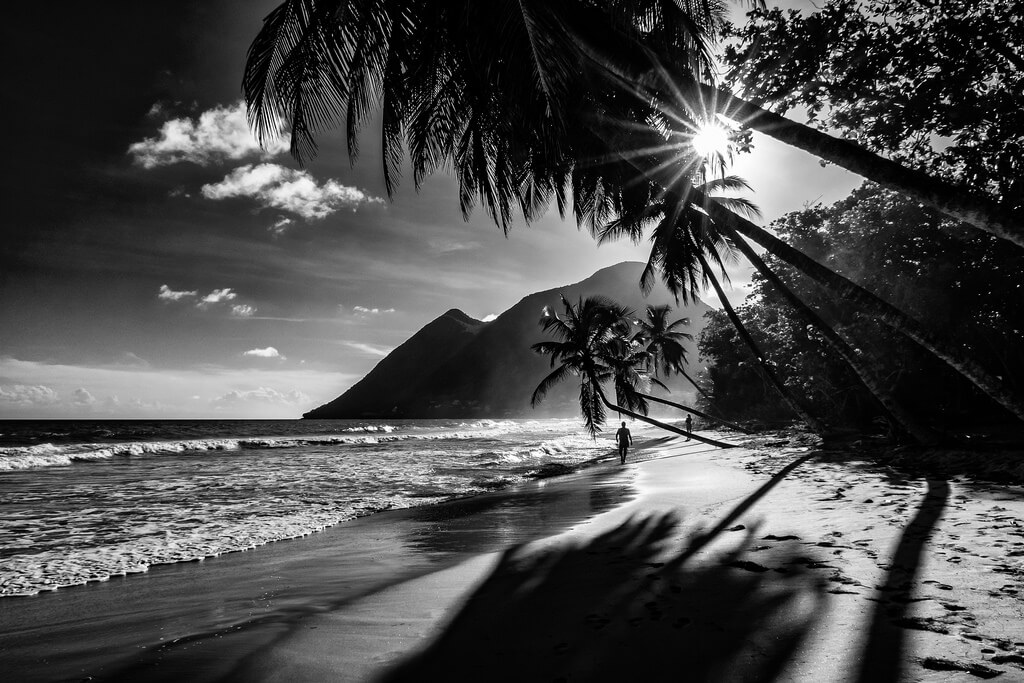
Contre-jour means “against daylight” in French. It’s a simple technique to use. All you need to do is face the sun or another strong source of light and use it as a backlight. The strong light will create silhouettes, hide details, and increase the contrast of your image.
Tristan ‘Shu’ Lebeschu – Flying with Jean Baptiste Chandelier and Gill Schneider
Jean-Jacques Mattei – Plage du Diamant
Lens Flare
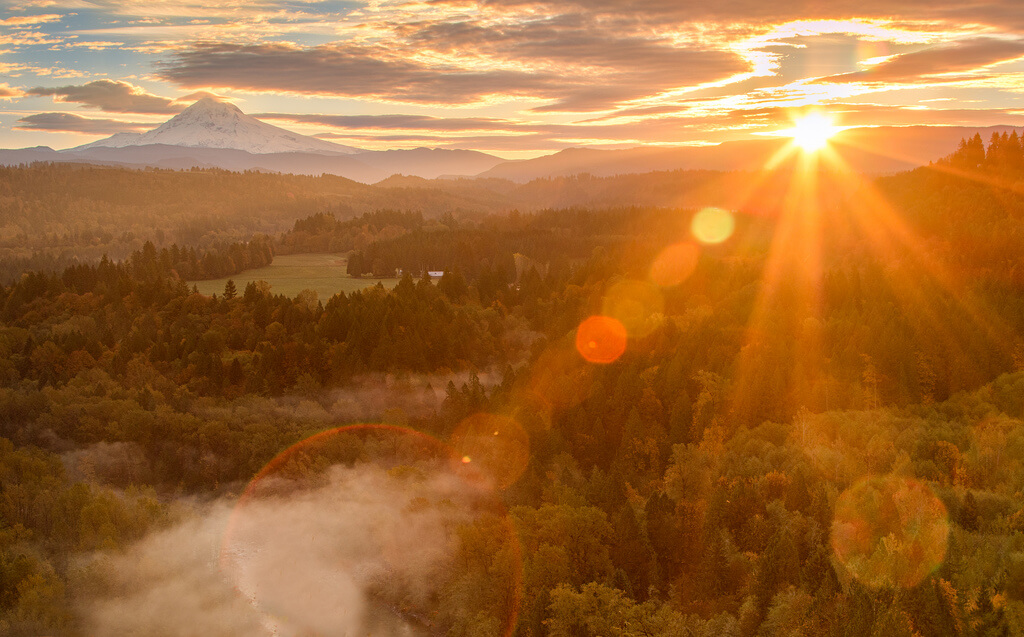
Lens flares occur when light reflects inside a camera lens rather than going directly to the camera’s sensor. They’re most common in images with strong lighting, like contre-jour shots. Photographers often try to avoid lens flares because they create a hazy, washed-out look that doesn’t always look nice. But sometimes, if the composition is right, lens flares can look amazing.
ilirjan rrumbullaku – Sun Rises Over Mt. Hood
Silhouette
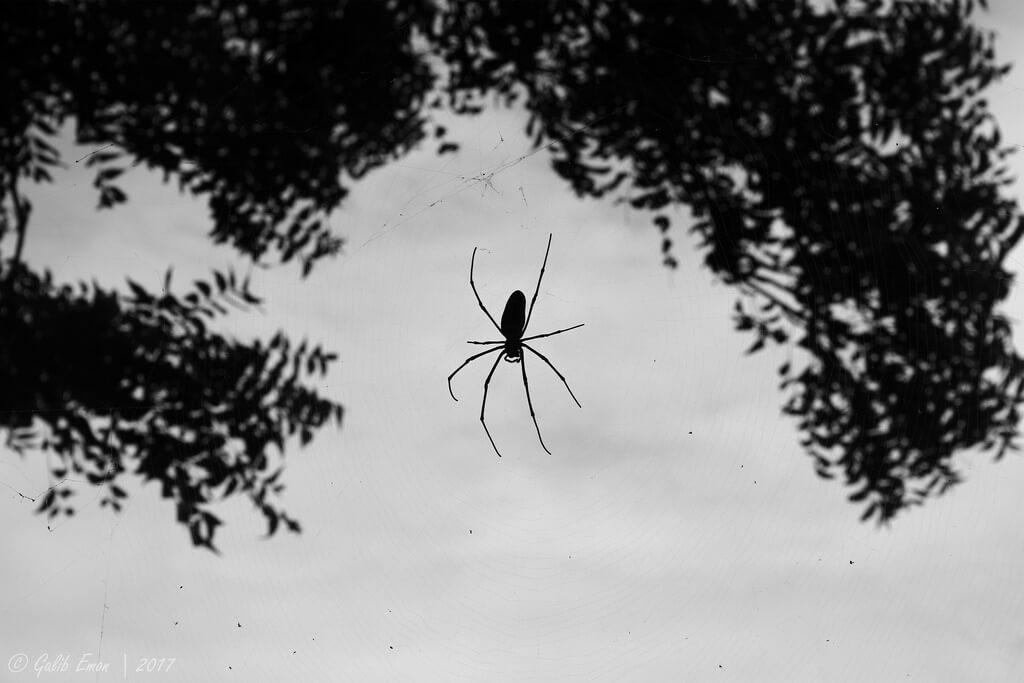
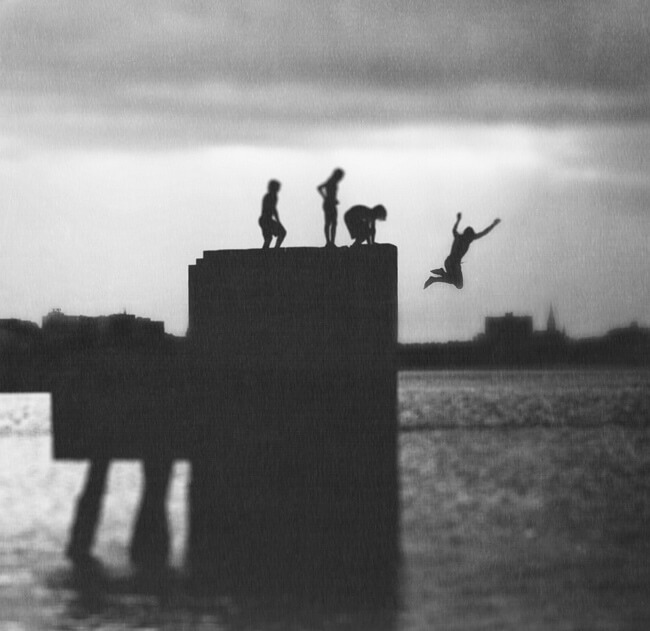
If you’ve tried backlighting and the contre-jour technique, you’ve probably already created some silhouettes. However, those methods are not the only way to create silhouettes. You can create silhouettes against the night sky, photograph silhouette-friendly subjects like crows and ravens, or shoot in black and white for more distinct silhouettes.
Shutter Speed
Some lighting situations can’t be solved with extra lighting gear. For instance, if you want to capture a starry night sky, using a reflector won’t help you. For these situations, you’ll likely need to change your shutter speed.
After lighting and composition, adjusting your shutter speed is the key to getting fantastic photos. The following techniques all relate to shutter speed and can transform the appearance of your photos, making them look more professional. These techniques all require a tripod, and if you’re using a smartphone, you’ll need to download an app or two as well.
Long Exposure
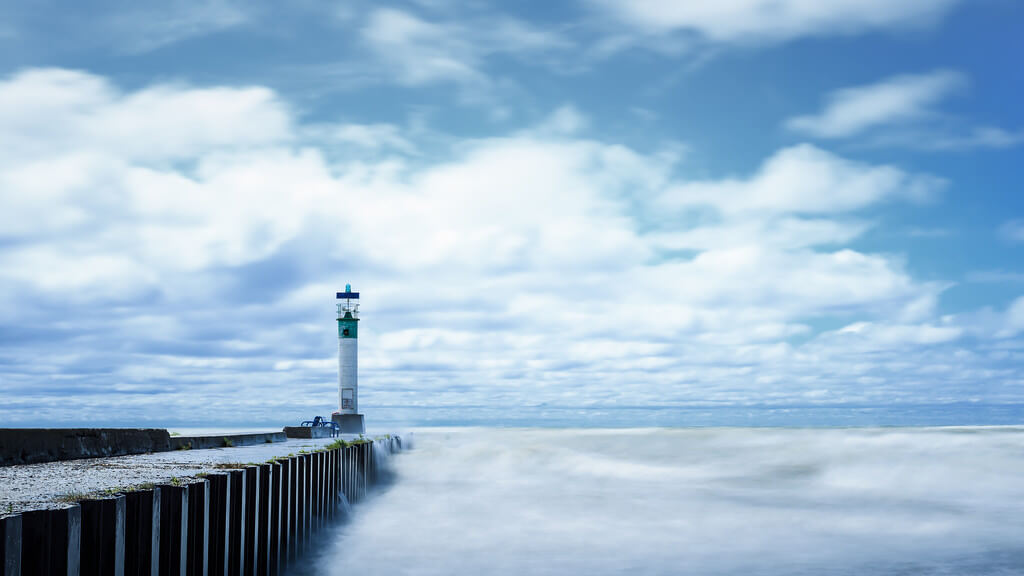
This basic technique is the foundation of many other awesome techniques. Essentially, all you do is lengthen your exposure time. This simple adjustment can lead to all kinds of interesting photos, as you can see in these examples of long exposure photography.
Greg David – More from Grand Bend
Light Painting / Light Trails
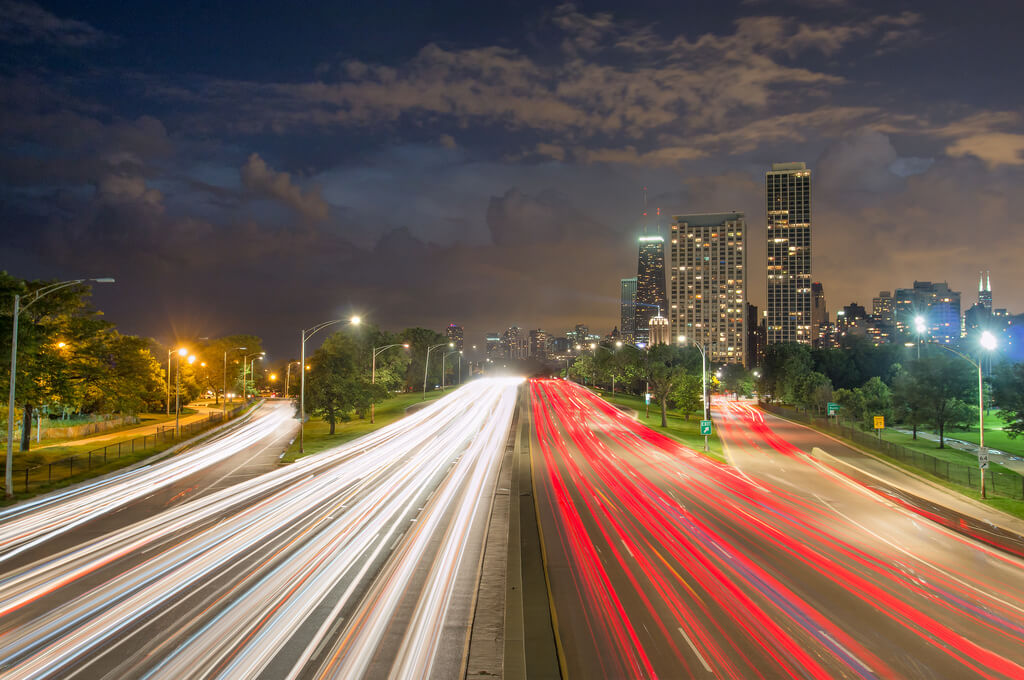
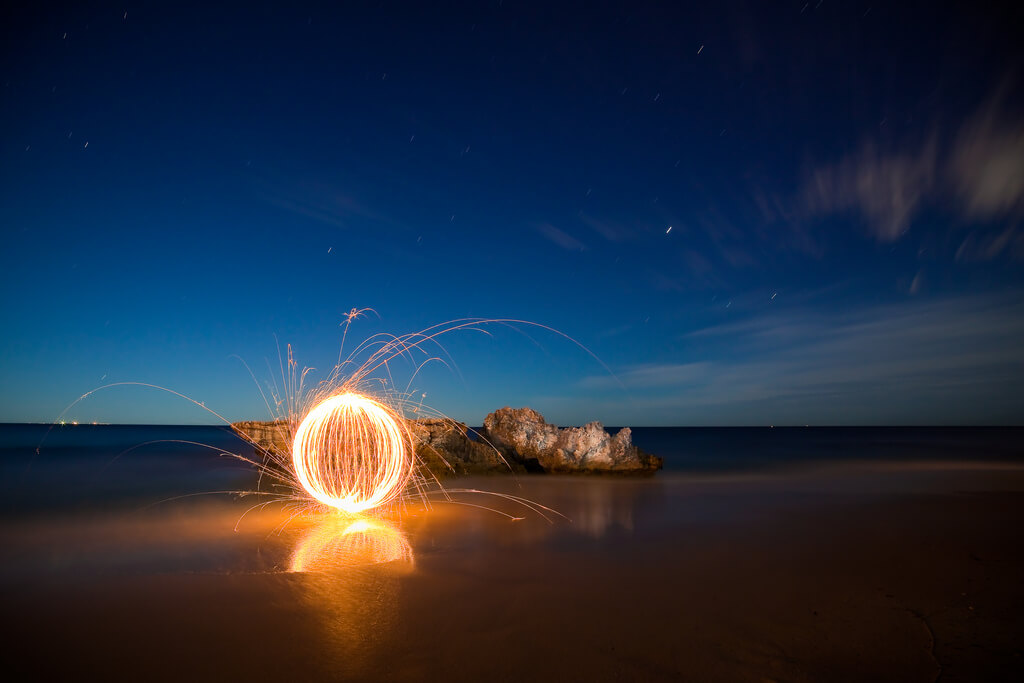
Lighting painting or light trails are a specific type of long exposure in which you capture a light that’s moving. With light trails, you’re capturing a light you can’t control, such as stars or car headlights. With light painting, you can control the light, such as sparklers or flashlights. Whichever you choose, it’s a fun way to shoot a long exposure.
ilirjan rrumbullaku – Highway to Chicago
Stephen Humpleby – Bennion Beach
Motion Blur
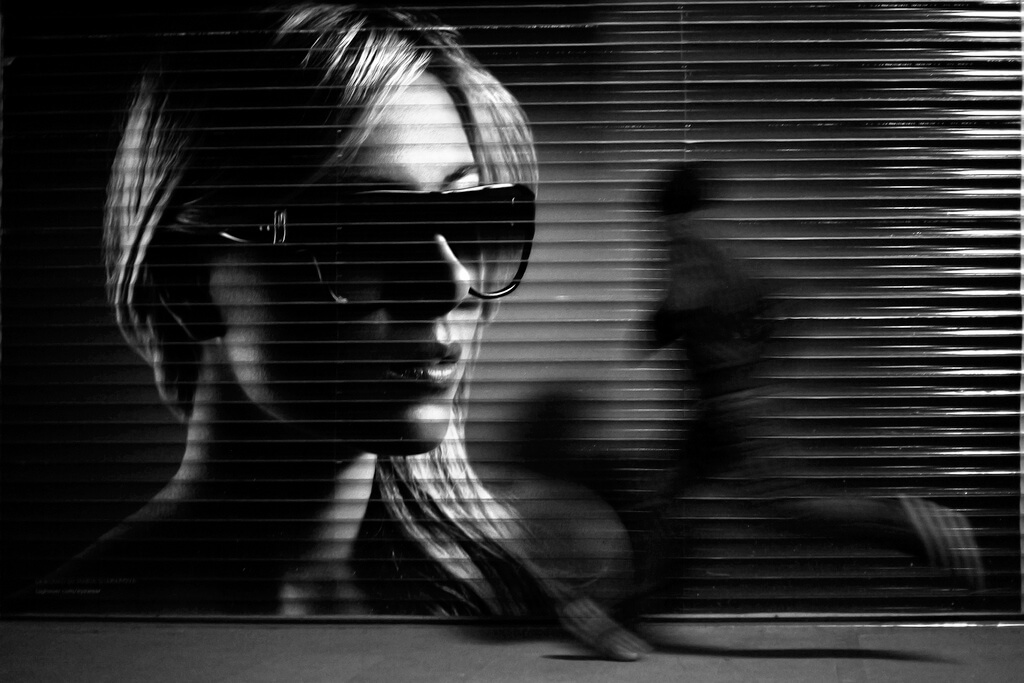
Motion blur uses the same technique as light trails, only you’re photographing a moving person or thing, not light. For example, you might take a long exposure of a runner on the street or a school of fish swimming in a pond.
This difference in subject might seem small, but it actually changes the entire focus of the image. With light trails, the main subject is typically whatever’s moving (the light), whereas in motion blur, the subject is typically whatever’s static. Because everything else is a blur, the eyes are drawn to the thing that remains still.
Bahadır Bermek – Look at me Turkey – Istanbul – Taksim
Intentional Camera Movement
With this technique, everything becomes blurred. It’s an easy technique to achieve – you simply move your camera while shooting a photo – but it’s difficult to do well. As we all know, camera movement can ruin a photo. But if you’re strategic about it, you can also create lovely images.
Star Points
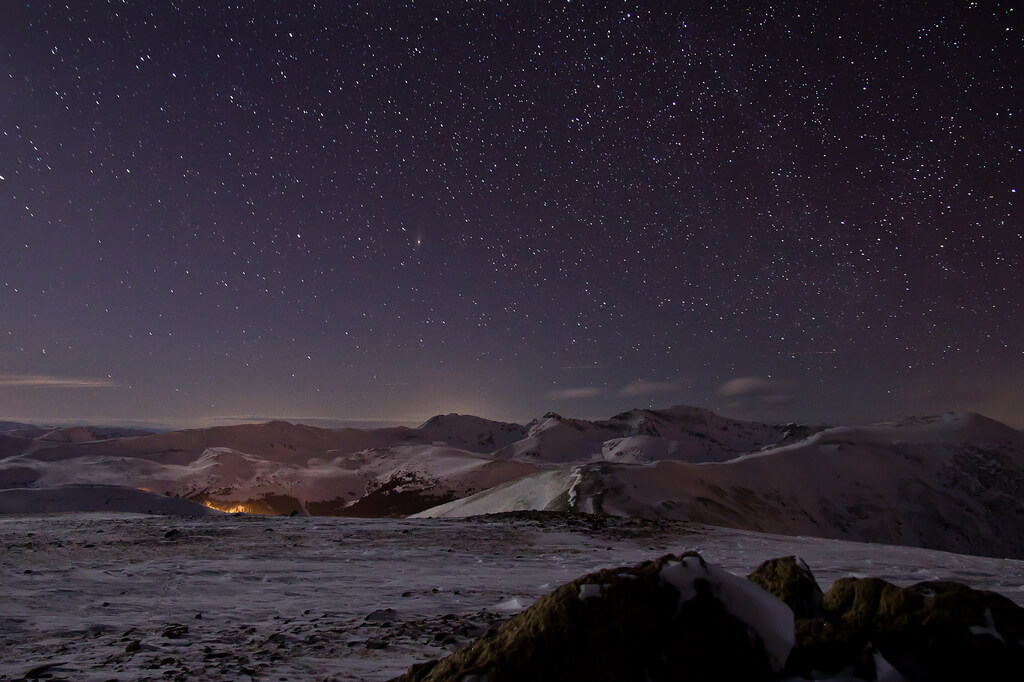
Ever wondered how astrophotographers get such clear photos of the night sky? For one, they use shutter speeds that are longer than usual, but not too long, or else the stars turn into star trails.
Of course, there’s more to being an astrophotographer than that, but shutter speed is the starting point for incredible night sky images. For more details, read these simple tips for photographing the night sky.
Pierce Martin – Loveland Stars
Sequence
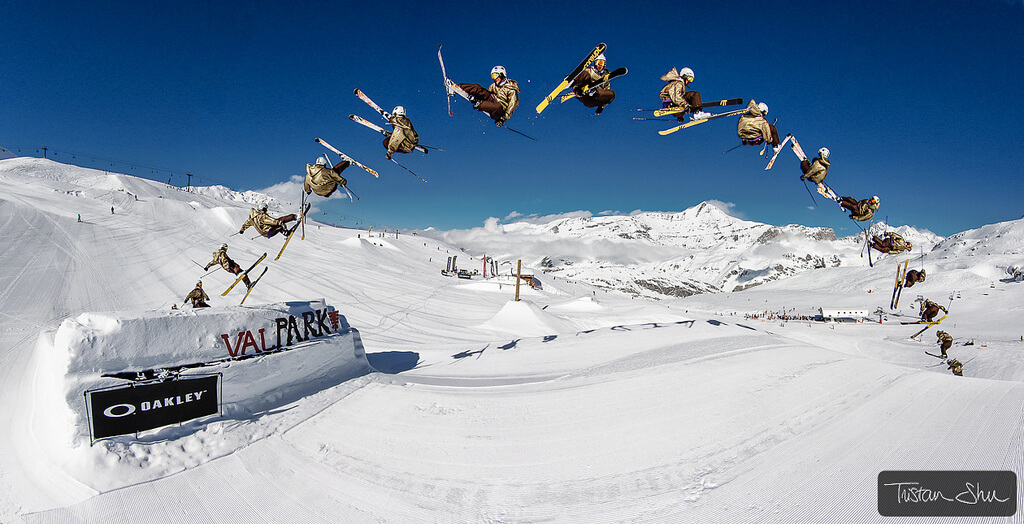
This technique doesn’t use a long exposure, but it still conveys motion. Instead of lengthening your shutter time, you’ll be taking a burst or series of photos of a moving subject. Depending on your subject’s speed, your shutter speed will be either “normal” or fast. Either way, you’ll need to time your shots well.
After shooting the photos, you can either leave them apart or combine them into one image using a photo editor or specialized app.
Tristan ‘Shu’ Lebeschu – Kangaroo Flip with Vincent Chenal
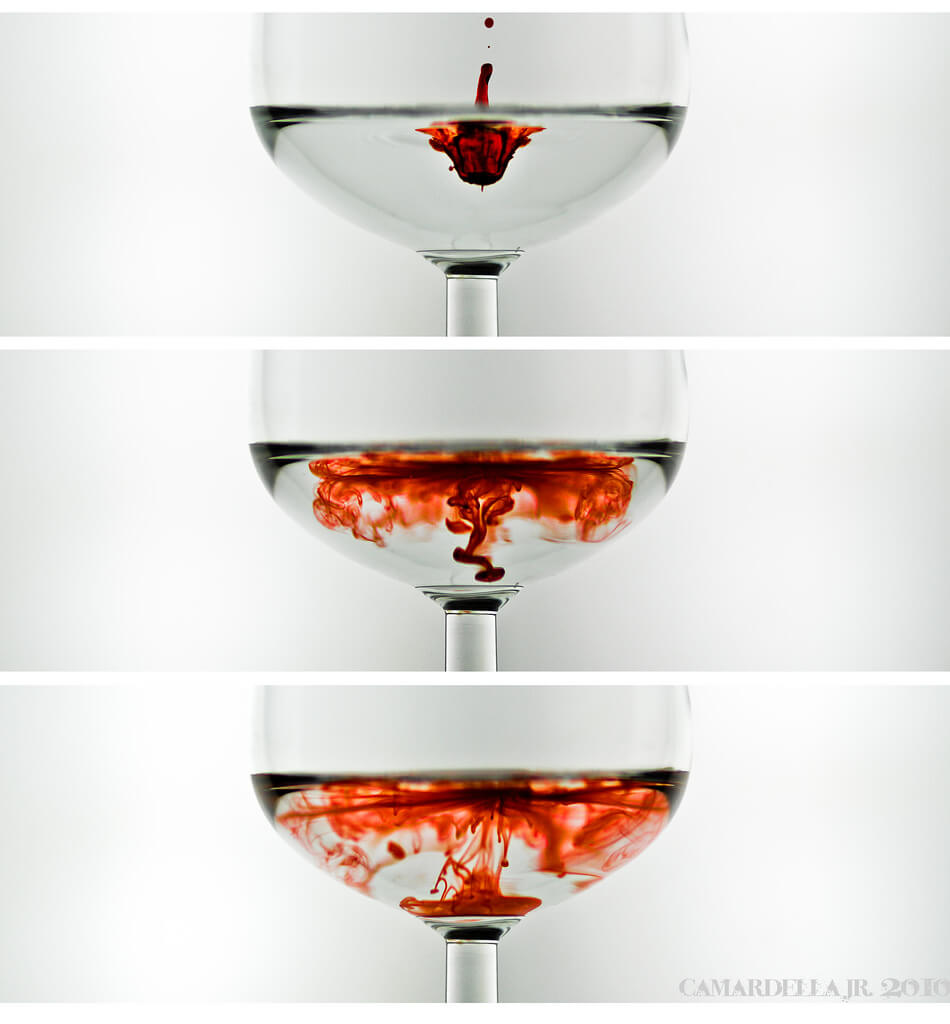
Al Camardella Jr. – A Drop of Red
High-Speed
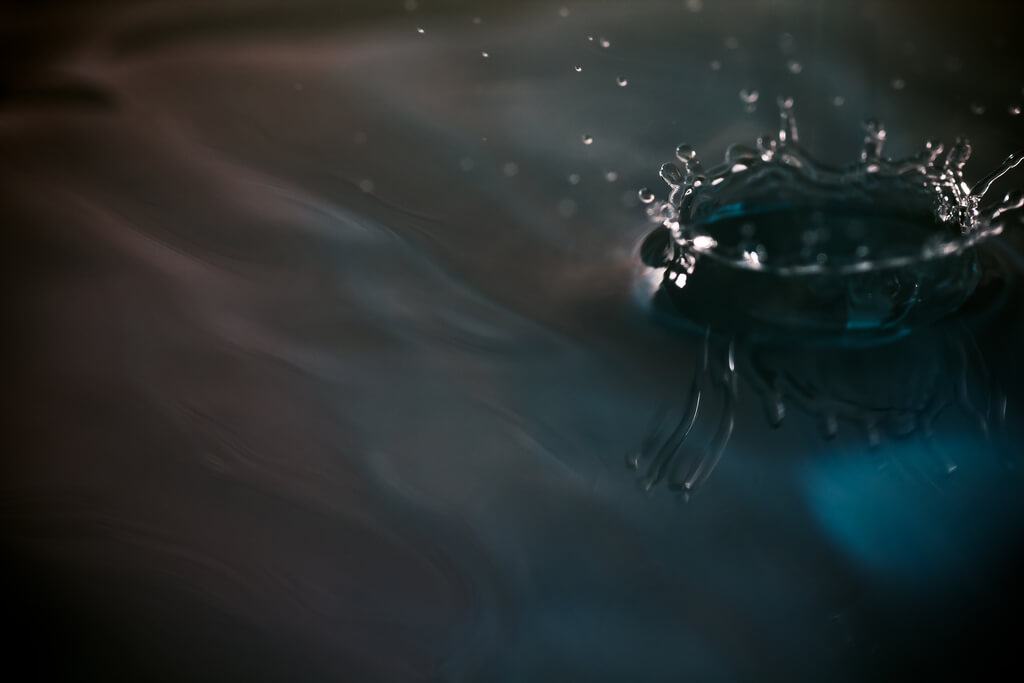
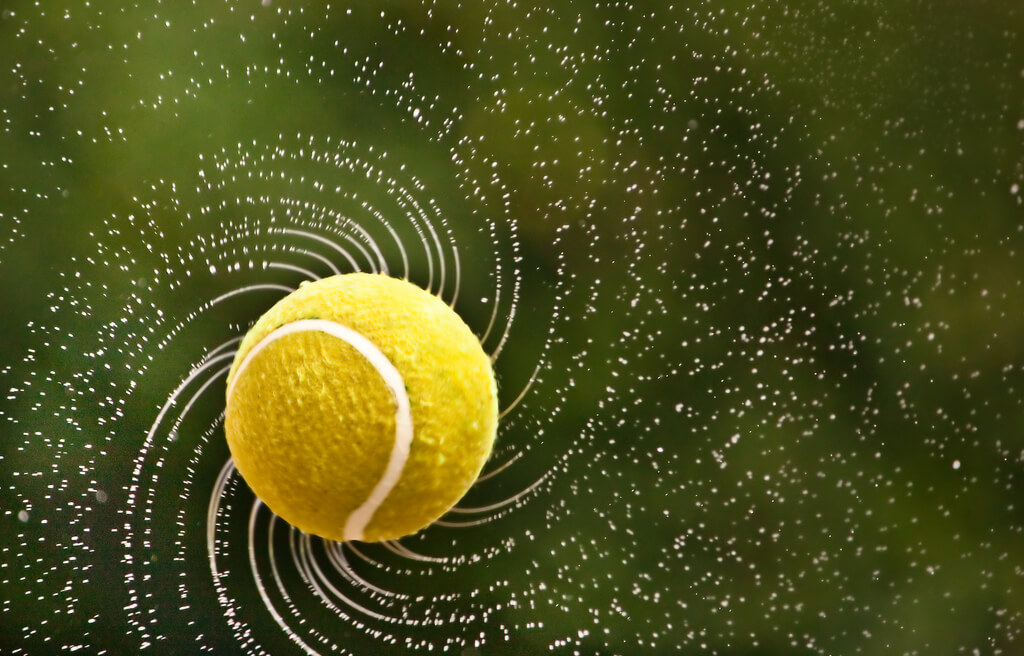
For high-speed photography, you go to the other end of your shutter speed: short instead of long. With this technique, you capture split-second moments, too fast for the naked eye. And yes, you can take high-speed photos with a smartphone.
ruben alexander – Torque at 0.00025 seconds
Depth of Field
Depth of field refers to the part of the image that’s in focus or sharp. It’s yet another crucial element of good photography, as depth of field guides the viewer’s attention. While there are only a few techniques related to depth of field, they’re nevertheless important for creating compelling images.
Never worked with depth of field before? First off, if you have a regular camera, here are instructions for controlling your depth of field.
If you have a smartphone, you might be able to use a depth-of-field effect such as the Pixel lens blur or the iPhone portrait mode. You can also download special apps to control your depth of field.
Bokeh
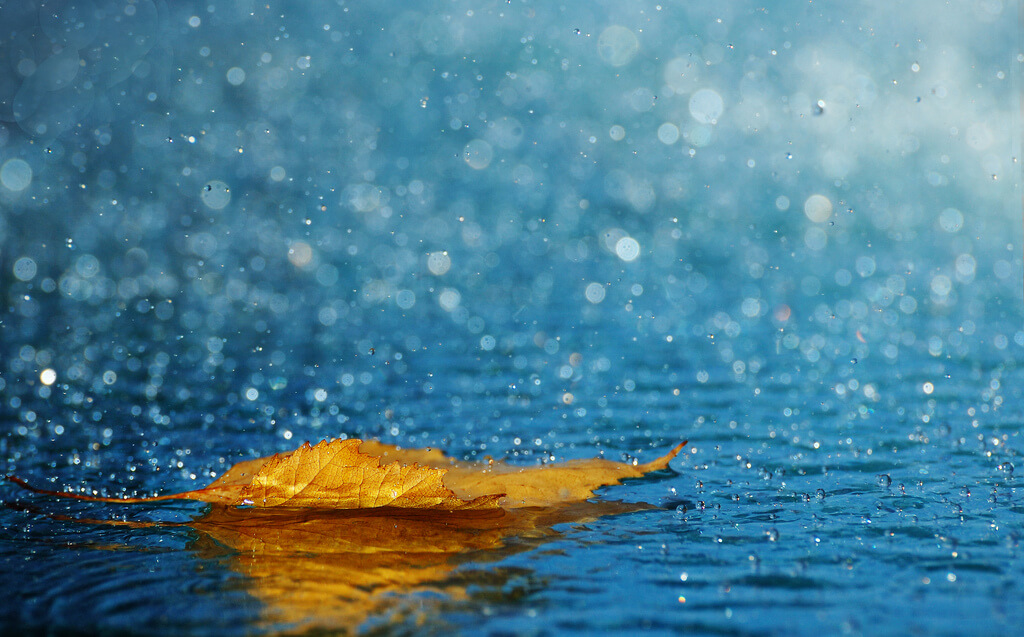
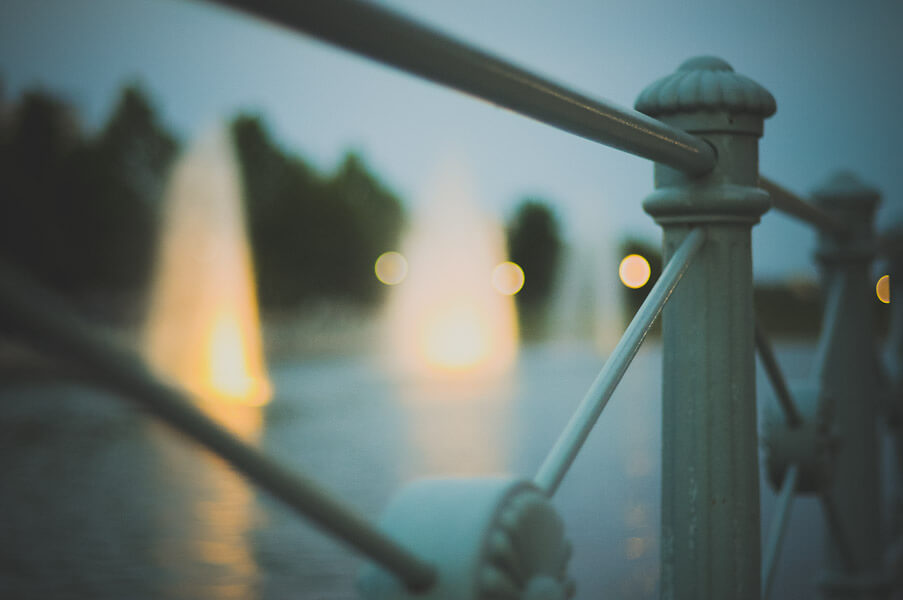
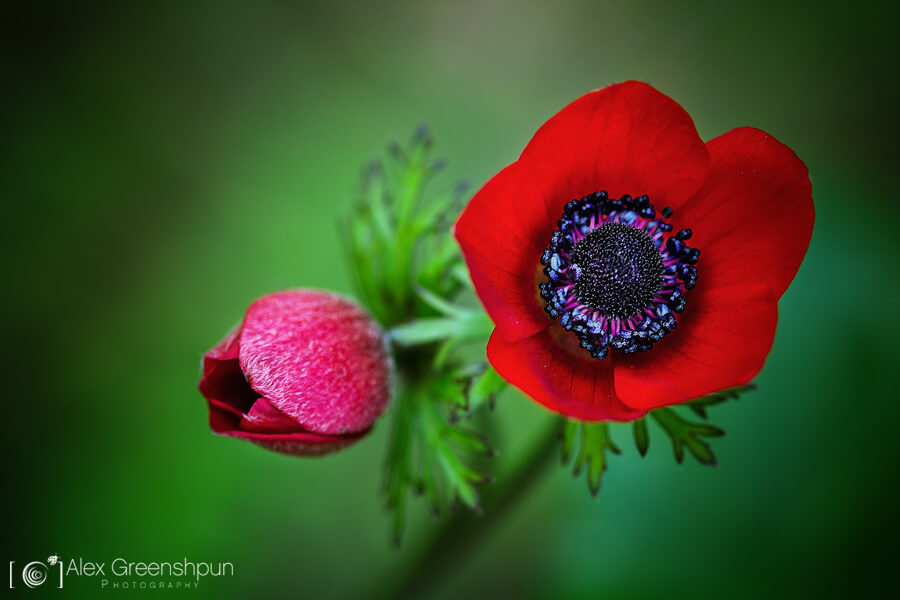
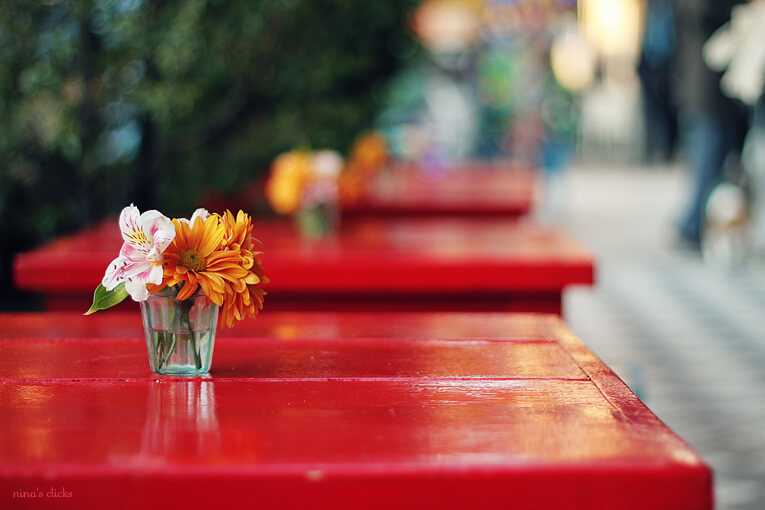
Bokeh works wonderfully in a lot situations, making it a popular technique in nearly all genres of photography. To create a bokeh photo, you use a shallow depth of field to blur the background of a photo. (Or, if you have a smartphone, you can use a bokeh app.) For more inspiration, check out these 40 beautiful examples of bokeh photography.
ninasclicks – The little red table
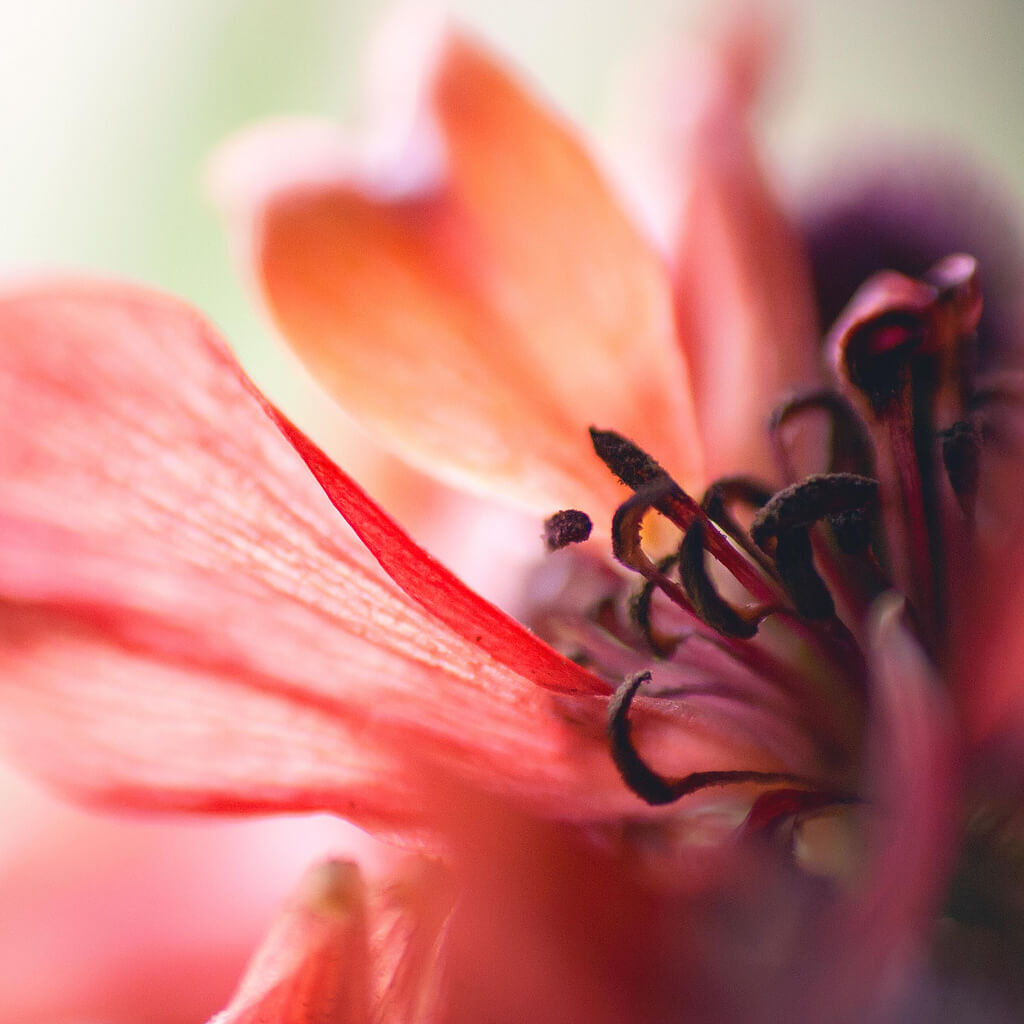
Macro / Close-up
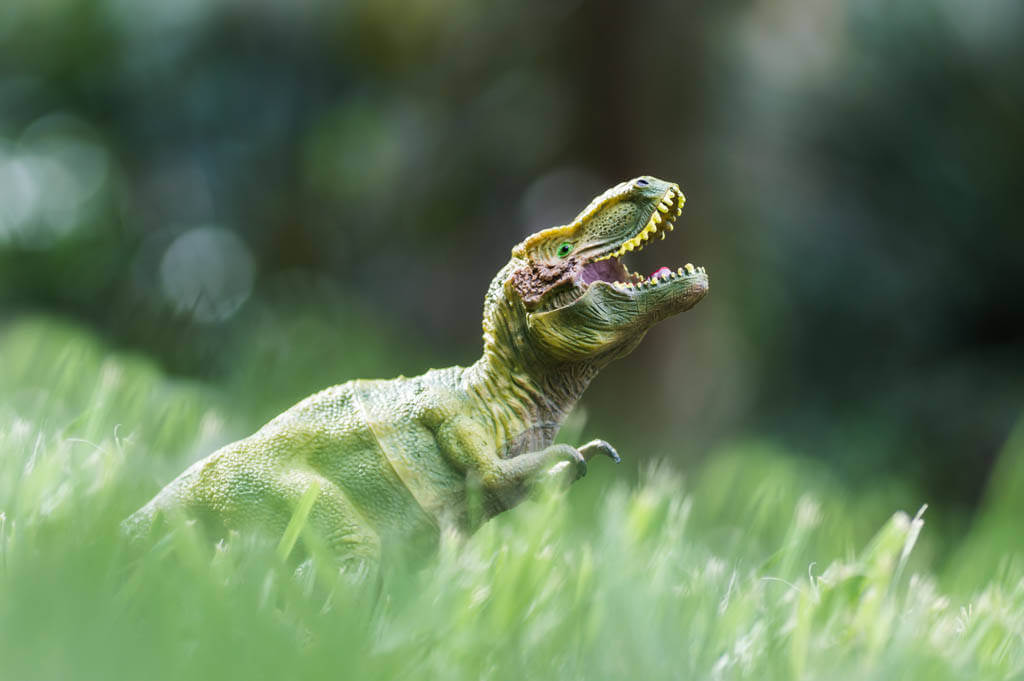
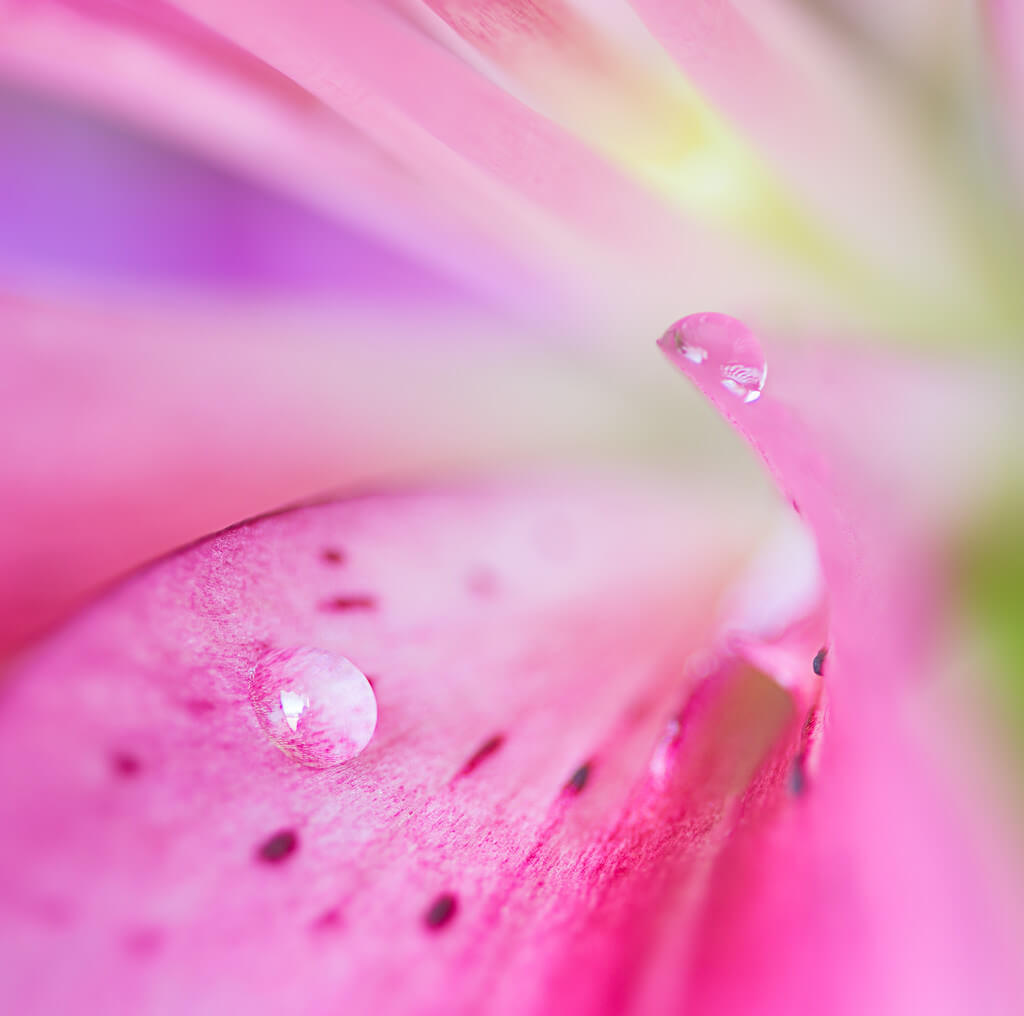
Extreme macro photography requires specialized gear, like a macro lens or filter, but regular close-ups can be done with any camera. If you’re short on cash but still want to try macro photography, check out these ideas for doing macro photography on a budget. Otherwise, if you’re using a smartphone, you can get a macro smartphone lens for $20.
Either way, for inspiration, take a look at these close-up photos of snowflakes and these examples of macro photography
Sheri Elizabeth – Ride the Wave
Tilt-Shift
This technique makes a full-size scene look tiny in a photo, like a miniature world. There are several ways to create this effect. You can get a special tilt-shift lens, create the effect in a photo editor, or put your photo through the TiltShiftMaker online for an instant tilt-shift photo. There are also tilt-shift apps for smartphone photographers.
For inspiration, look at these 15 amazing examples of tilt-shift photography.
Míriam Pérez – Tilt-Shift-Puerto Aguadulce

Concepts
The previous techniques for composition, lighting, shutter speed, and depth of field all focus on the technical side of shooting. They help you know where to stand, how to position your subjects, and how to choose your camera settings and lighting. But what if your main problem is finding subjects worth photographing?
As important as technical skills are, they’re useless if you don’t know what to shoot. Finding intriguing subjects can be challenging even for experienced photographers. If you struggle with choosing subjects, try out the following techniques. Though they won’t improve your compositional or technical skills, they can help you spot what’s interesting.
Contrast
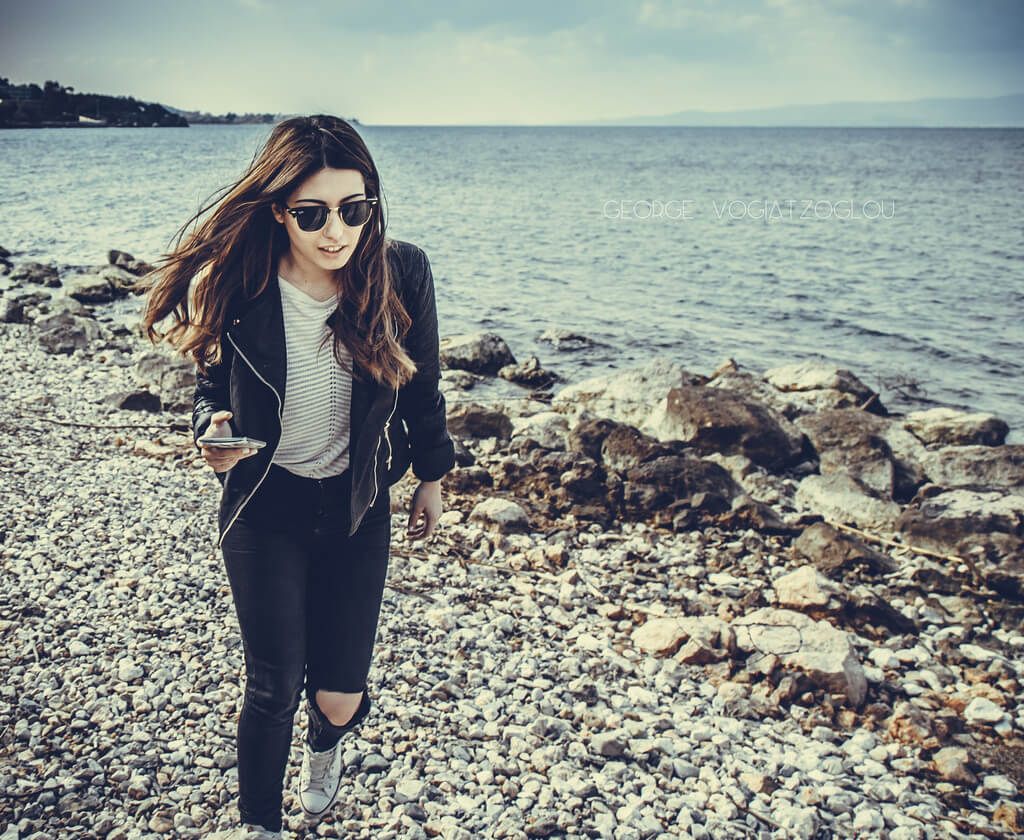
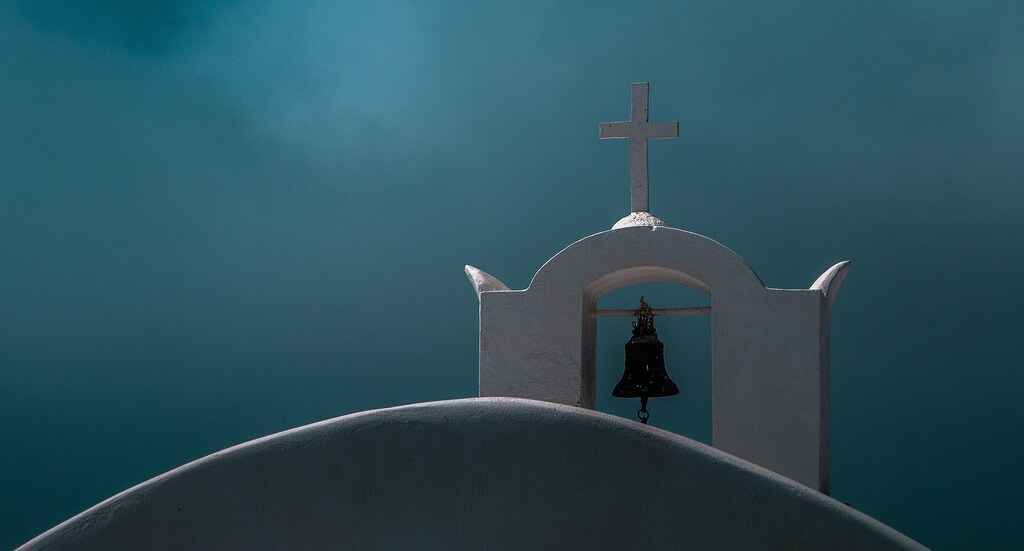
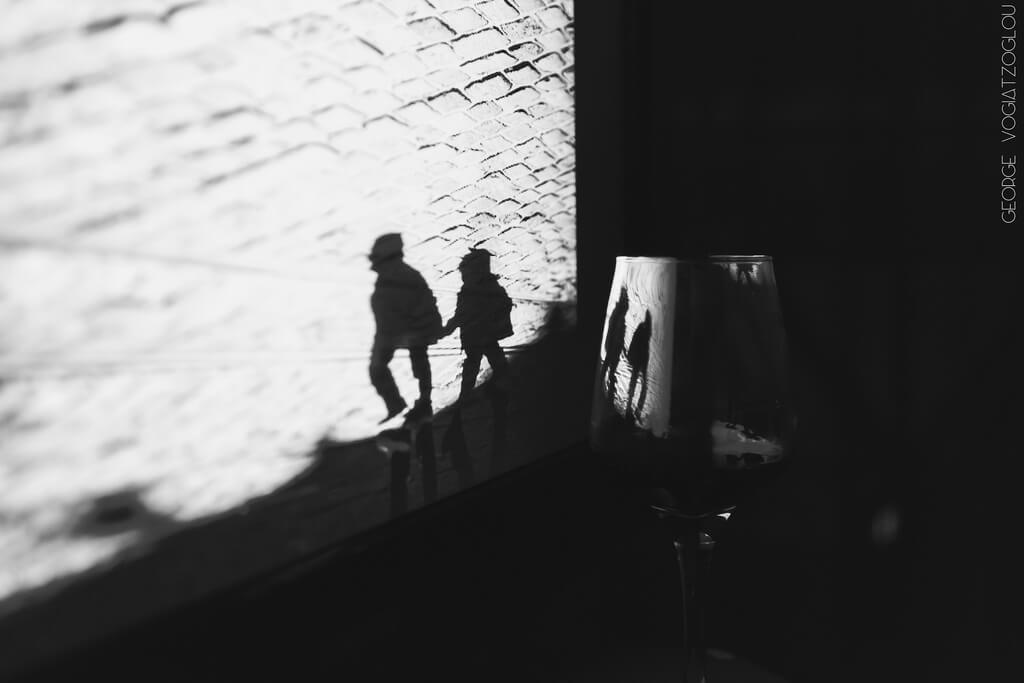
Contrast is at the heart of many great photos. A photo with contrast will show a striking difference in color, tone, shape, or idea. This stark difference makes an image immediately more compelling, as it pulls the viewer’s attention to the photo.
GeorgeVog – The reflected walkers
Complimentary Colors
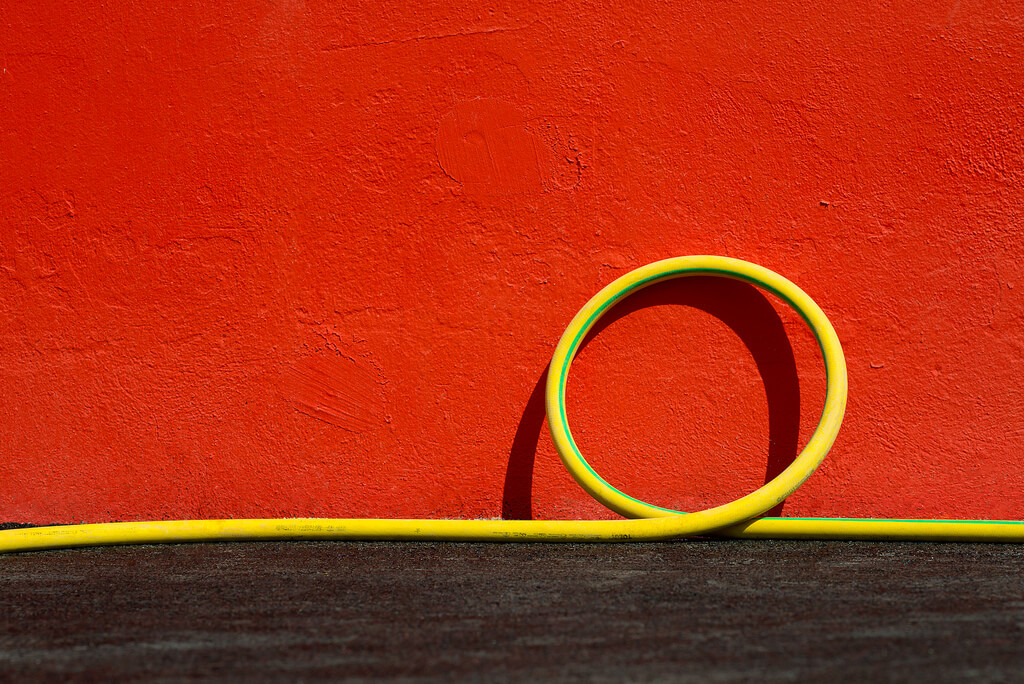
Complimentary colors, also known as opposite colors, are pairs of colors that look particularly beautiful when placed next to each other. It’s a type of color contrast that’s used frequently in art and interior design. The same idea works well in photography, too.
Traditionally, the complimentary colors are red-green, yellow-purple, and blue-orange, though some argue you should use red-cyan, green-magenta, and blue-yellow instead. Whichever pair you use is up to you.
Juxtaposition
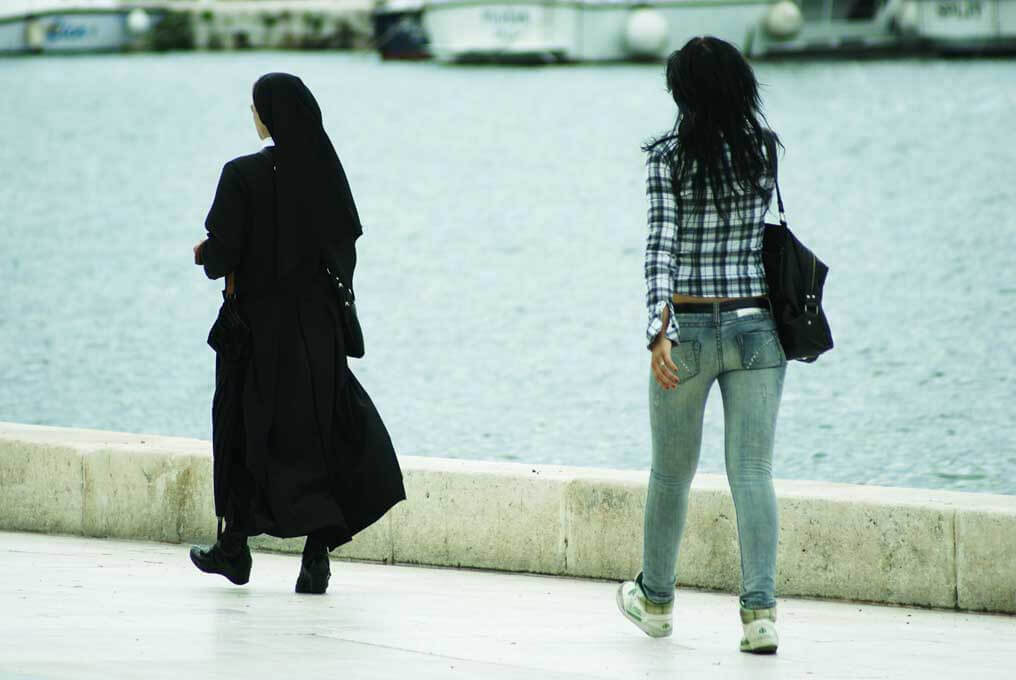
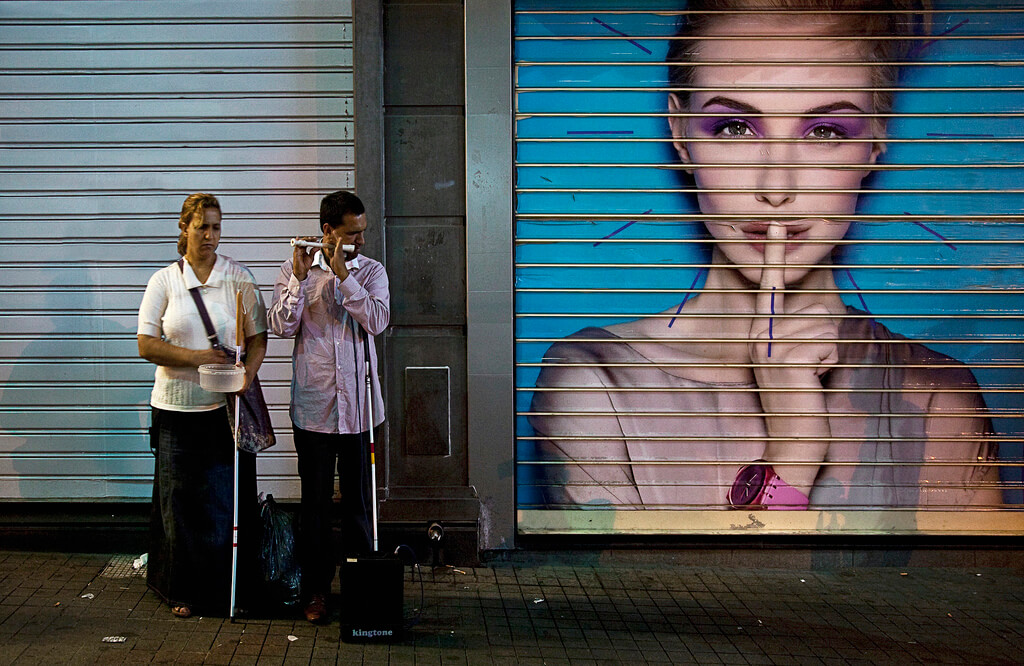
Juxtaposition is when two elements are placed close together, so viewers will compare them. It’s an effective way to create contrast when you’re photographing opposites that are subtler than color or tone. For example, you can juxtapose rich and poor, young and old, or happy and sad. Any opposites, really.
Though juxtaposition relates to composition, we decided to place it under this category because it’s only the start of a composition. It won’t give you the complete picture – but it’s a great starting point.
Bahadır Bermek – Shhh Turkey – Istanbul – Taksim
Texture
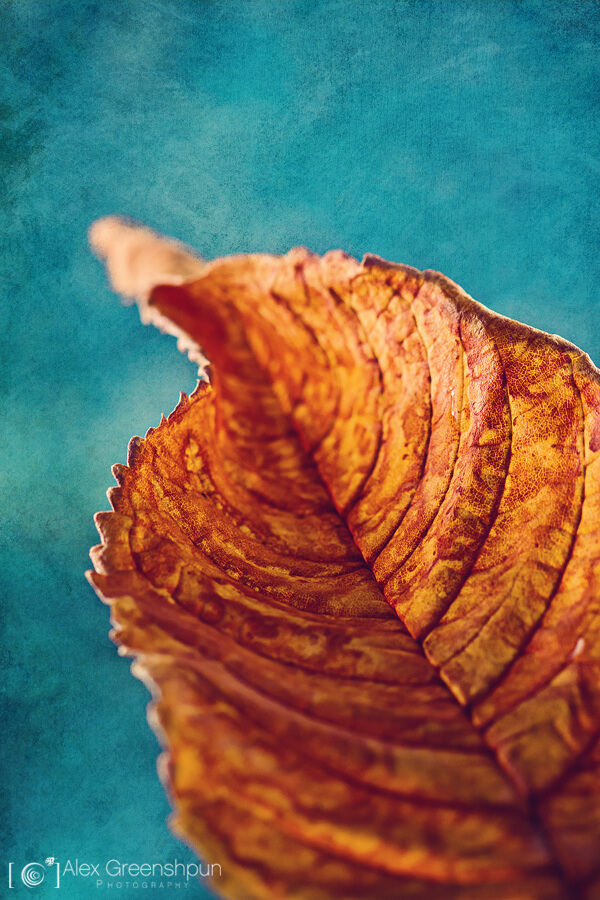
Texture is how a surface looks in shape, tone, and depth. Capturing the texture of a subject is one way to make your image more lively and interesting. Even better, try contrasting two different textures to really catch the viewer’s eye.
Visual Narrative
Visual narrative, also called visual storytelling, is the art of capturing a story within an image. This story often says something about the current state of society or the environment, but not always. What all visual narratives share in common, though, is their appeal to the viewer’s emotions, from sadness and anger to humor and joy.
The Red Shirt
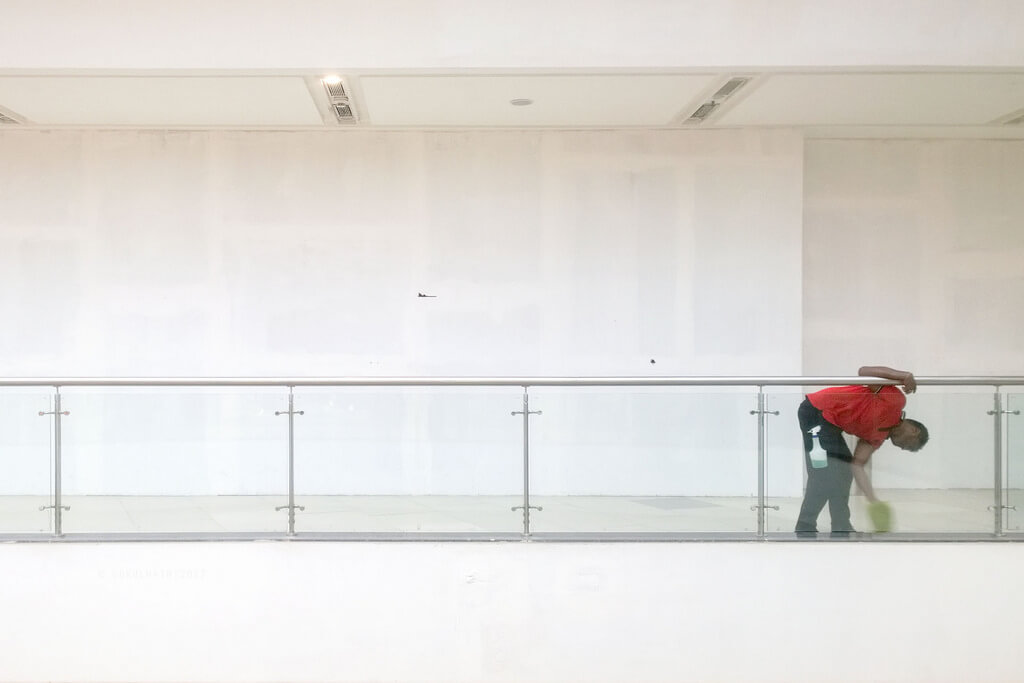
“The red shirt school of photography” is both a technique and a term describing the work of National Geographic photographers in the 1950s and 1960s. The technique is arguably the easiest of this challenge. All you need to do is photograph someone who’s wearing colorful clothes, ideally red.
This small change can make a surprisingly big difference in how noticeable your image will be. If you’re curious about how the technique was developed, read more about it on Wikipedia.
Gokulnath – Red
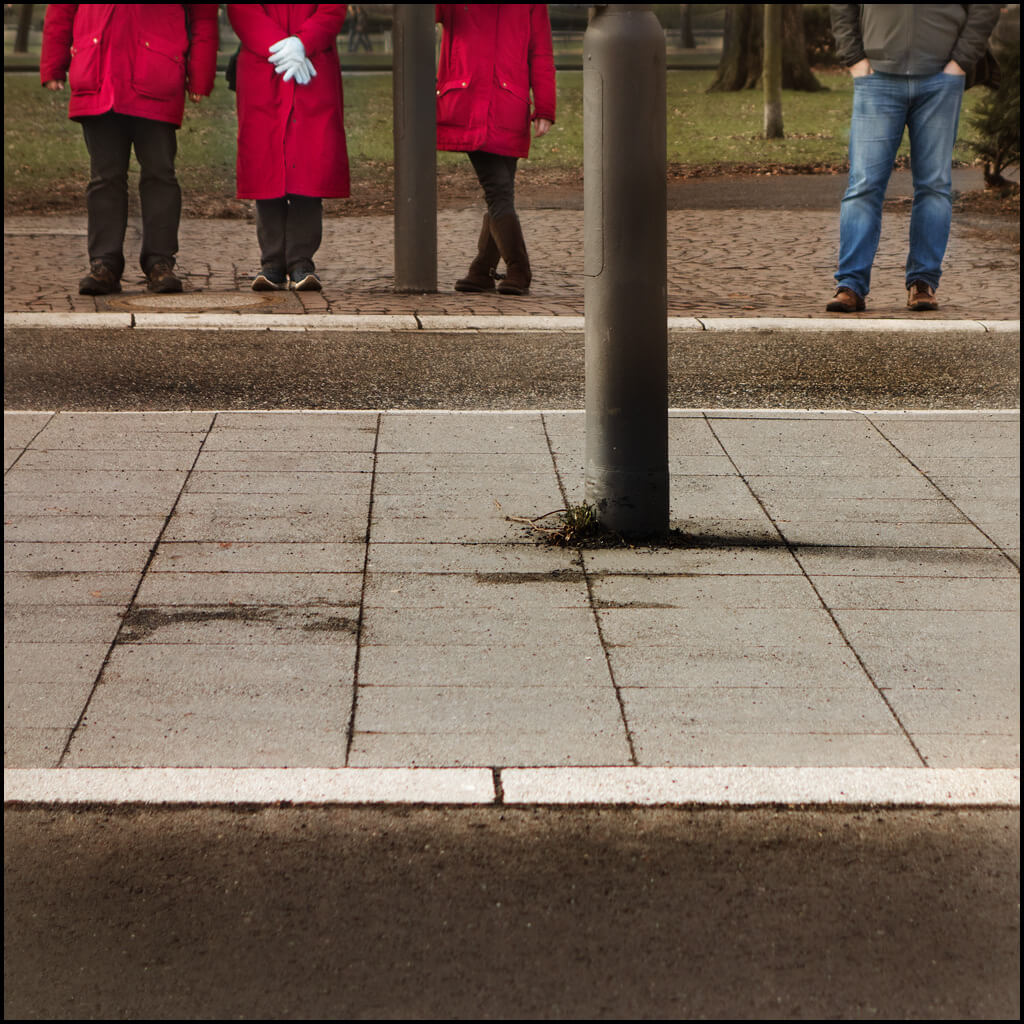
Ansgar Trimborn – They are already among us ….
Patterns / Repetition
Life is full of repetition and patterns. They’re so common they can be easy to miss. They might even look dull sometimes, but that dullness can look fascinating in a photo. For tips on photographing patterns, check out this blog about using repetition and patterns in photography.
Otacílio Rodrigues – House number 8
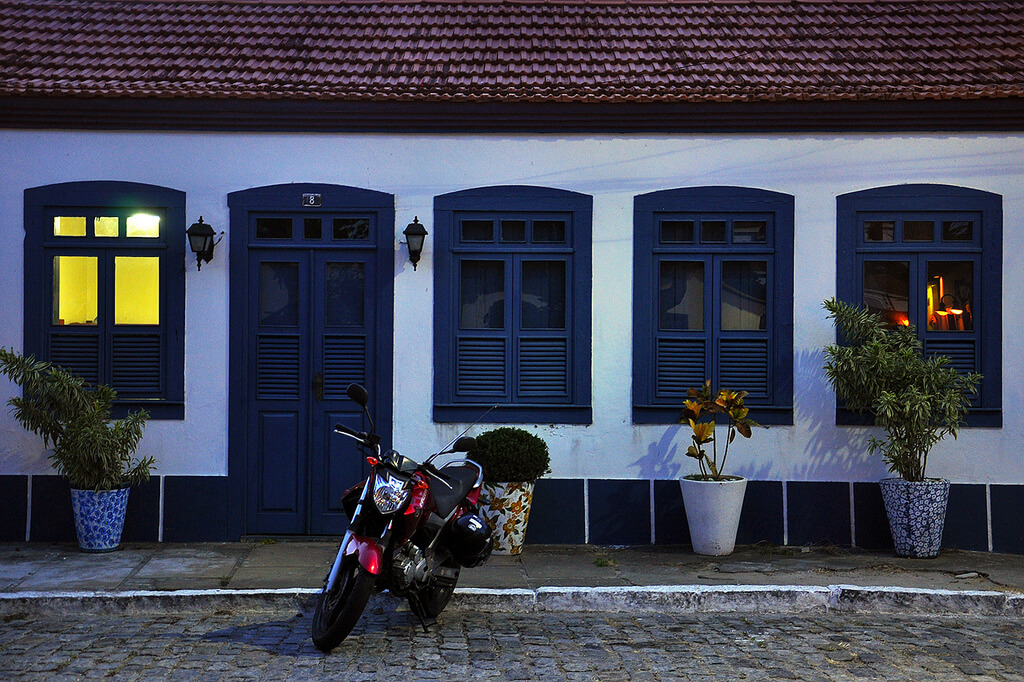
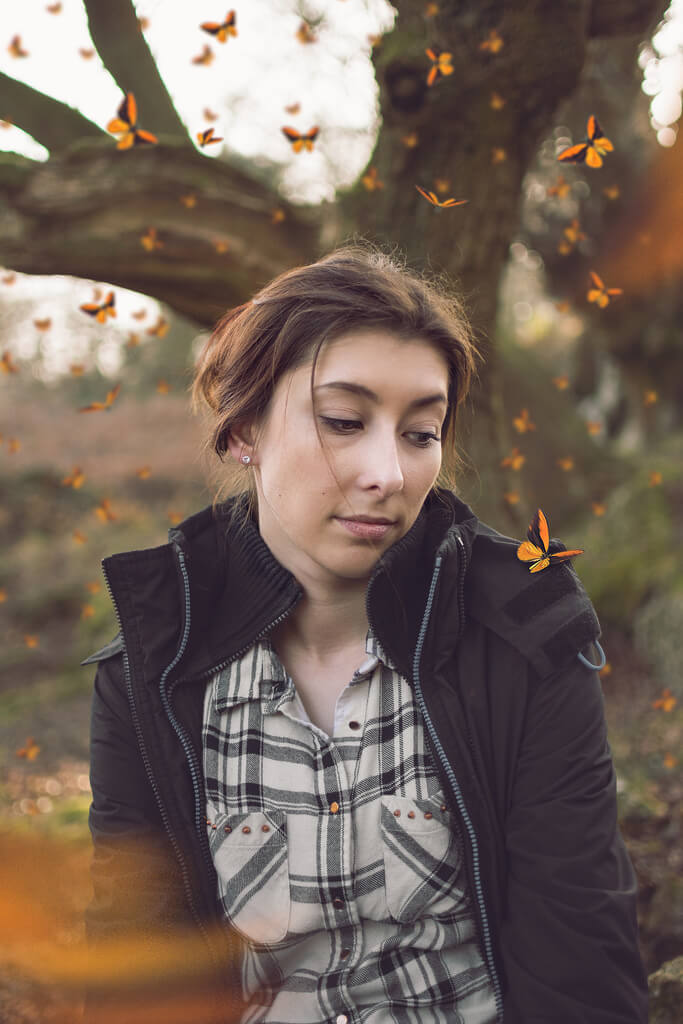
Photo Manipulation
Sometimes, the best subjects are in your mind but not in reality. Fortunately, with photo manipulation, you can step outside of reality and create the images you’ve imagined. This typically takes more time than regular, unedited photography, but the effort is worthwhile if you love the fantastical.
If you’re short on time, remember that you don’t have to create an amazing, complex image for this technique. You can aim for something quick and easy, like applying a filter, removing a blemish, or using a Photoshop action or preset. Chances are, you’ve already done some simple photo manipulation before!
For inspiration, take a look at these 40 masterful examples of photo manipulation.
Gideon Way – Where the Butterflies Dance
Extra Credit
If you’re ready for more challenges, the following techniques can also be useful to learn. Note that they do require more effort, special gear, and/or a good photo editor, which is why we’ve made them extra credit instead of a required part of the challenge.
Focus Stacking
Also known as focus blending, focus stacking is a post-processing technique that combines several images to increase depth of field and sharpen the final image. It’s a common technique in macro photography and landscape photography, where depth of field is sometimes tricky.
For a step-by-step guide on focus stacking, watch this tutorial from Mark Denney, a professional landscape photographer.
Dodging and Burning
Dodging and burning are techniques for lightening and darkening select areas of a photo, resulting in an image with higher contrast. The techniques have been used for decades, originally with photo prints and now with photo editors.
Ansel Adams was a big proponent of dodging and burning, and many of his famous photos were manipulated with the techniques. You can read his wisdom on dodging and burning in his book, The Print.
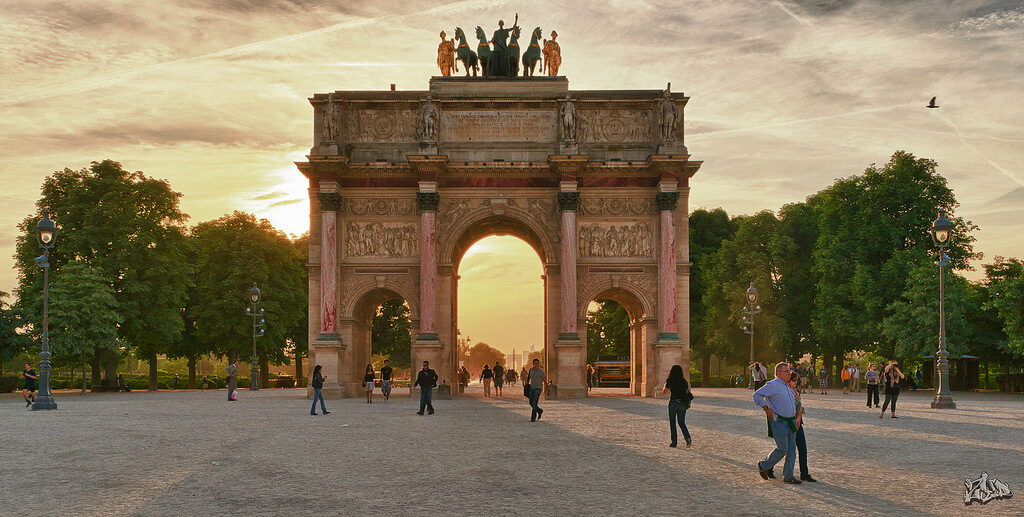
HDR
High-dynamic-range (HDR) photos can look awesome or awful depending on how you approach the technique. Certain situations are well-suited for HDR, but many others aren’t. For tips on doing it right, plus some inspiration, here are 50 incredible examples of HDR photography.
Zed The Dragon – Paris spring lifetime
Zoom Burst
To create a zoom burst, all you need is a camera with a zoom lens. Using this lens, you take a 1- or 2-second exposure while zooming in on your subject. This will cause everything around the subject to blur or streak.. It’s a quick and fun technique, but you do need a zoom lens to try it out.
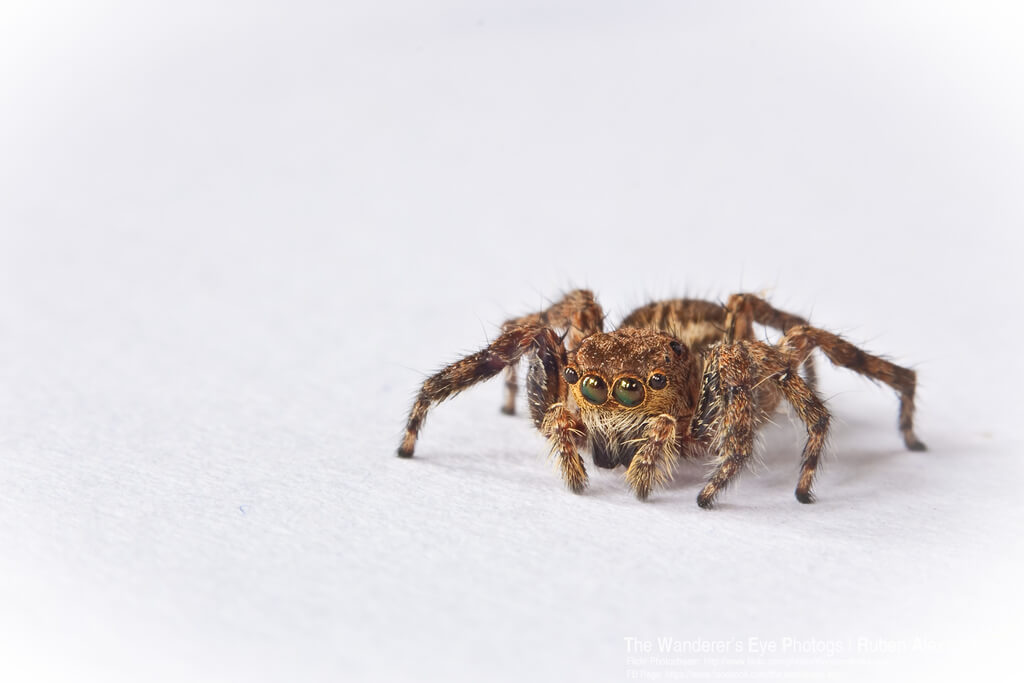
Infinity Cove
An infinity cove is a completely white space that has no corners. Instead, the background wall blends into the floor, making it seem endless. You might recognize this concept from The Matrix or car advertisements, but it’s also common in fashion, portrait, and editorial photography.
Infinity coves are great for creating “silo” images (also called “cut out” or “white seamless” photos). A silo is like a silhouette, only the subject is lit, not shadowed. It’s an effective way to highlight the subject and eliminate distractions. It’s also a good technique for photo editing, as you can easily cut out the subject for other images.
Building a large infinity cove can be challenging, but a small one is easy. All you need is a pizza box, chart paper, and some tape. Check out this tutorial from the Instructables.
ruben alexander – \oOOo/ EEK..!!!
That’s it! Hopefully, you’ve found a few techniques that inspire and motivate you to try something new this year. We’re looking forward to seeing your photos!
Happy New Year!
