Aerial photography is the art of taking photos from the air. It can be done with a variety of aircrafts, from hot air balloons to helicopters to planes, but the most common type of aerial photography today is with drones. The art form has existed since the mid-19th century. The first aerial photos were taken from a hot air balloon in Paris in 1858. A couple decades later, a British meteorologist named E.D. Archibald invented a kite that could carry a camera, plus a small explosive device on a timer, which triggered the photo.
Aerial photography has come a long way since then. Drones and airplanes have transformed the genre, making it accessible to everyday photographers. Although shots of landscapes from above still inspire awe, the competition is greater now than before.
Nowadays, to get a striking aerial image, you need to consider more than just what drones or aircraft you should use. Composition, technique, and timing are just as important for getting aerial pictures that stand out from the rest.
Inspiration and Tips for Aerial Photography
Most online articles about aerial photography focus on gear and technique, like camera settings. While those technical details are helpful for getting sharp images, we won’t cover them here, as there are already so many posts with great information out there. For instance, you can read these 12 pro tips on shooting sharp aerial photographs.
Once you’ve learned the technical side of aerial photography, you’ll hit a second challenge: composition. How can you create photos that catch attention? What subjects should you choose? These questions remain the same in every genre, including aerial photography. To help you answer them, here are some ideas and images to inspire you.
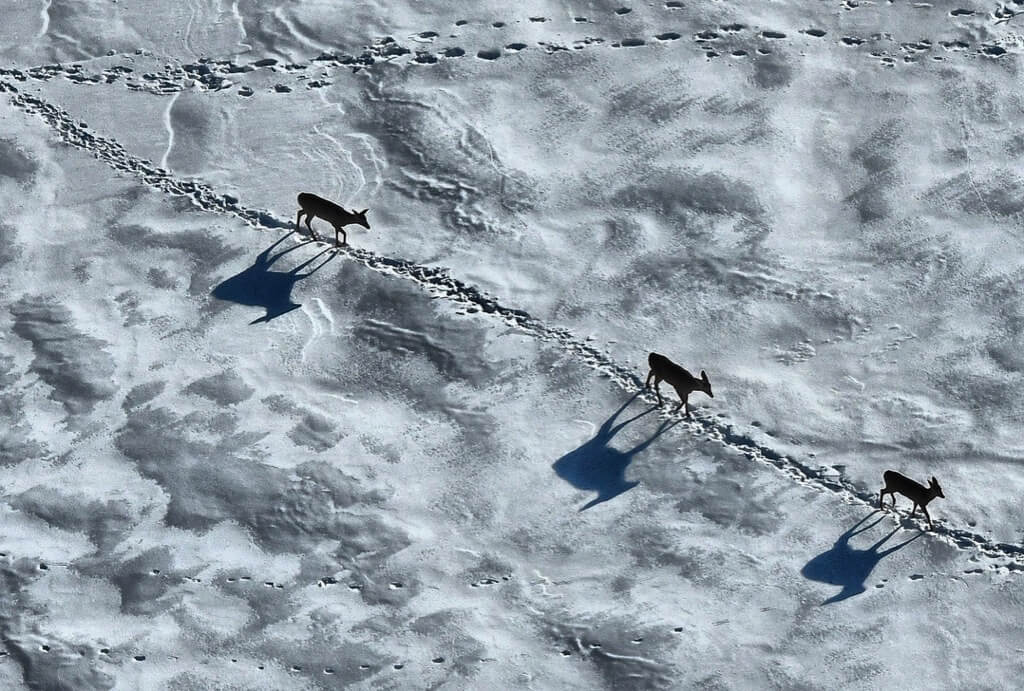
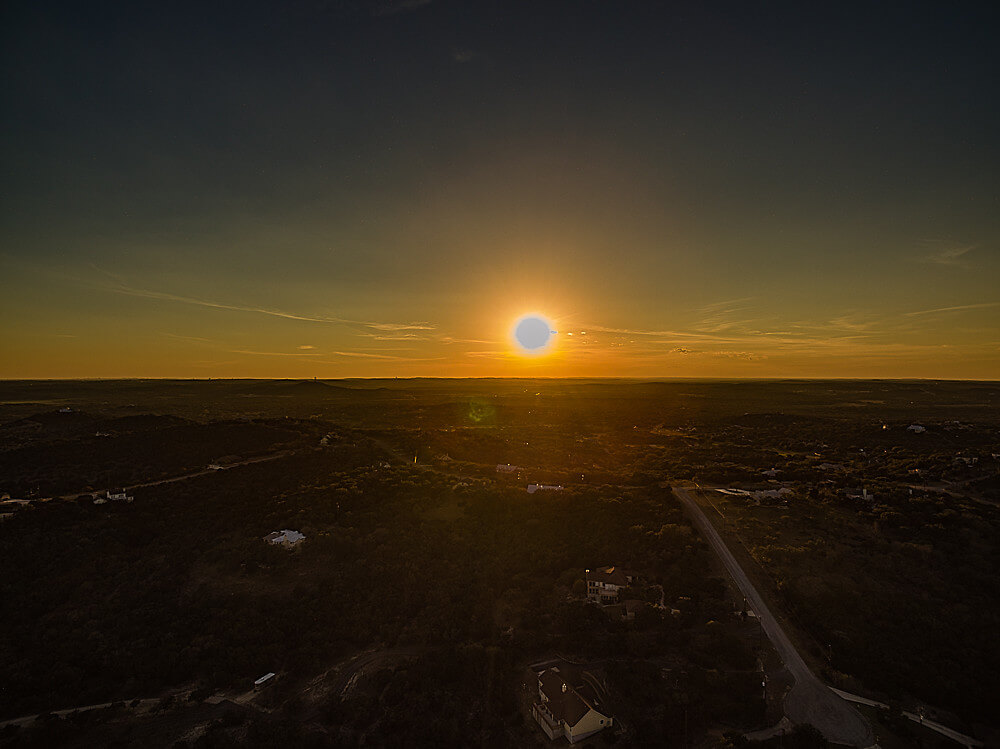
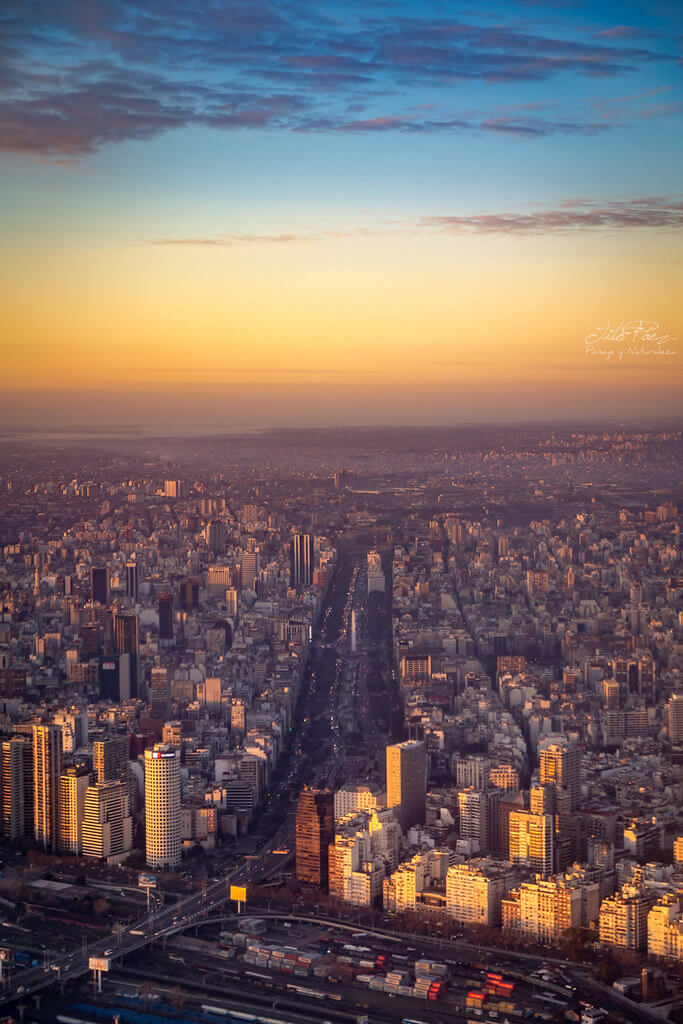
Tip 1) Shoot in the morning or evening (golden hour).
During outdoor shoots, the angle of the sun has a huge impact on your photos. Aerial photography is no exception. In fact, the sun’s angle is even more important during aerial shoots. From above, your subjects will look dramatically different depending on the time of day.
The best times to shoot are in the morning and evening because then, you’ll see more striking shadows and get wonderful colors tinged with gold. By planning your shoot around the start or end of the day, you’ll increase your chances of capturing interesting subjects and amazing views.
Ragnar Th Sigurdsson/Arctic-images – Ittoqqoormiit Village, North side of the Scoresby Sound, Greenland

Ron Miller/ Al Orlando – North Bay, Ontario, Canada
Britta Günther – Ballon ride over Wadi Rum/Jordan

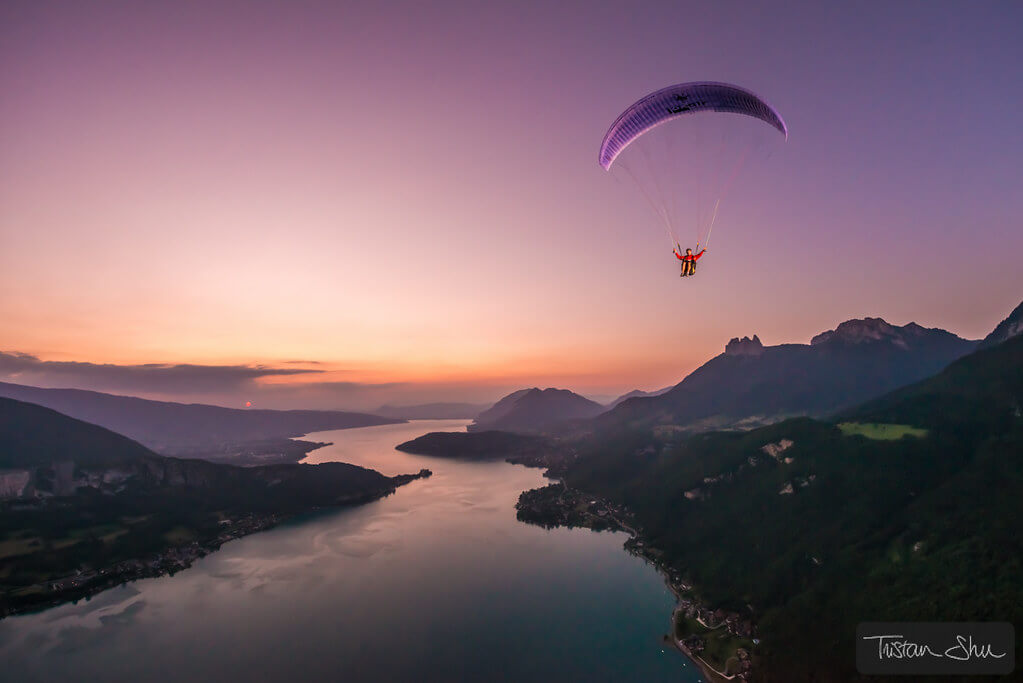
Tristan ‘Shu’ Lebeschu – Flashing at sunset with Jim Nougarolles
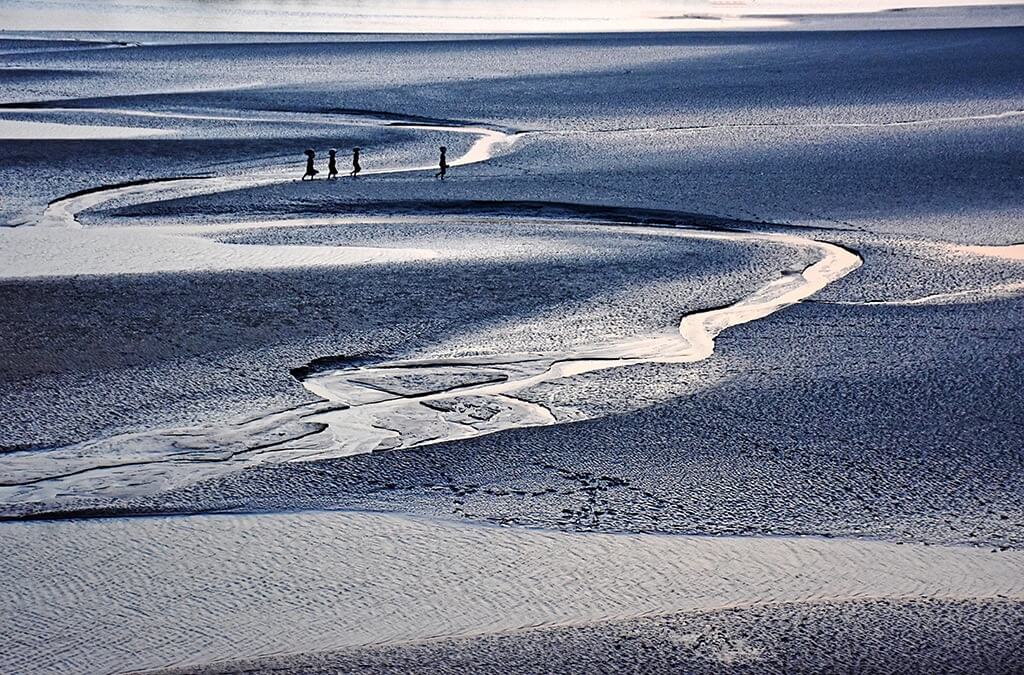
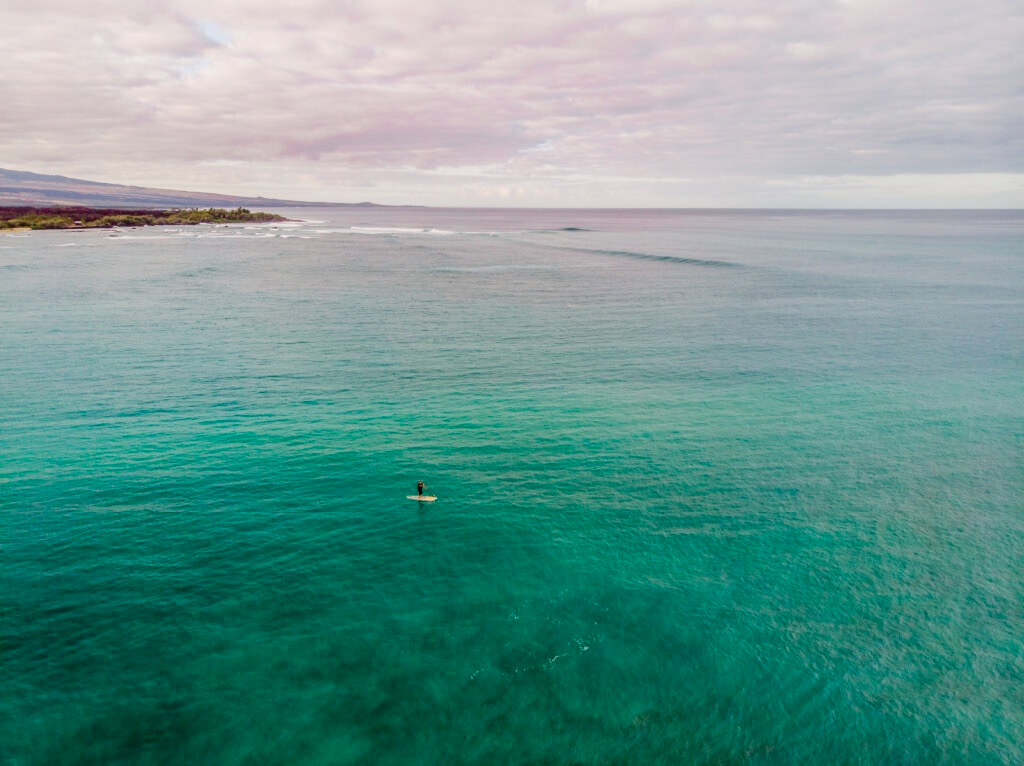
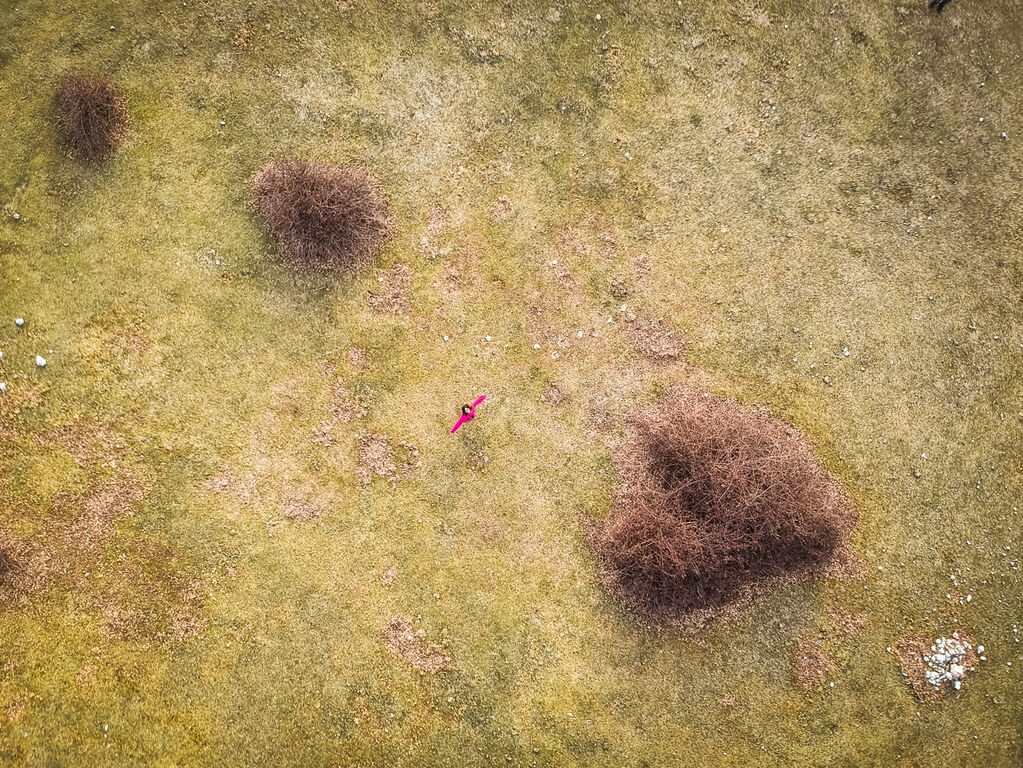
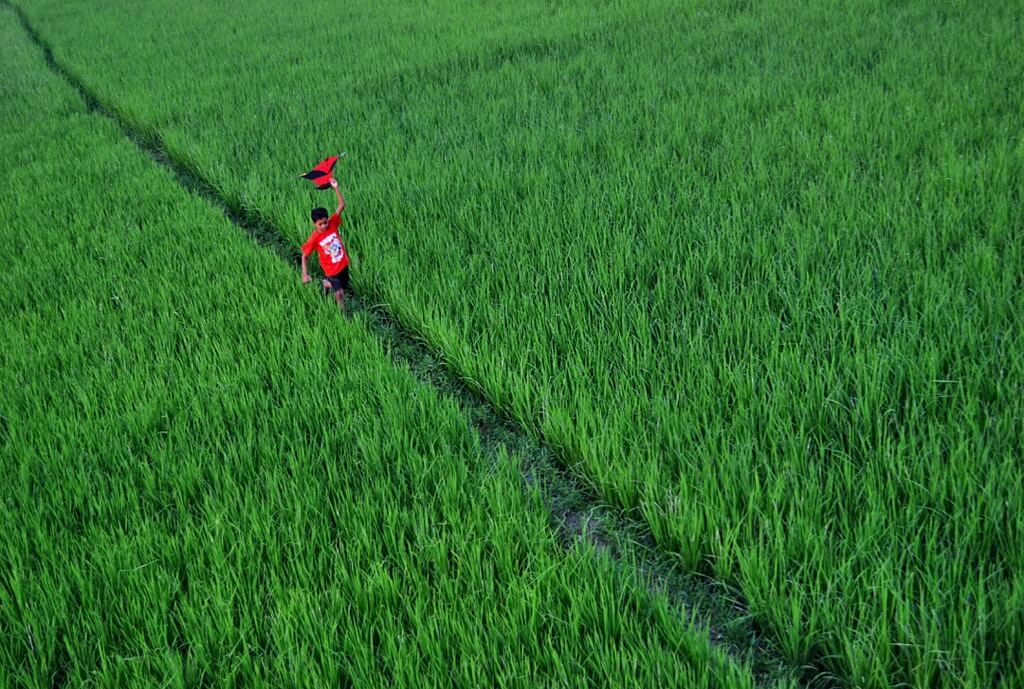
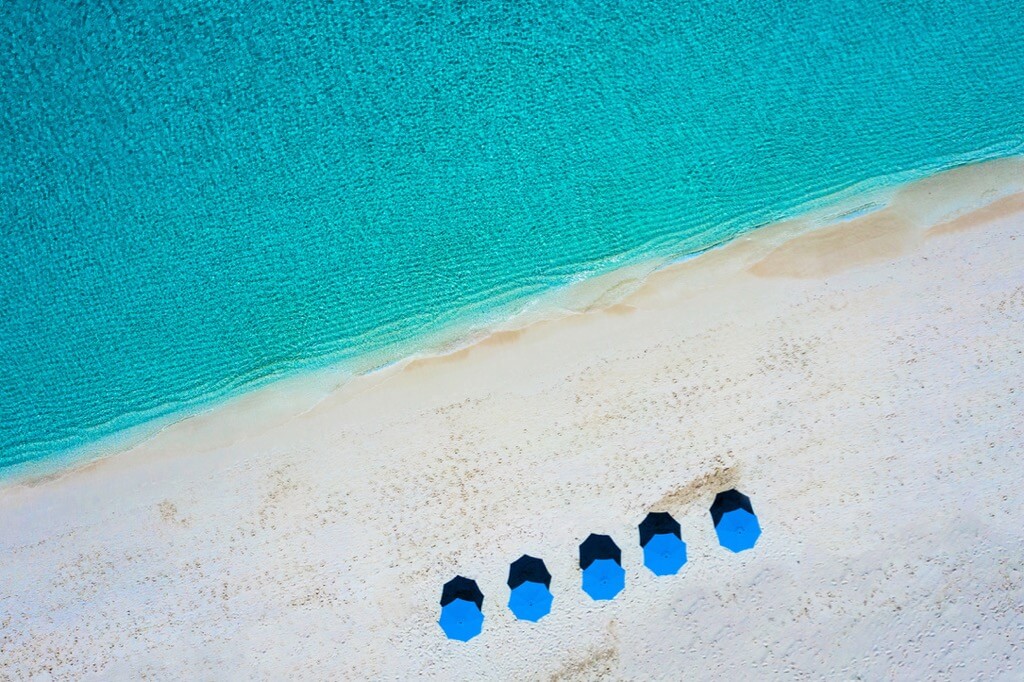
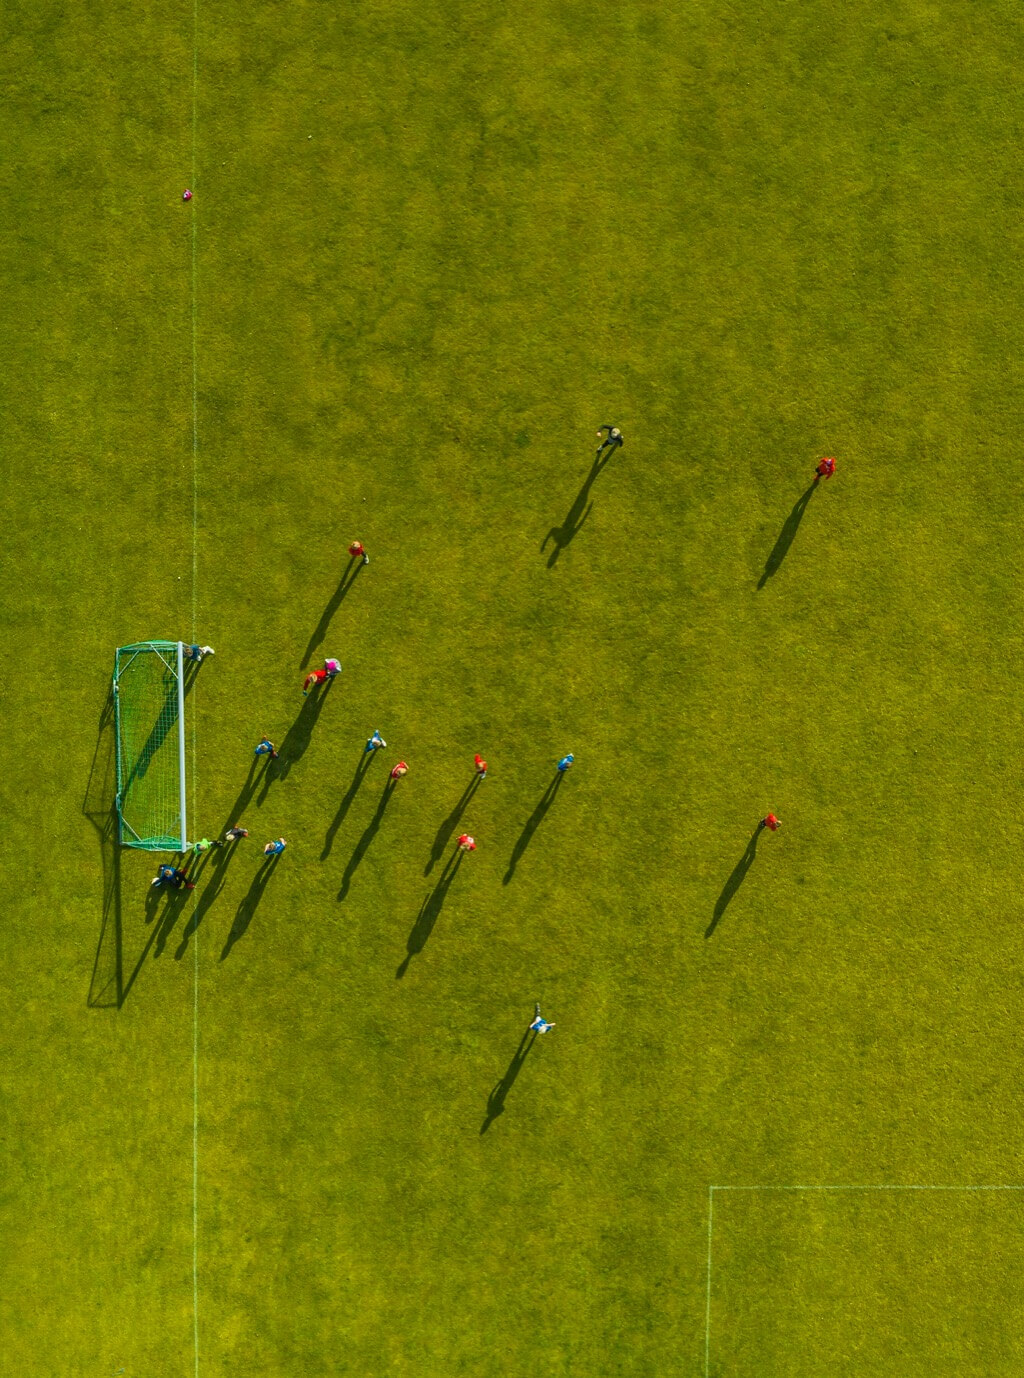
Tip 2) Look for people.
People naturally draw attention. Even when they’re a tiny part of the composition, they ensure that your photo has a point of interest viewers can focus on and connect with. They can give photos emotional depth, as well as create a sense of scale, showing how large a landscape really is. Aerial photography with people in the frame is often an example of negative space photography and minimalist photography in that the subject is small in the frame and surrounded by negative space.
José Antonio Moreno

Julio López Saguar – On the beach

Chinmoy Biswas
Paul Newton
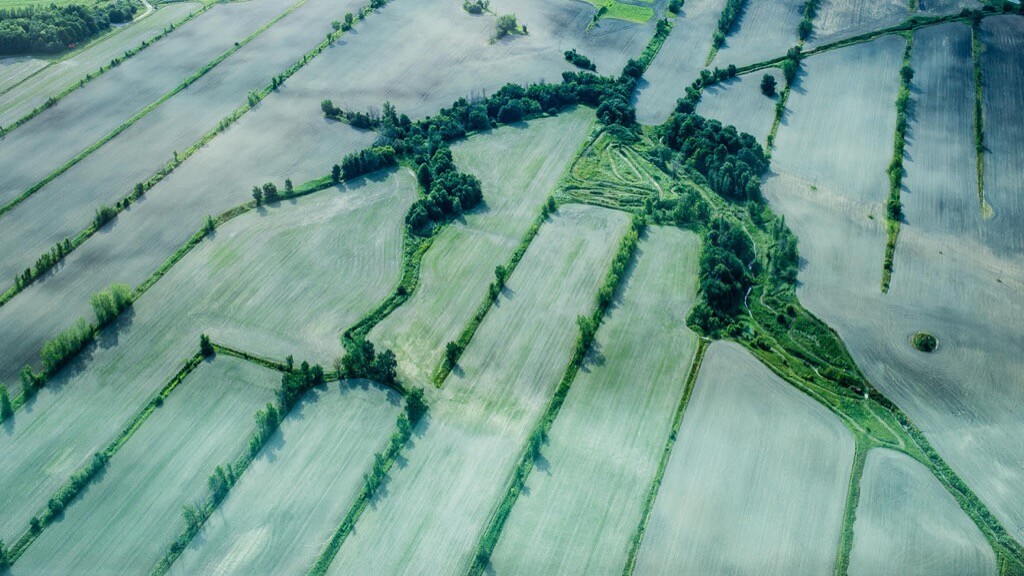
Tip 3) Keep your composition clean and simple.
It can be hard to narrow your photo to specific elements when your aerial view is packed with details. However, if you try to capture too much, your viewers won’t have anything to focus on. They’ll get lost in the view, and your image will be less memorable.
Keeping your image clean and simple will allow your viewers to better appreciate the scene. You might have to eliminate elements you love, but you can always take several photos of each subject instead of stuffing everything into one photo.
Janette Anderson – Luxor, Egypt
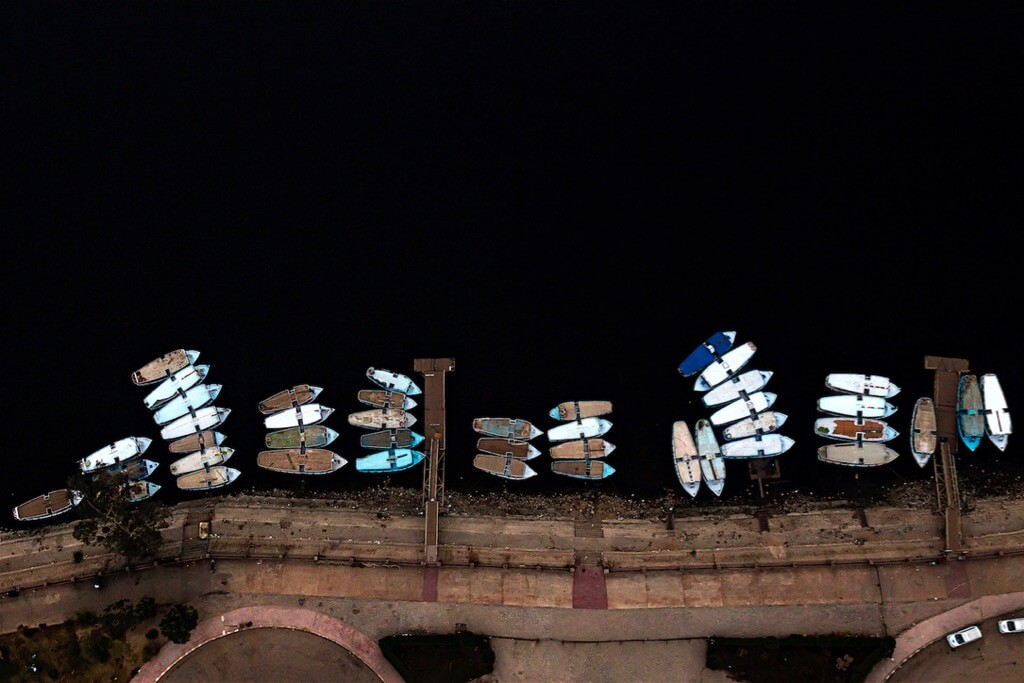
Manuel Palma – Heart From Above
Chinmoy Biswas
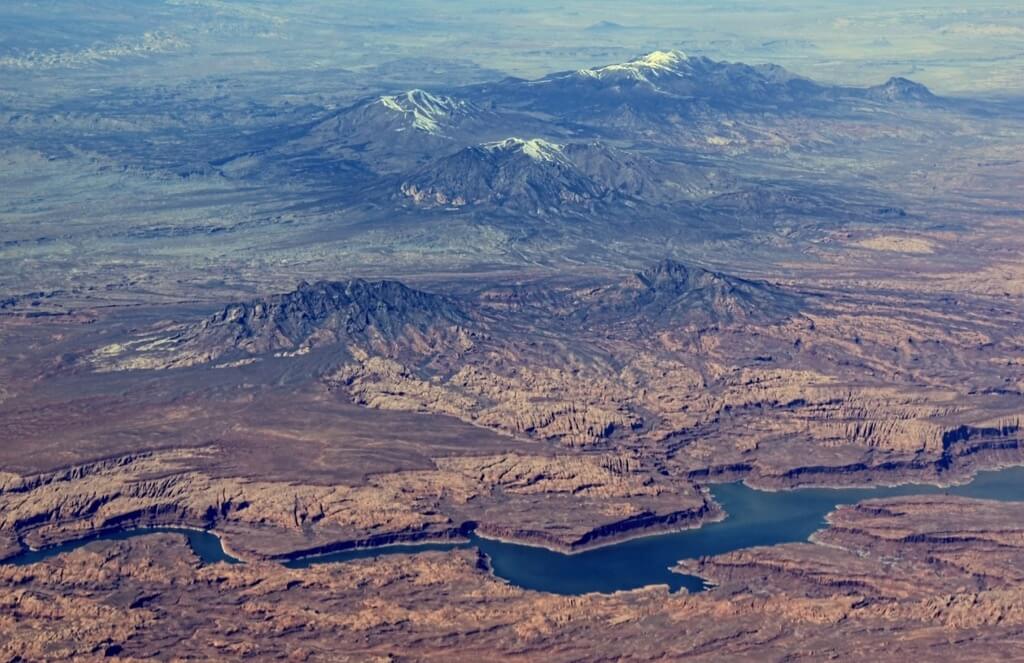
Tip 4) Have a strong horizon.
If you do want to capture a larger view with more details, try to compose your photo with a strong, level horizon. Then, the horizon will become the focal point of your image. Your viewer’s eyes will rest on the horizon and use it as an anchor, allowing them to absorb all the other details.
Mark Sides – Sunrise over Manitoba
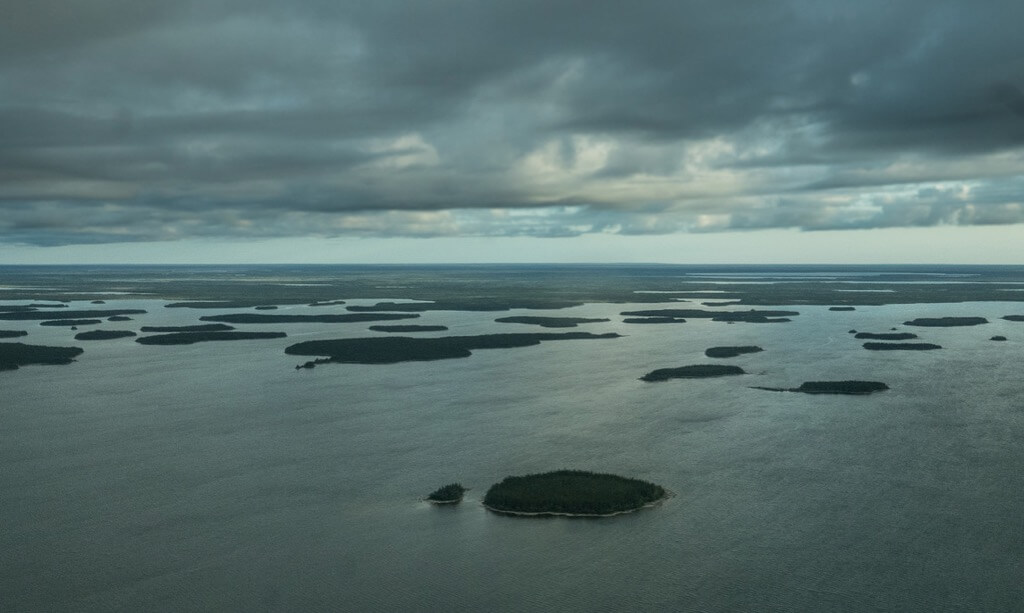
Ron Miller/ Al Orlando – Sunset on Lake Nipissing
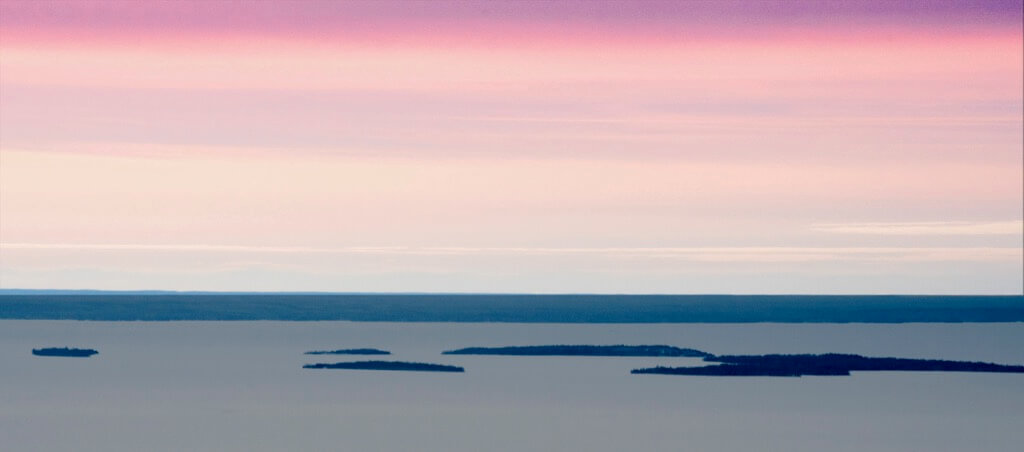
Jimmy Cox – Drone Shot
Odd Friis – Mt. Rainier, photographed near Eatonville, WA

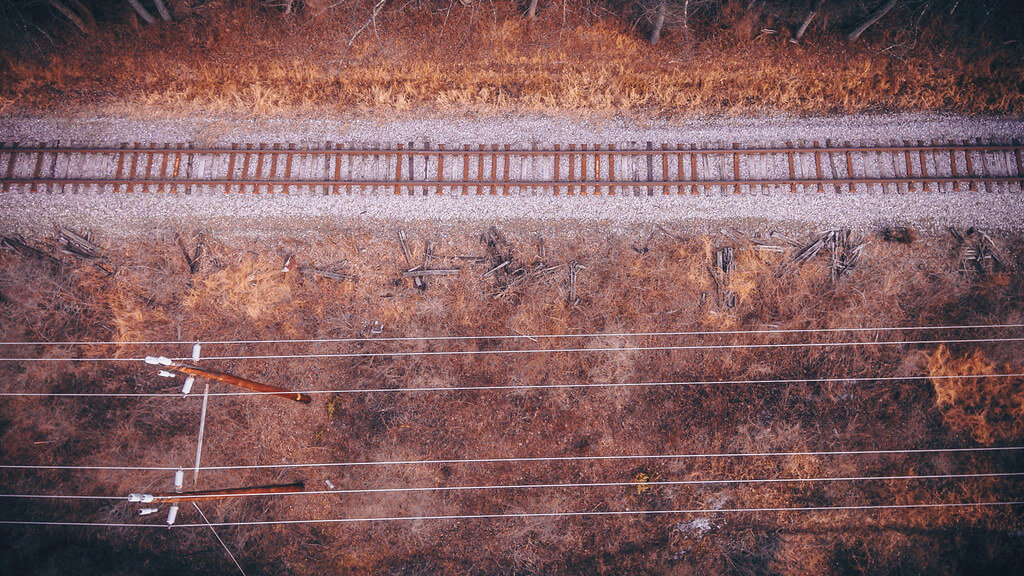
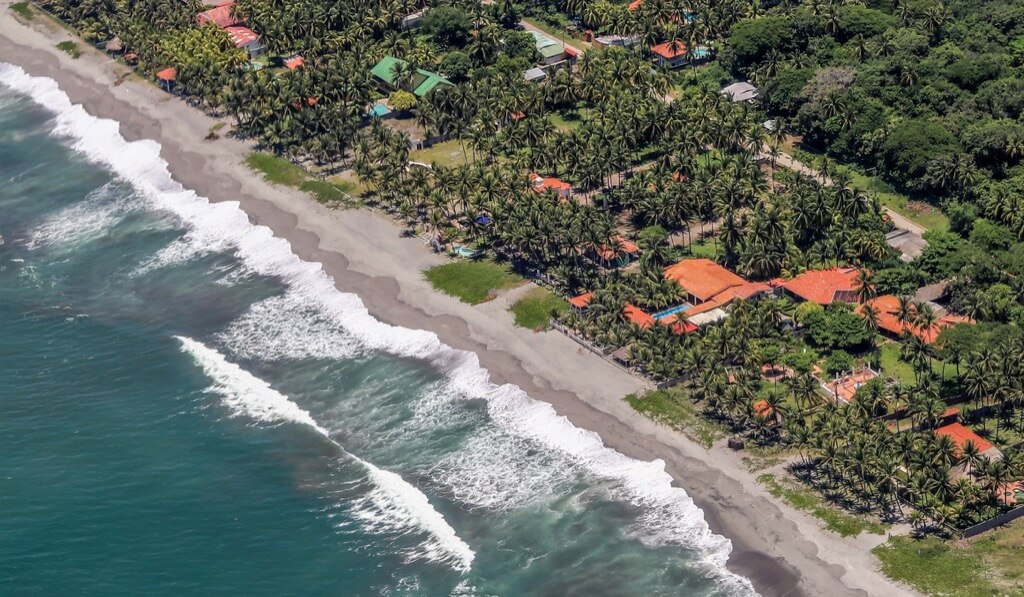
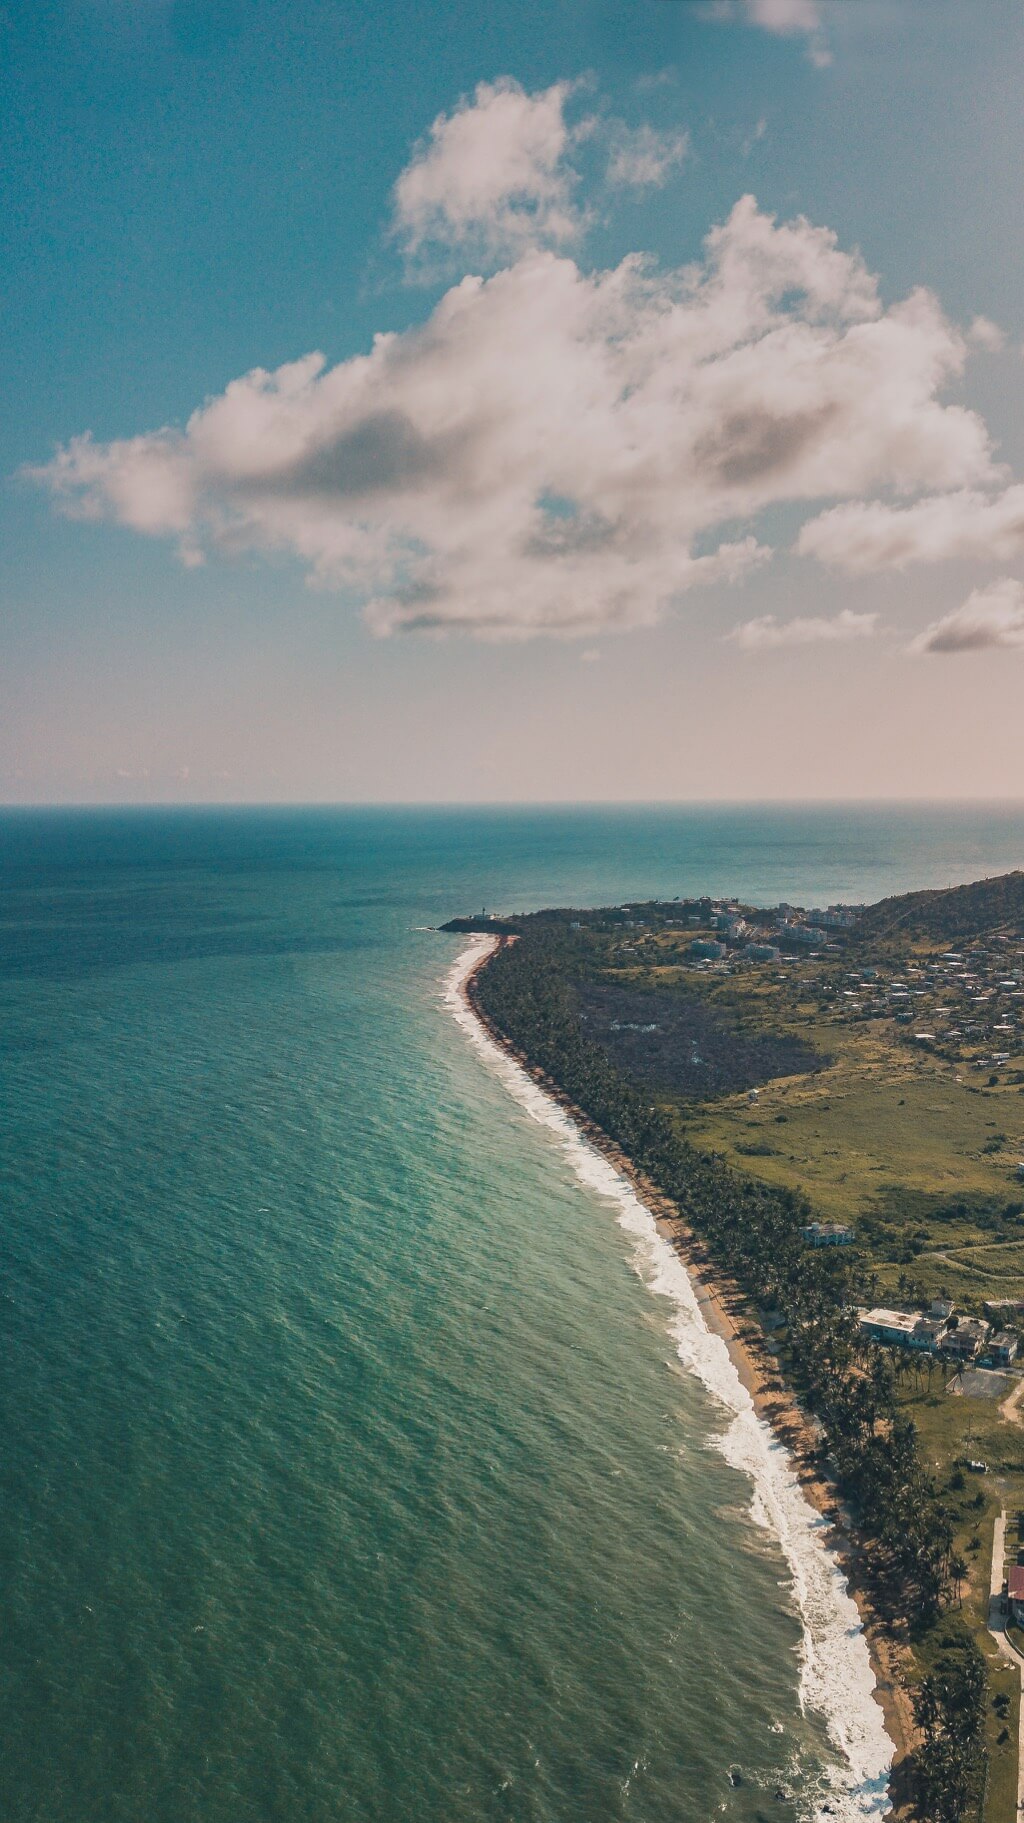
Tip 5) Compose your image with horizontal/vertical lines…
Besides the horizon, you can use other horizontal or vertical lines as anchors in your image. For example, you can use a river, coastline, or train track to create a horizontal line. It may not be as straight and level as a strong horizon, but it will still draw your viewers into the picture.
Steve Stanger – tracks (DJI Phantom photo)
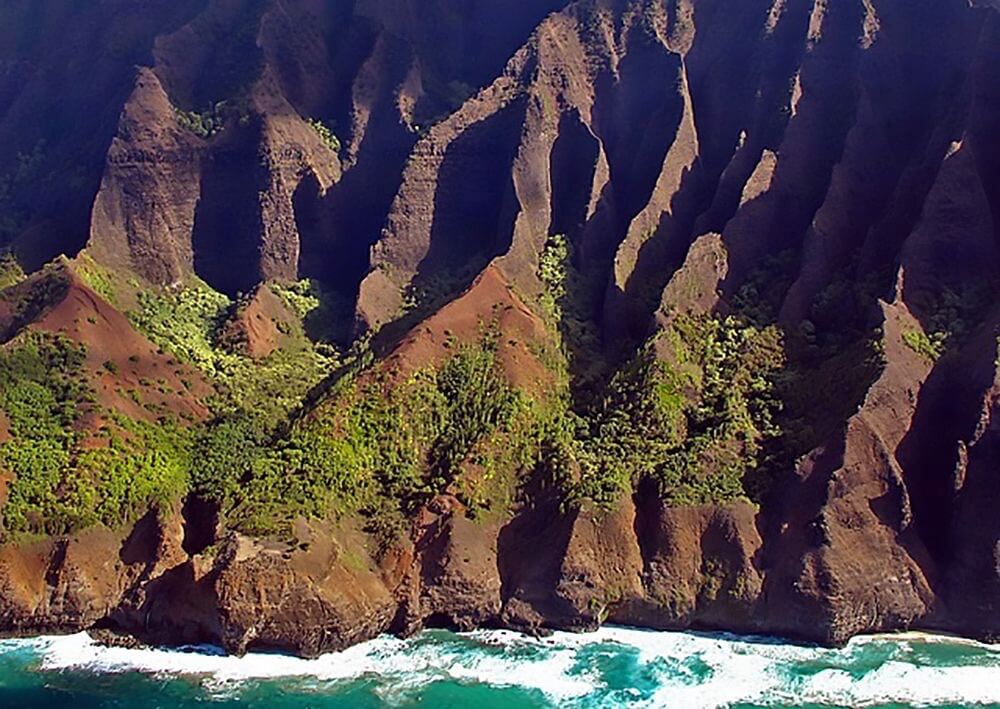
Warren Krupsaw – Na Pali Coast
Joanna Kovalcsik – In Relief
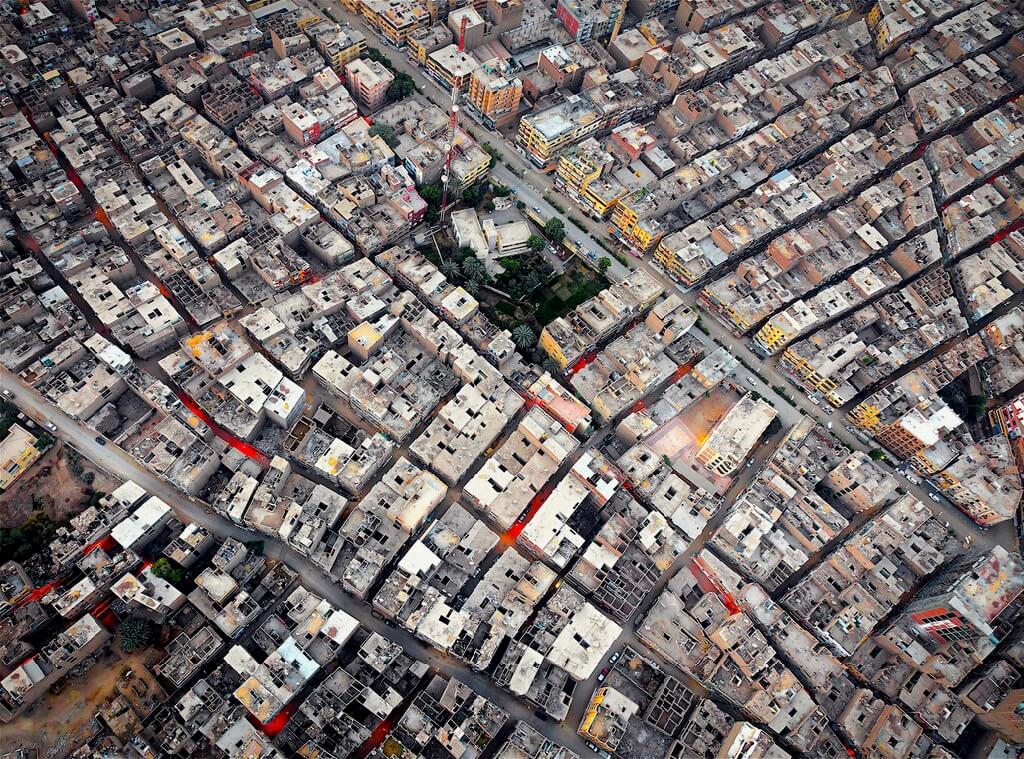
Tip 6) Or diagonal lines.
Like horizontal and vertical lines, diagonal lines create a path through your image, guiding viewers through the photo even when it’s packed with details. You can compose your image with many diagonal lines, like a series of streets, or stick with a single, powerful line cutting across the image.
Janette Anderson – Luxor, Egypt
Lionel Vasquez – Costa del Sol, El Salvador
Andre Daniel
Ileana Ravasio – Grace Bay – Turks and Caicos
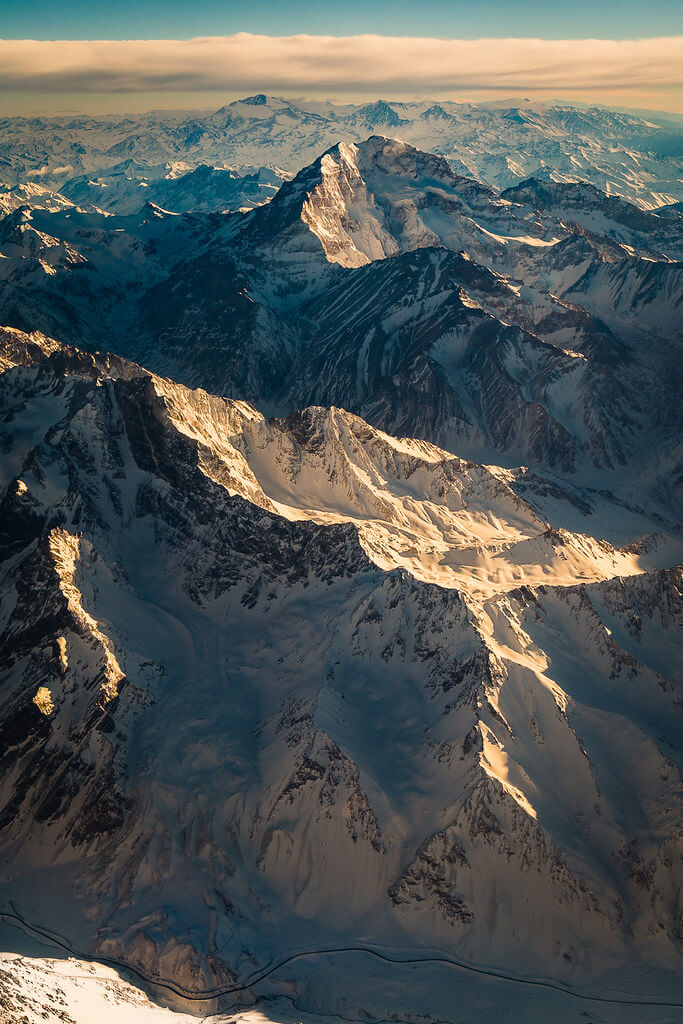
Tip 7) Try a portrait (vertical) orientation.
If possible, remember to rotate your aerial photos so that you get both landscape (horizontal) and portrait (vertical) shots. Although the majority of aerial photos have a landscape orientation, a portrait orientation can be equally powerful.
Besides allowing for more creativity, changing the orientation of your shots can be important if you’re printing or submitting your photos for publication afterwards. After all, you may need a vertical photo in the end. With magazines and stock photo agencies, variety is always a good thing.
Gerardo “Tito” Paez – Paso de montaña
Gerardo “Tito” Paez – Amanecer Porteño
Joel Tejeda
Ragnar Th Sigurdsson/Arctic-images – Football practice in Reykjavik, Iceland
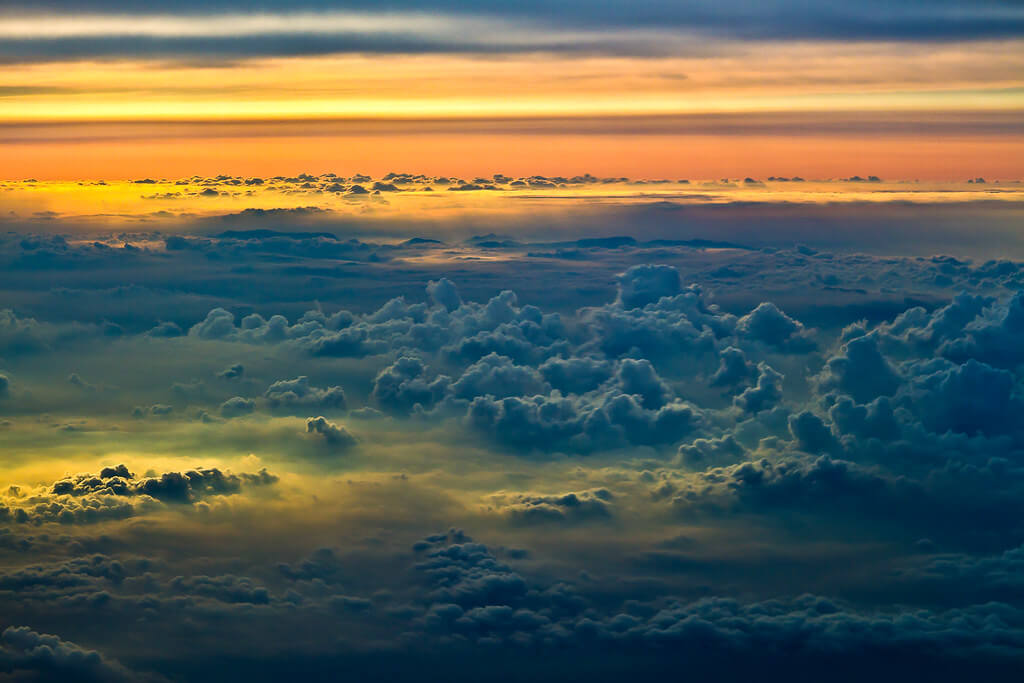
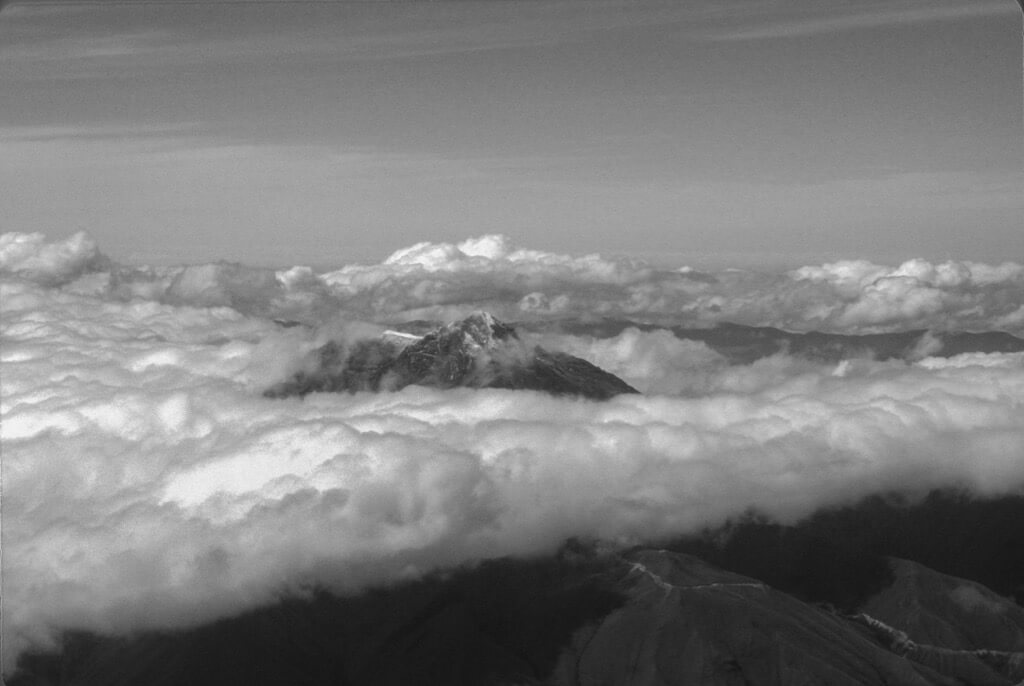
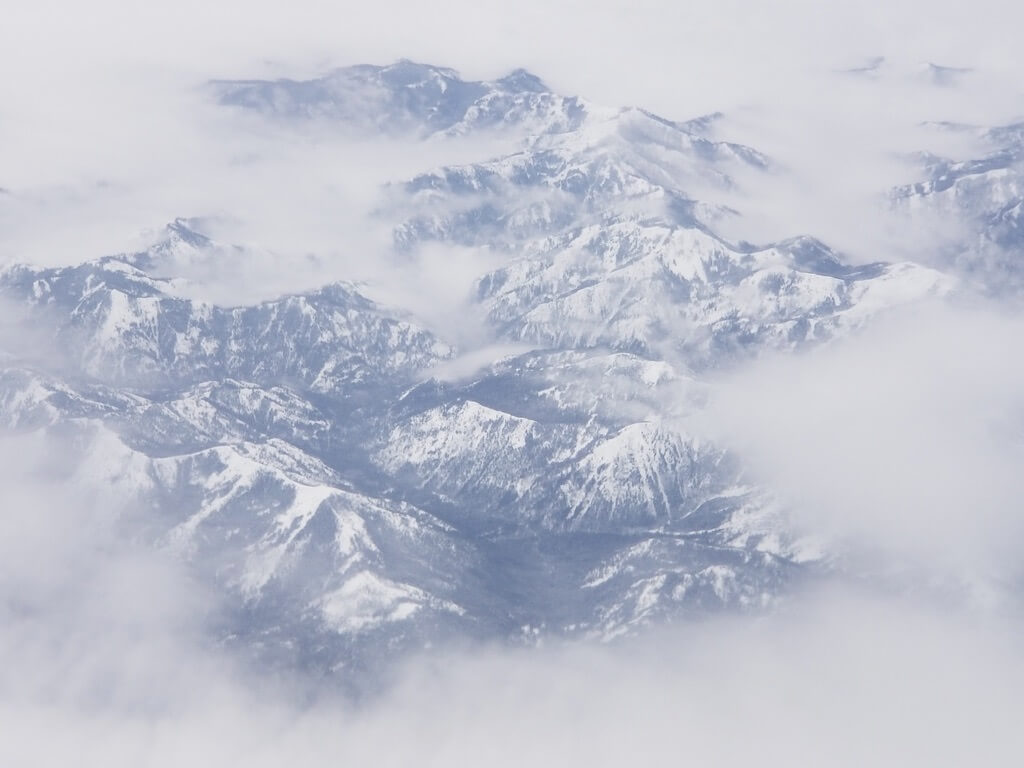
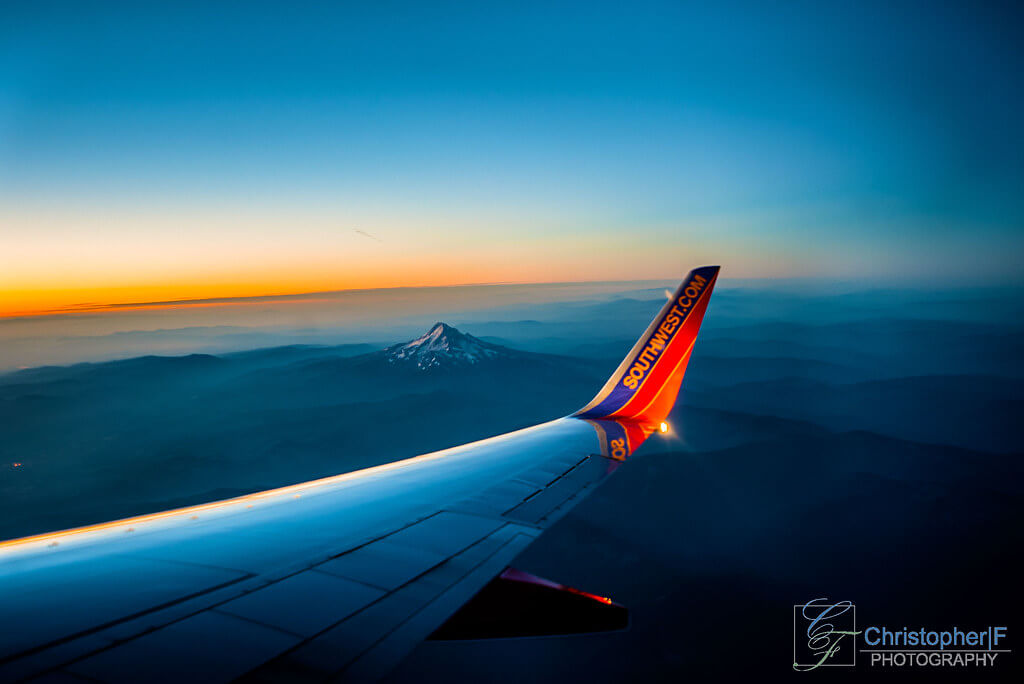
Tip 8) Avoid smudges, condensation, and reflections.
Nothing ruins a great composition like a distracting smudge or reflection. That’s why the best aerial photos are often taken from open windows or drones.
Nevertheless, you can still get great shots through airplane windows on commercial flights if you’re prepared. First, it’s important to have a cloth along, so you can clean off any smudges. Although you won’t be able to clean off condensation or ice outside, you can take photos early in the flight, before those build up.
After that, your main challenge will be limiting reflections. Since your own reflection will be the main problem, you can start by wearing neutral colors like gray. Although a gray shirt will still create a reflection, it won’t be as distracting as, say, a bright red shirt.
Besides that, the best way to cut down on reflections is to get close to the window without touching it, since touching the window could cause your camera to shake from the plane’s vibration. Instead, if you have a DSLR and fitted lens, you can use a flexible lens hood like this Lenskirt to get really close. Otherwise, you can cup your hand around the lens to block reflections while holding the camera close to the window.
Finally, you’ll want to turn off your flash, as it’ll only reflect against the window. Also, if you haven’t already, switch to manual focus. Then, you’ll be able to keep your camera focused on the scene outside, rather than the windowpane.
Michael Paul – Sometimes the clouds paint the sky in a way….
Tim Keane – Andes over Quito, 1980
Janet Bachant – Flying Out of Seattle
Christopher – Come Fly with Southwest Airlines
All of the above images were selected from our community of amateur and professional photographers via our newsletter and Flickr group. We had a photo challenge for the subject “Aerial Photography,” and many of these images came from that challenge. To participate in future challenges, join our newsletter list, and you’ll be among the first to hear about every challenge!
