All photography is made through light. Although this light can create beauty, it can also cause problems and ruin a perfect scene. Learning how to overcome these lighting problems is essential for any photographer. Otherwise, you miss capturing perfect moments because of lighting.
There are two general types of lighting: continuous and electronic flash. Continuous lighting doesn’t need photography equipment, whereas electronic flash does. Sunlight, moonlight, and artificial indoor/outdoor lighting are all examples of continuous lighting. Electronic flash lighting may be as simple as the flash built into your camera, or as complicated as flash units triggered from afar.
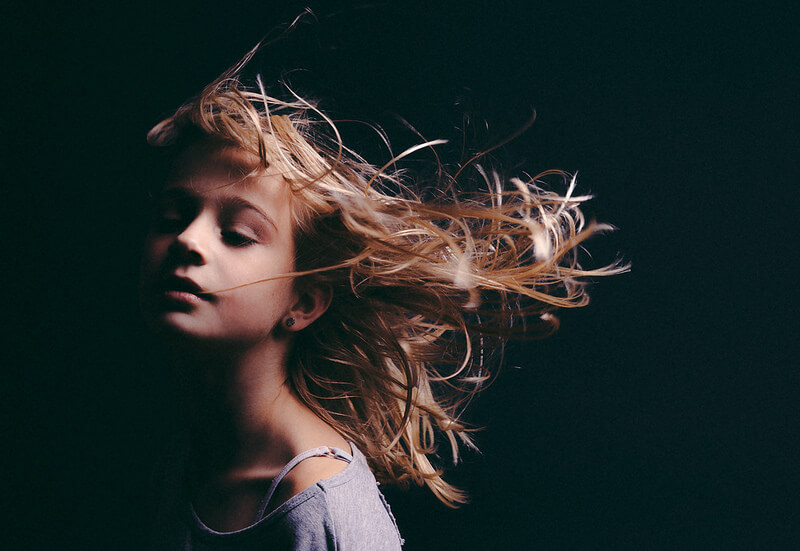
{Flixelpix} David - New Light

Understanding how these two lighting types affect the outcome of a shoot is necessary if you want reliable results. Below are five important factors that affect how a photo turns out, depending on the type of lighting:
1. Intensity
Intensity refers to the depth and richness of an image, mainly due to its brightness. In continuous lighting, intensity is ongoing but varies. For example, the intensity of daylight lessens in the evening.
Unlike continuous lighting, electronic flash lighting can strengthen intensity if there’s poor lighting. In some cases, you’ll need to compensate for this strong intensity through exposure.
2. Exposure
Cameras have built-in sensors that automatically handle exposure in continuous lighting. However, in flash lighting, whether your camera can adjust to intensity depends on the flash. Flashes that are mounted on or built into your camera are often able to handle exposure. For flash units, though, you’ll need to use a light meter to handle exposure.
3. Range
Where does the light ‘touch’ the image? The answer to this question is the light’s range.
Range is one big difference between continuous and flash lighting. In continuous lighting, the scene tends to be completely lit with some shadowing. Photographers can use this shadow effect to create drama. Shadows are often a strength, not a problem.
In contrast, range can be a problem for flash lighting depending on the situation. For instance, if the flash is too far away from the subject, the flash becomes useless because the range is poor. In these circumstances, it’s best to try continuous lighting, perhaps through a longer exposure.
4. Action
How continuous and flash lighting handle action is another big difference. Shutter speed captures action in continuous lighting, so you’ll need to adjust your shutter speed to the lighting. Remember that capturing action is difficult in weaker (continuous) light, since your shutter speed needs to be slower.
Flash lighting, on the other hand, can capture action regardless of shutter speed. This is one advantage of flash–action shots can be much easier to take.
Edwin Keijzer - old shot new version
Matthew Coughlin - Milk Explosion

5. Color Temperature
Lighting temperature can be confusing for beginners, but it’s worth paying attention to. Creating a realistic image with rich colors requires a good understanding of temperature.
To simplify the concept, temperature can be imagined like fire and ice. Fire has warm colors, like red and orange, while ice has shades of blue–cold colors. In photography, both color extremes are a result of lighting.
The color temperature of electronic flash is neutral (generally), but the temperature of continuous lighting varies depending on the source. Three common continuous light sources that affect temperature are:
- Incandescent Light or Tungsten Light
These two light sources are warm. Your camera’s auto white balance in this lighting might result in images with orangish hues. You can correct this warmth in your computer, or you can choose to work with it to create a distinct mood.
- Fluorescent Light
Fluorescent lighting can be frustrating because it varies so greatly in color. It can vary from extremely warm to extremely cold, since the light flickers quickly. Still, since fluorescent lights are cheap, photographers sometimes choose to work with them in their studios. To do this, you can match your shutter speed to the cycle of the fluorescent light. Also, if there are several lights, use a power strip to turn them all on at the same time.
- Sunlight and Moonlight
Natural light produces a wide range color temperature because of how it changes throughout the day/night. Moonlight is cold, but sunlight varies. Daylight is warm in the mornings and evenings but cooler at noon, when the sun is high and completely unfiltered.
Ramesh SA - Moonlight

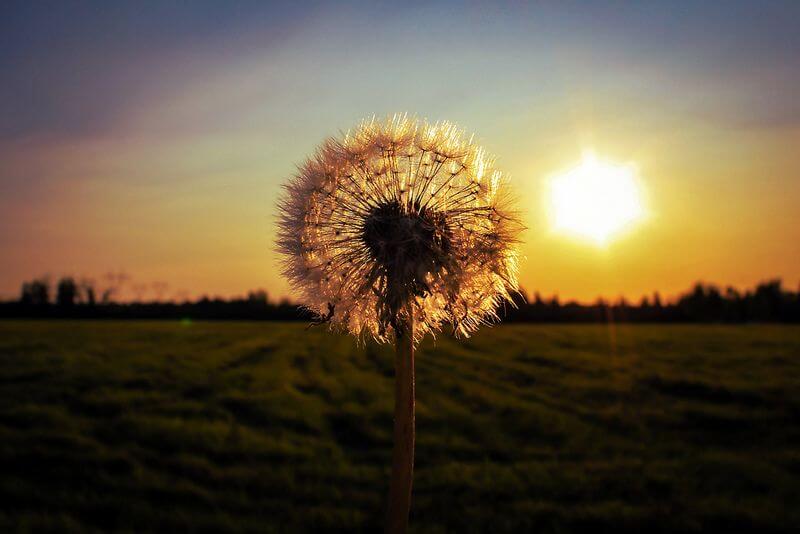
Sarah Bourque - Summer evening
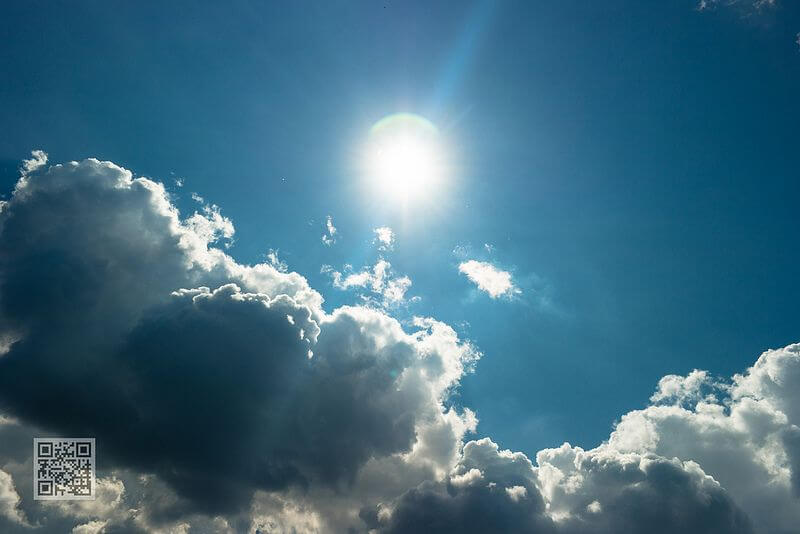
Daniel Kulinski - Almost at noon
A big part of dealing with seemingly poor lighting is preparing for those situations beforehand. When you know what to expect from each type of lighting, you’ll be more adept at creating great images regardless of the situation. Keep practicing with various lighting types, and soon, you’ll see opportunities in places that once seemed impossible.
These photos were selected from our Flickr group. Next time you get a great picture in “poor” lighting, share your image with the group so we can admire your work!
