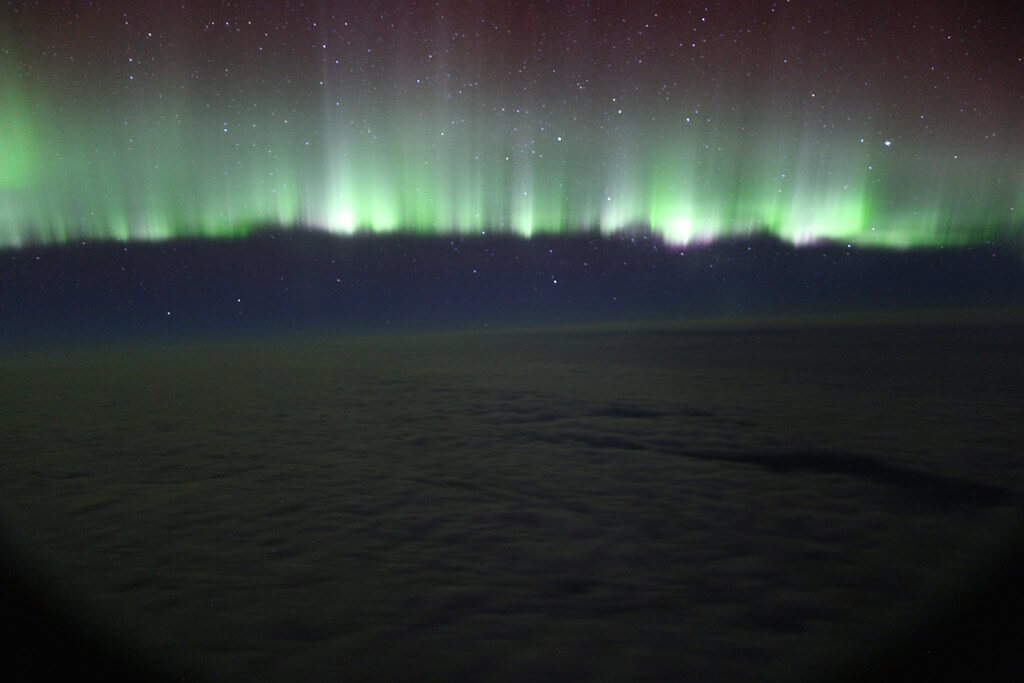
Living in the far north during winter can sound terrible in some ways, with heavy snowstorms, bitter cold, and darkness that lasts all day. Despite these hardships, though, there’s still one thing to love: the aurora borealis, also called the Northern Lights.
The Northern Lights are so beautiful that they draw tourists even in the coldest part of winter. Some of these tourists stay mostly indoors at hotels with panoramic windows or glass ceilings. For example, you can stay at these glass bubbles in Iceland for a full 360-degree experience.
Giuseppe Milo – Northern Lights view – Lapland, Finland
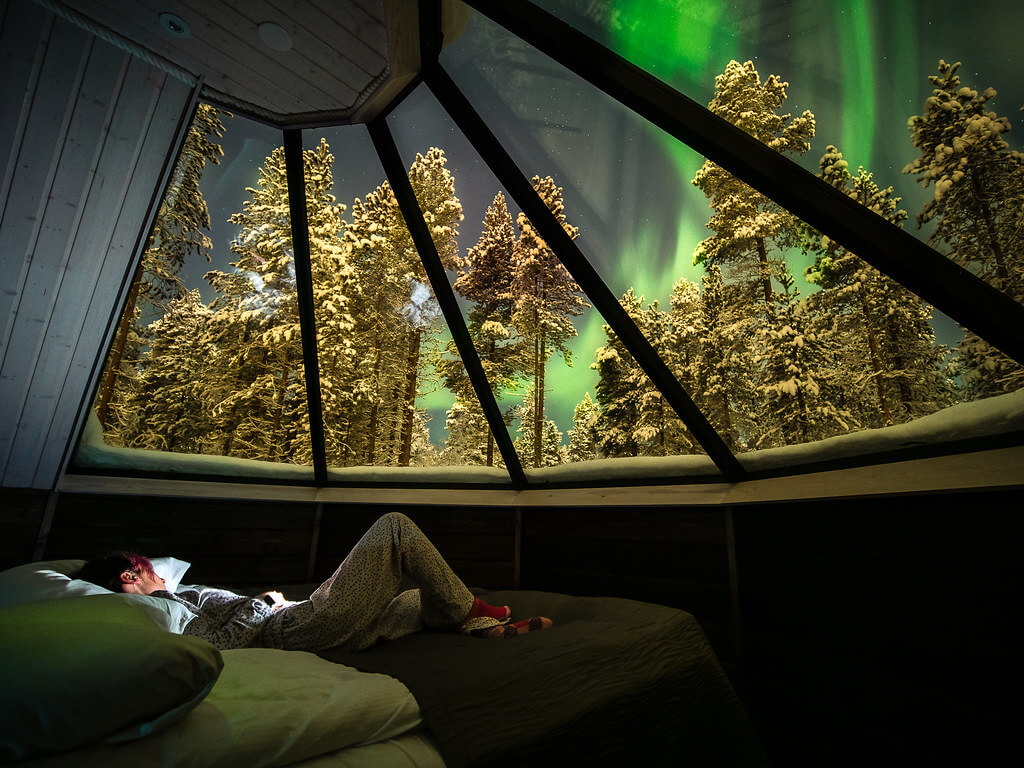
However, these comfortable indoor options are limiting for photographers. If you want to get the best pictures of the Northern Lights, you’ll need to head outdoors. This will give you more flexibility and creative control as you search for interesting subjects to photograph under the Northern Lights.
After all, the aurora borealis will only be one element in your photo. Even if it takes up the majority of your photo, you’ll likely have other subjects in the foreground, such as trees or mountains. These subjects can be just as important as the night sky, as they provide context and make your images more interesting.
Of course, if you’re going outside in the freezing cold, you’ll need to be thoroughly prepared. Besides warm clothes, you’ll need some cold weather gear for photography.
You’ll also want to plan your shoot for a night when the Northern Lights will definitely be visible. Choose a dark night with clear skies. There should be little to no clouds or light pollution, so nothing will block the aurora’s beautiful colors.
In addition, you can check the aurora activity index, known as the Kp-index, to get an indication of how strong the aurora will be. You can use several websites/apps for this, such as Space Weather Live.
The Kp-index ranges from 0 (low) to 9 (high). You’ll want to go out when it’s at least a 2, ideally higher. If you’re lucky, you’ll see an aurora borealis storm, which is anything above 4. The higher the number, the farther south it’ll be visible, too. In other words, even if you’re at a slightly lower latitude, you can still shoot the Northern Lights if you wait for a strong storm.
Inspiration for Photos of the Northern Lights
We won’t get into specific technical details like camera settings in this article because there are already plenty of wonderful tutorials out there. For example, you can read this comprehensive guide to photographing the Northern Lights, or if that’s too long, you can look at this shorter guide for beginners. Instead, we’re focusing on composition, the key to great photos after you’ve got the right camera settings.
For all these ideas, keep in mind that unless you’re in the far, far north, the aurora will be on the northern horizon. If you see a perfect subject to shoot under the aurora but it’s south of you, you’ll need to reposition yourself or reconsider your subject.
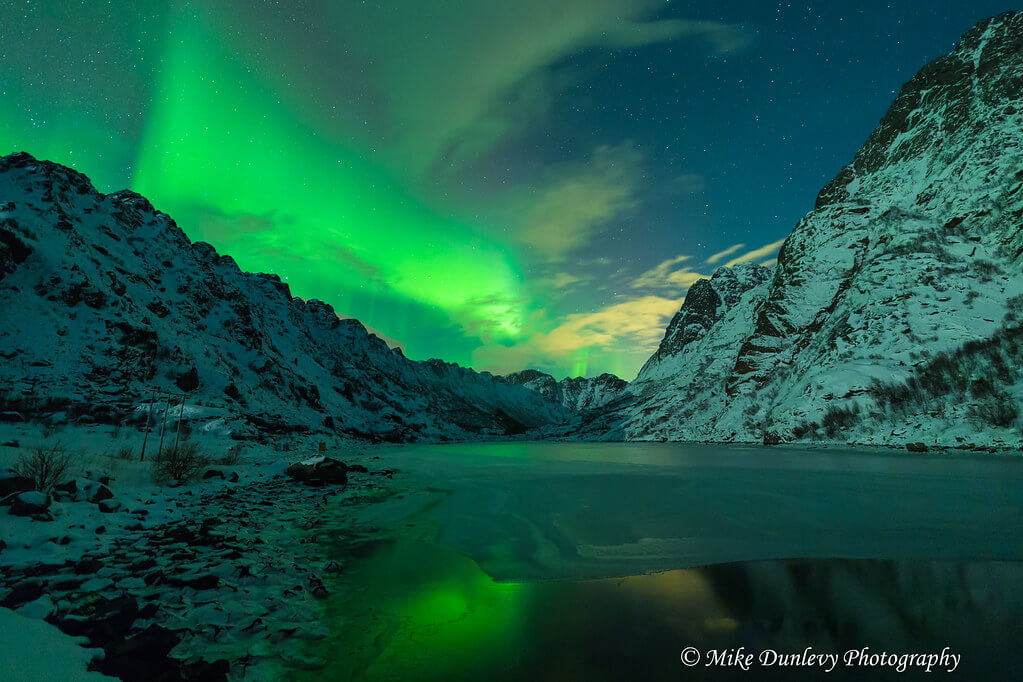
Capture a reflection.
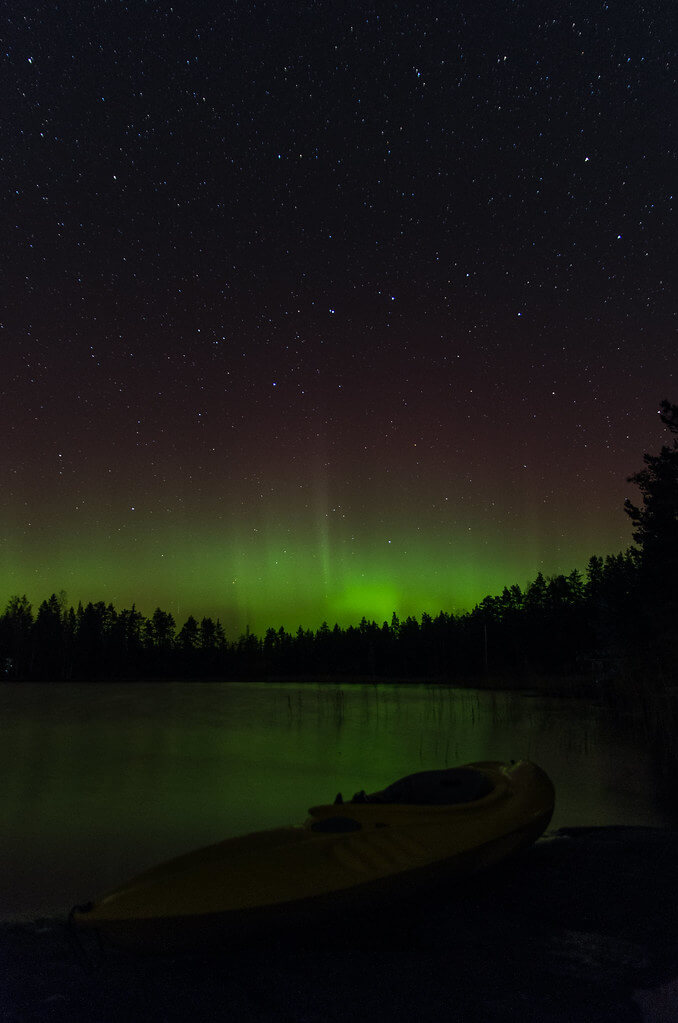
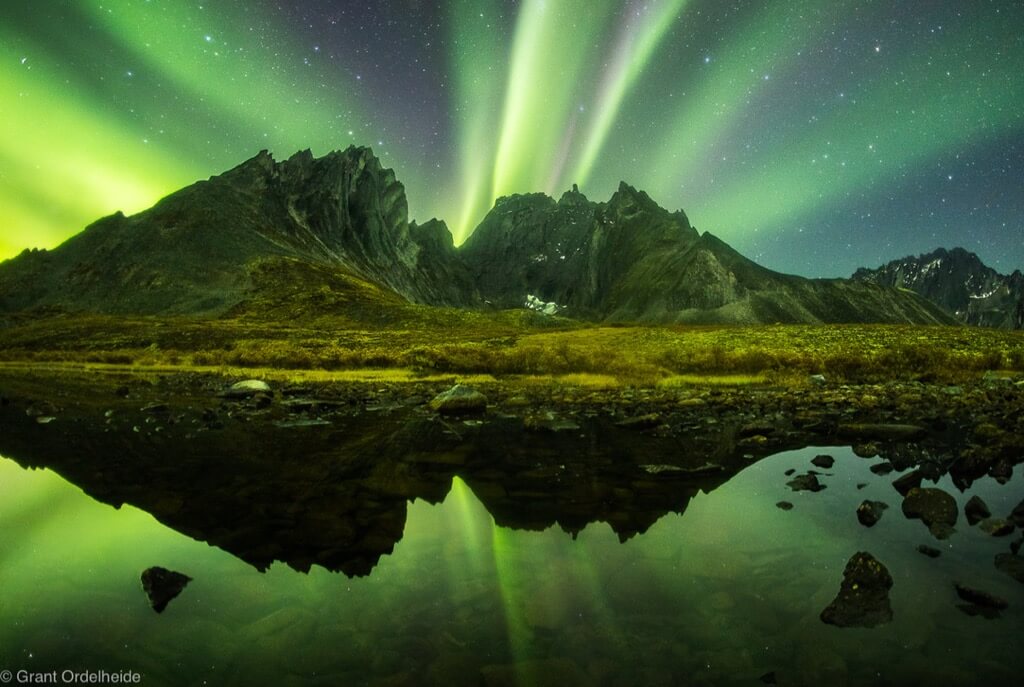
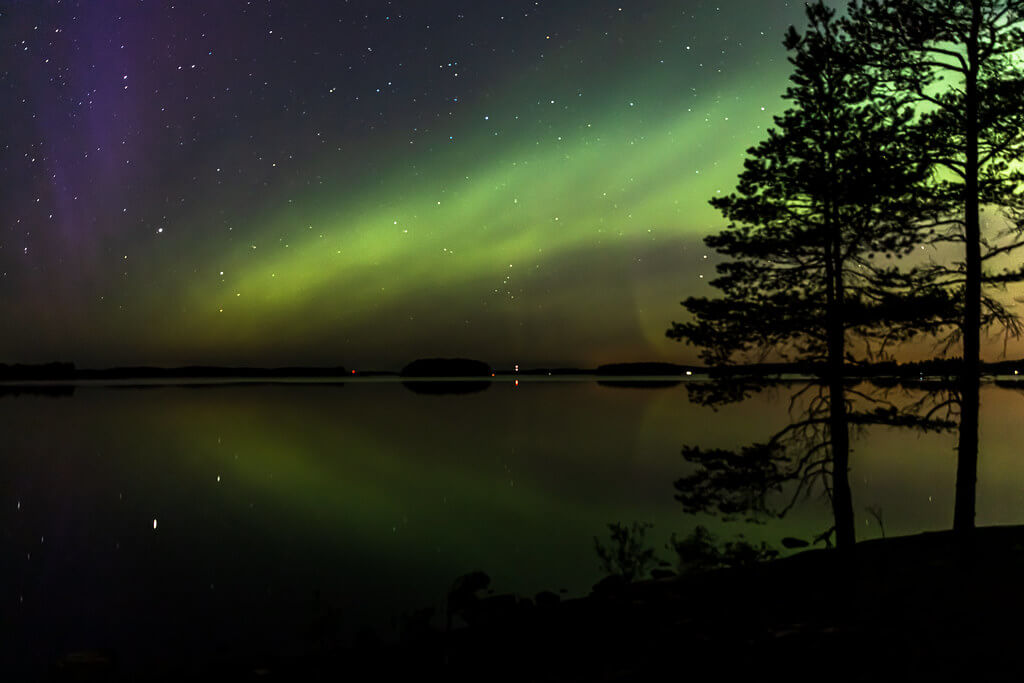
When the Northern Lights are faint, you can use a peaceful body of water to reflect the aurora’s colors, so they’ll be more obvious. If the Northern Lights are strong, the reflection will be even more stunning, as it’ll double the grandeur of the sky.
Juho Holmi – Northern Lights on lake Näsijärvi
Grant Ordelheide – Monolith Aurora
Visit Lakeland – Northern lights over lake Kallavesi in Finland
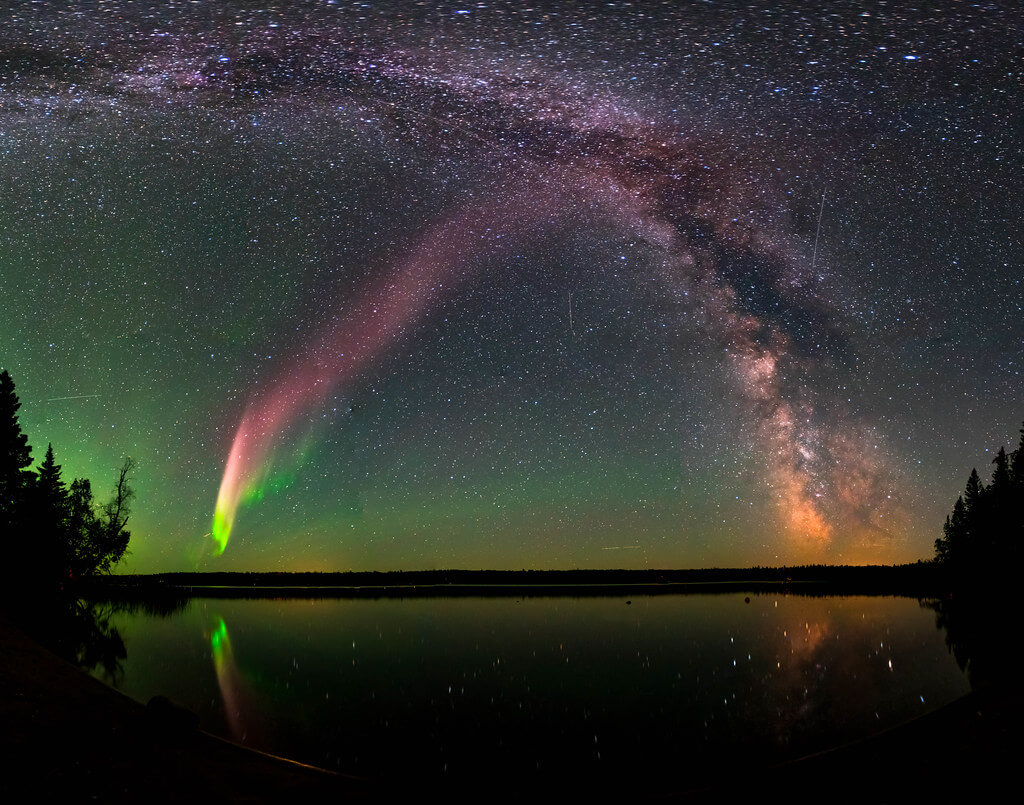
NASA Goddard Space Flight Center – The Aurora Named STEVE
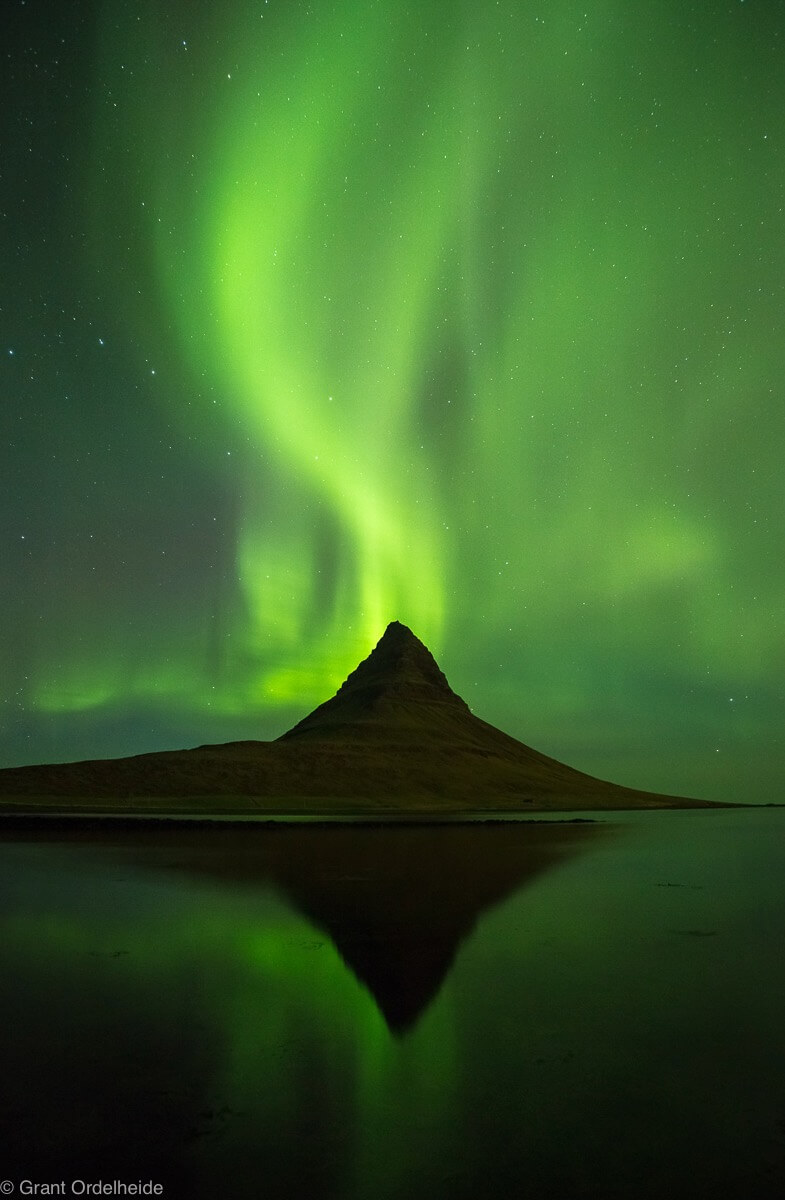
Grant Ordelheide – Aurora borealis over Kirkjufell mountain in western Iceland.
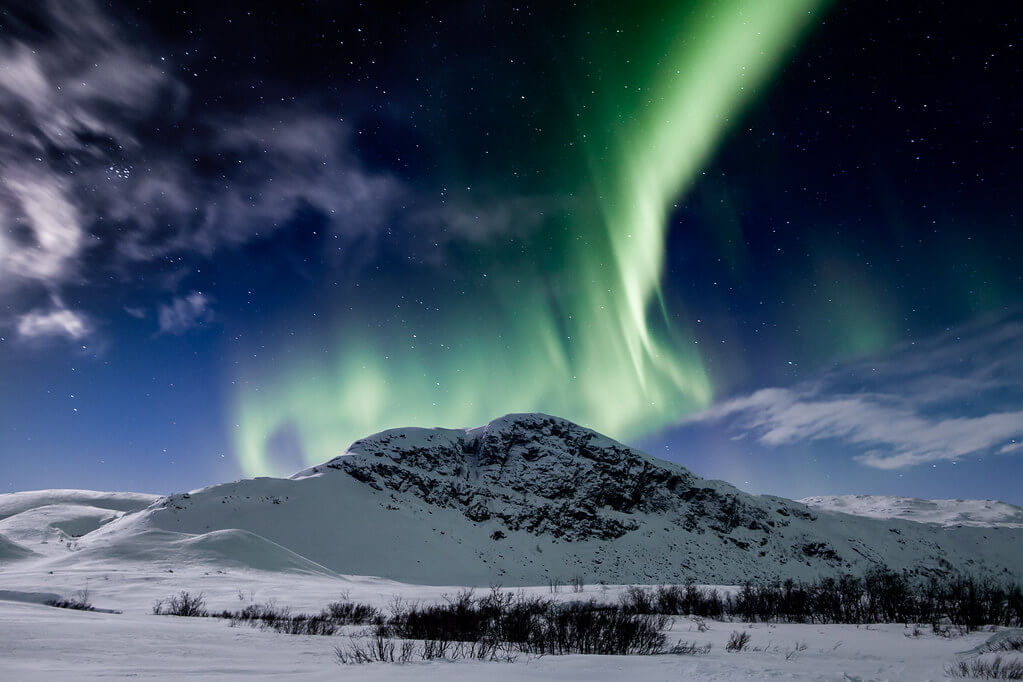
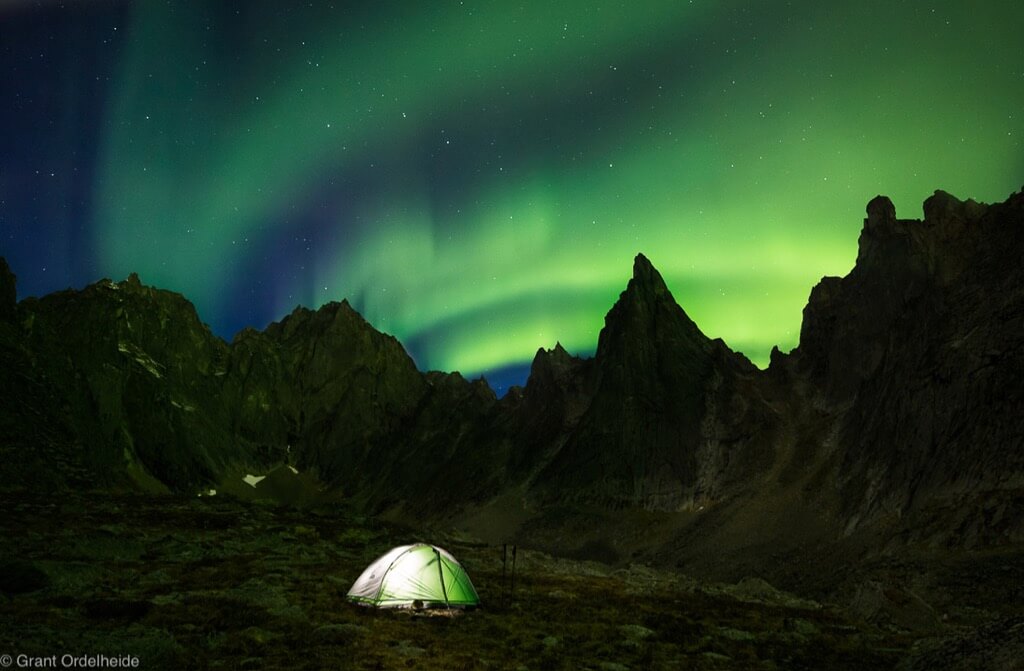
Photograph mountains under the aurora.
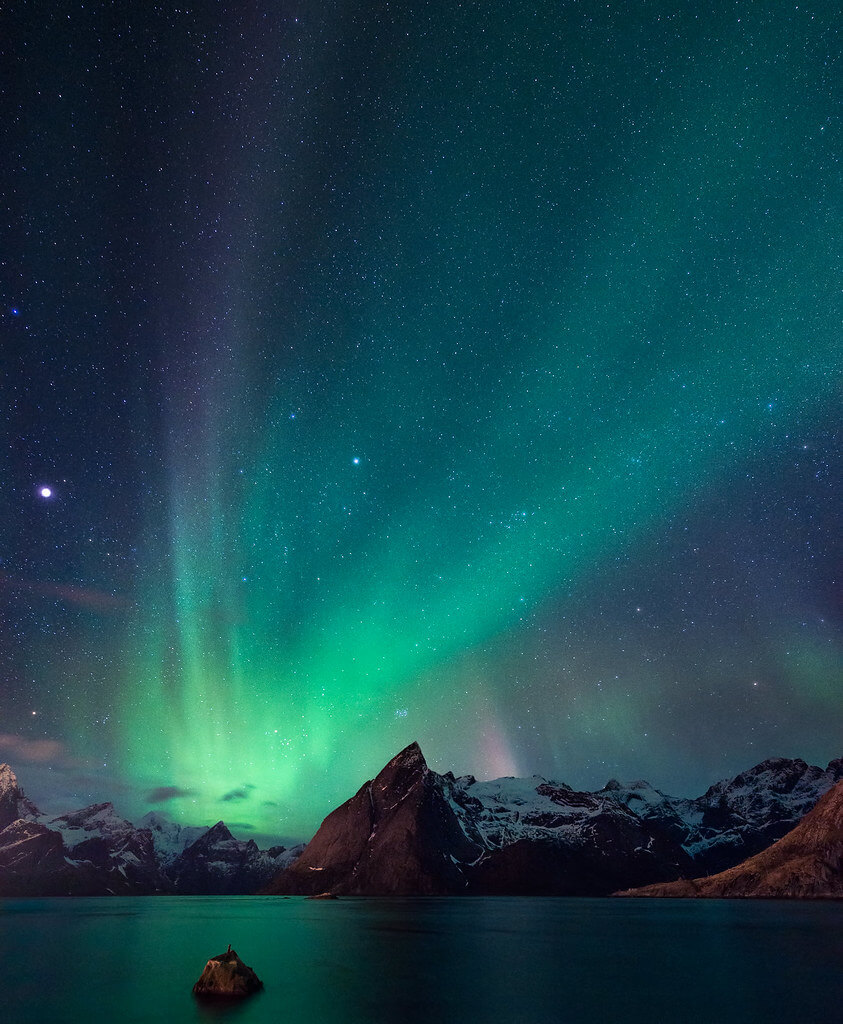
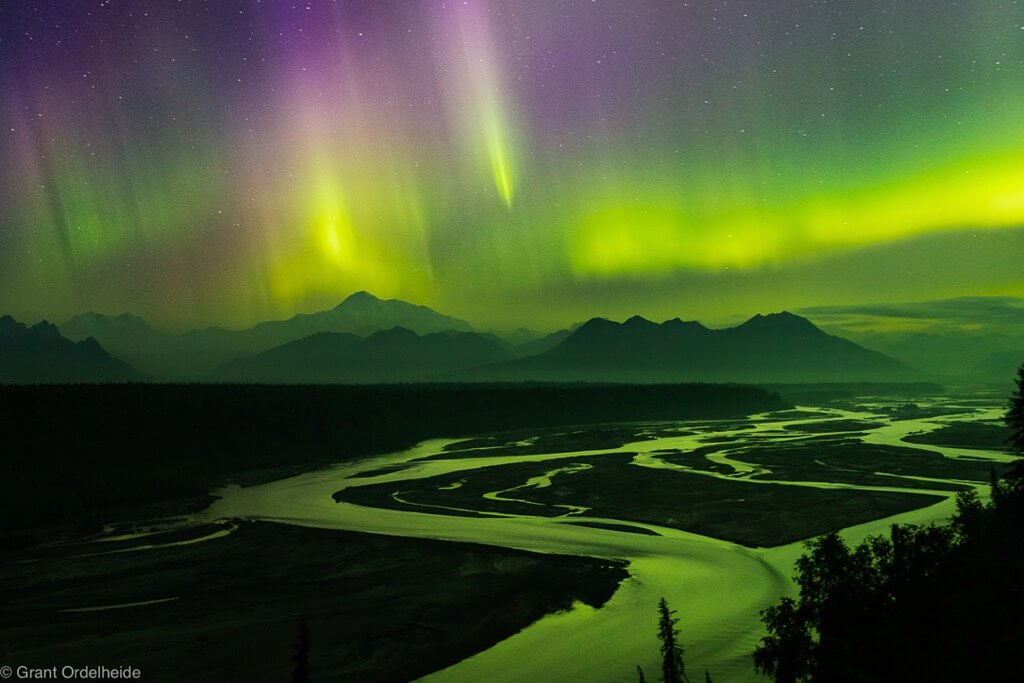
Another way to increase the grandeur of your image is by photographing mountains under the aurora. This composition can create a sense of scale, showing how massive the aurora is compared to the mountains. Though mountains are large, the Northern Lights are typically larger, stretching across the sky and making everything else look small.
Grant Ordelheide – Denali South Aurora
Hille Thomasson – the flames beyond the cold mountain II…
Grant Ordelheide – Tombstone Aurora
Mike Dunlevy – Henningsfjord Aurora Reflections
Shoot tree silhouettes.
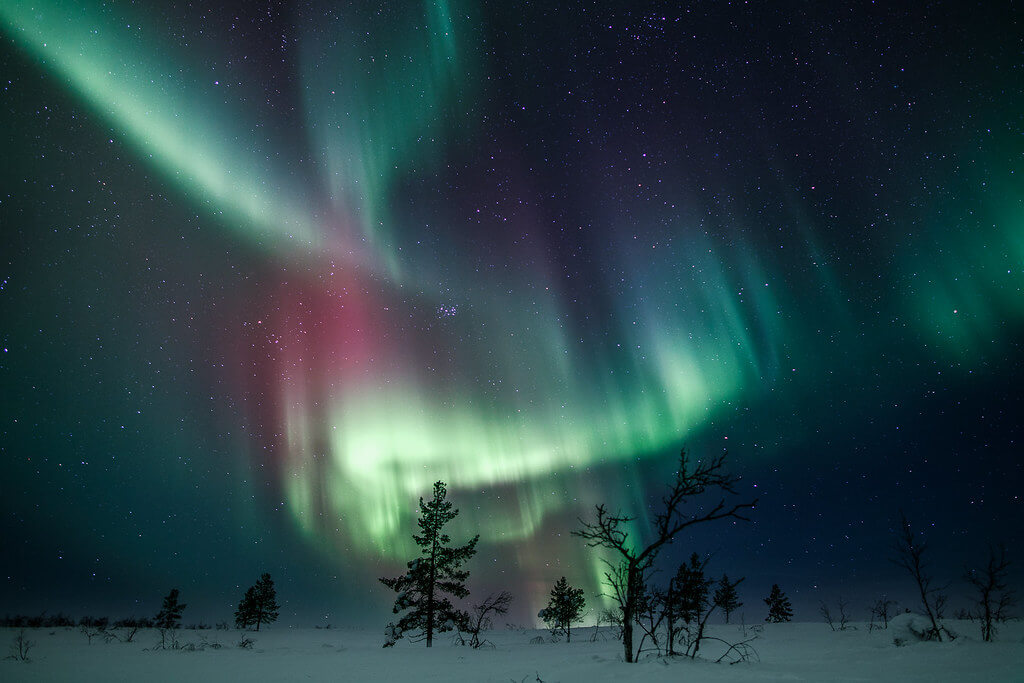
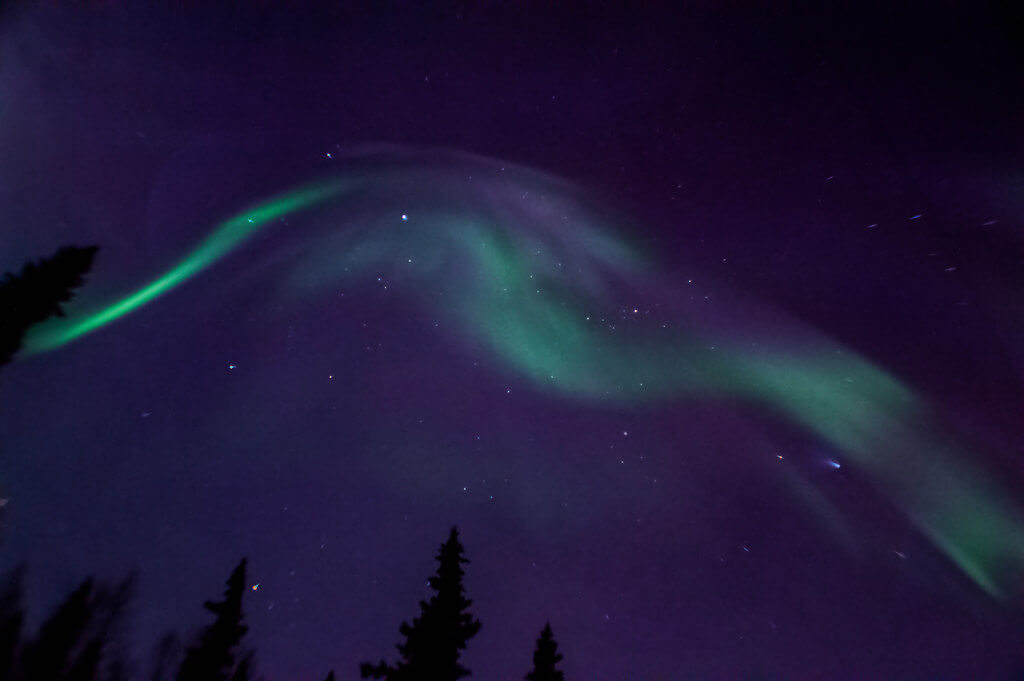
The bright colors of the aurora can be a lovely background for silhouettes. The best silhouettes should be clear and recognizable, such as trees. You can make the silhouette your main subject or use the silhouettes as a frame for the Northern Lights, composing the photo so they’re on the edge as a dark border.
Emmanuel Milou – Dancing and swirling
Grant Ordelheide – The northern lights over Alaska’s Denali National Park.
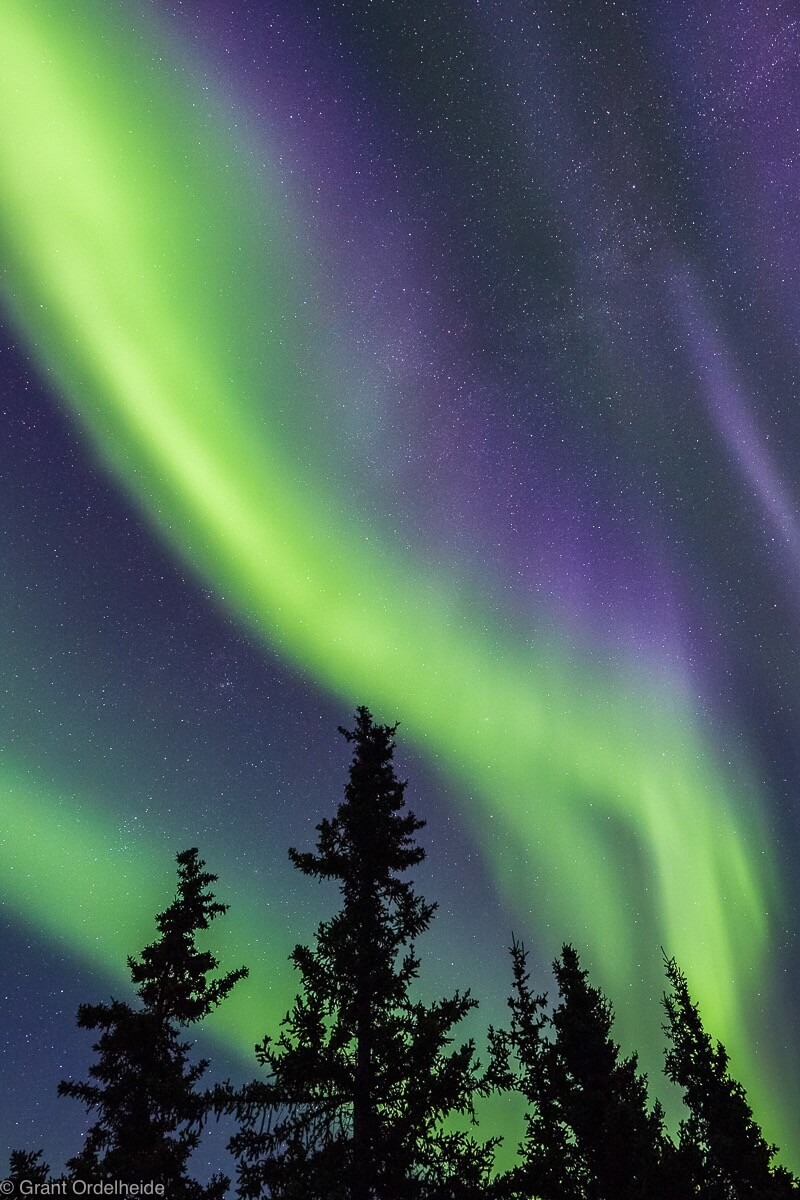
Charlie Stinchcomb – White Pine Aurora
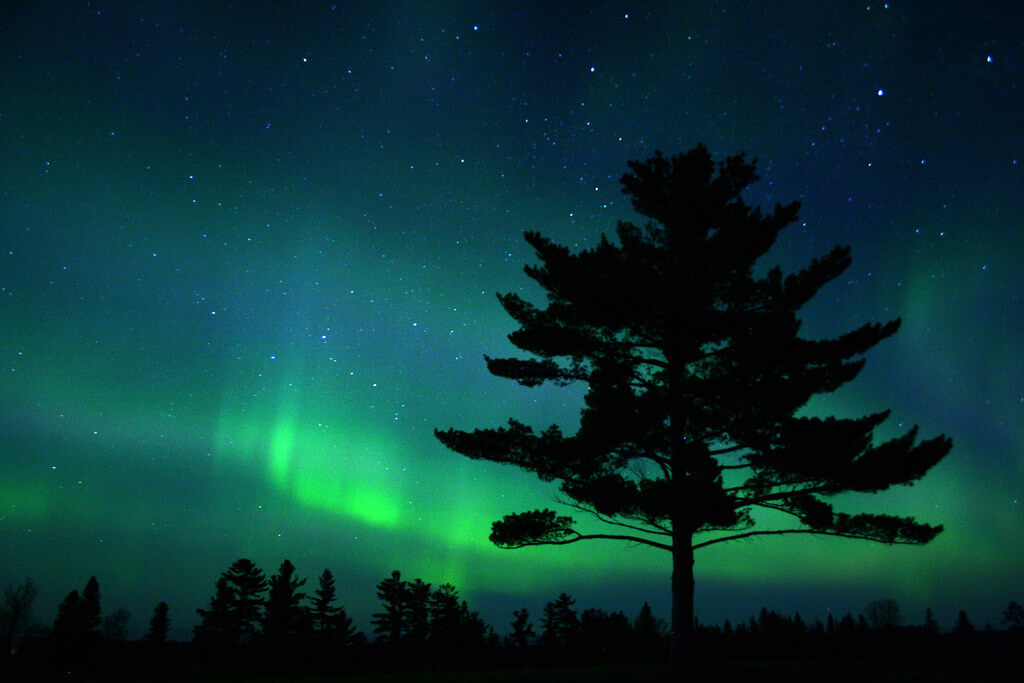
Heikki Holstila – Northern Lights
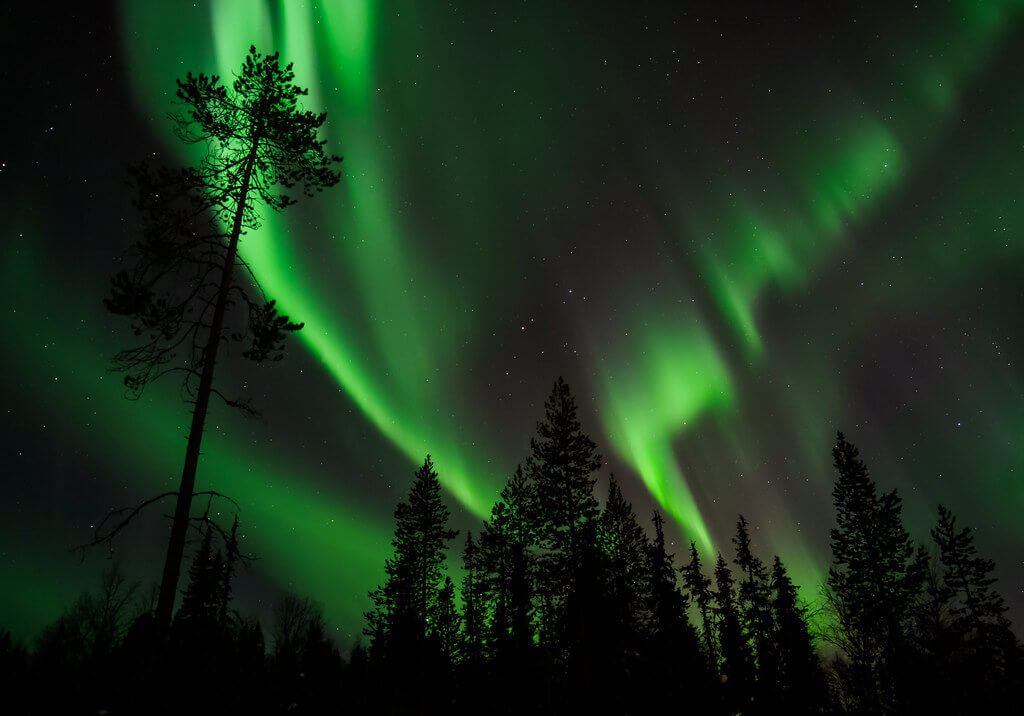
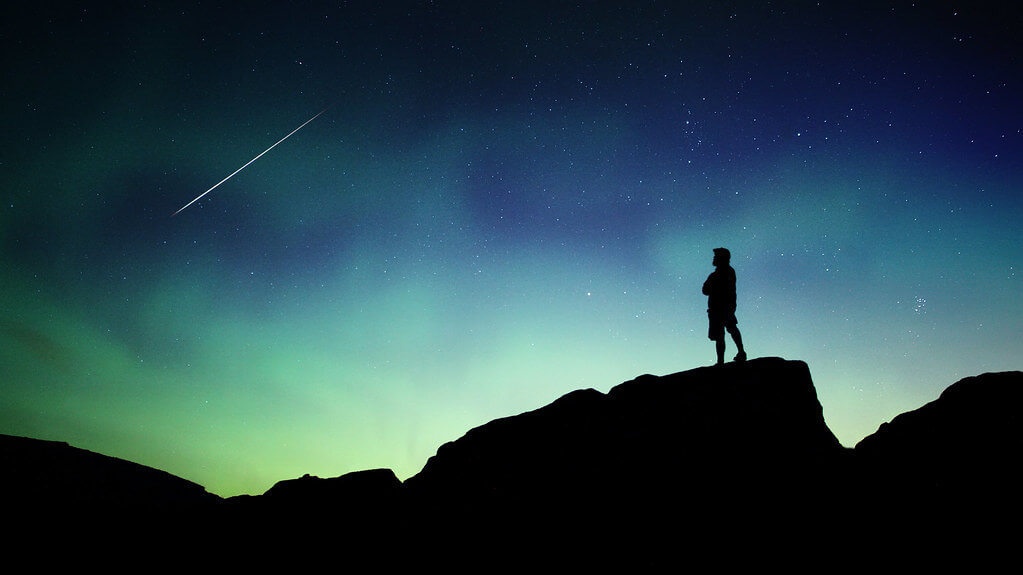
Or a silhouette of a person.
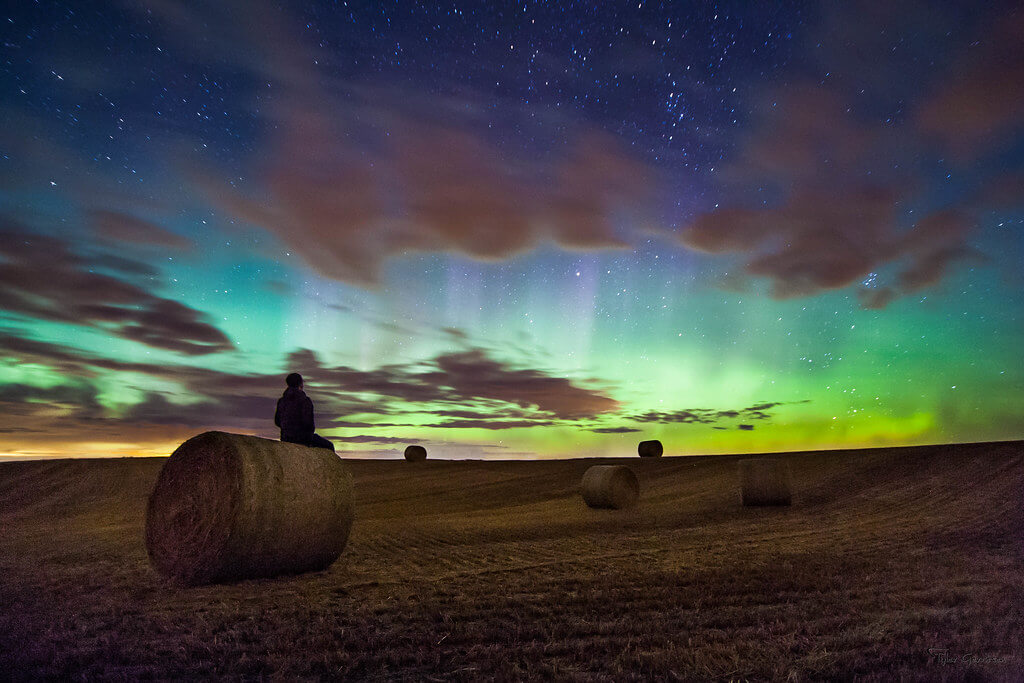
People can also have clear silhouettes, particularly if they’re standing in an open field. If you have trouble capturing a person’s silhouette against the aurora, you can take two separate images (one with the aurora, one with a silhouette) and merge them during post-processing, creating a single composite image.
Grant Ordelheide – Midnight Dome Aurora
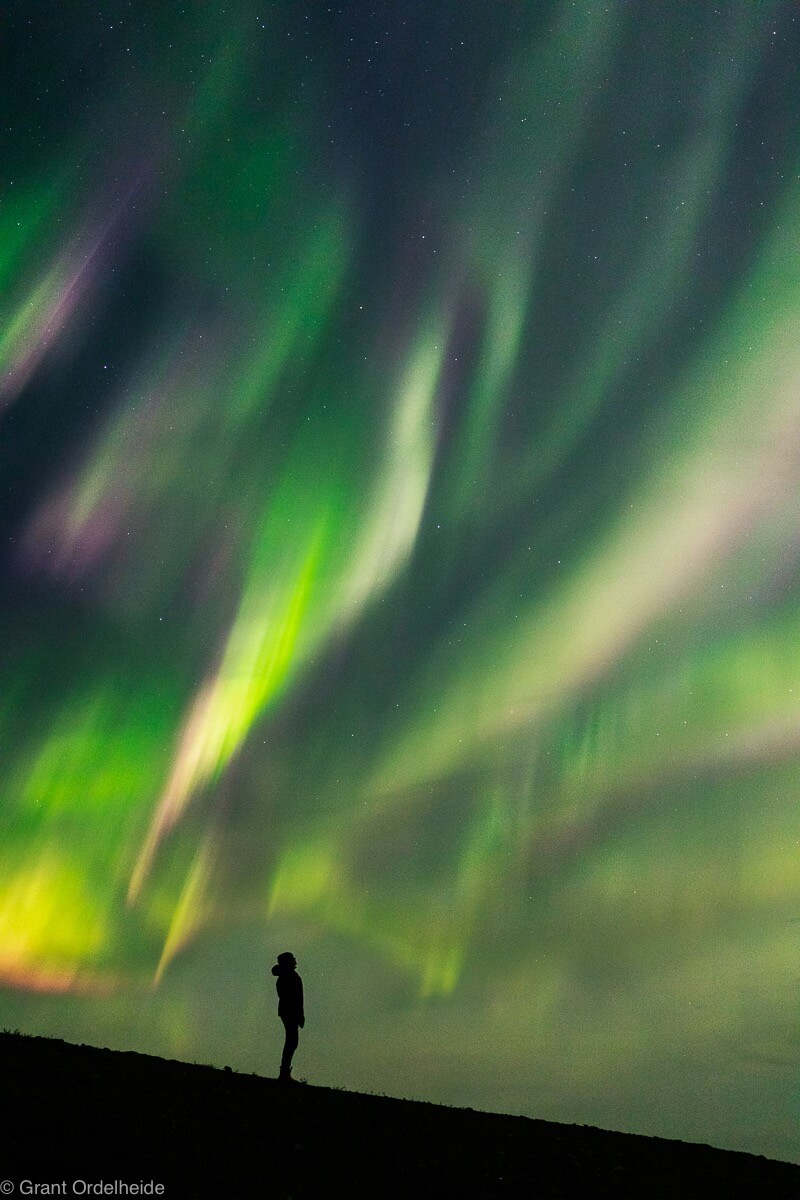
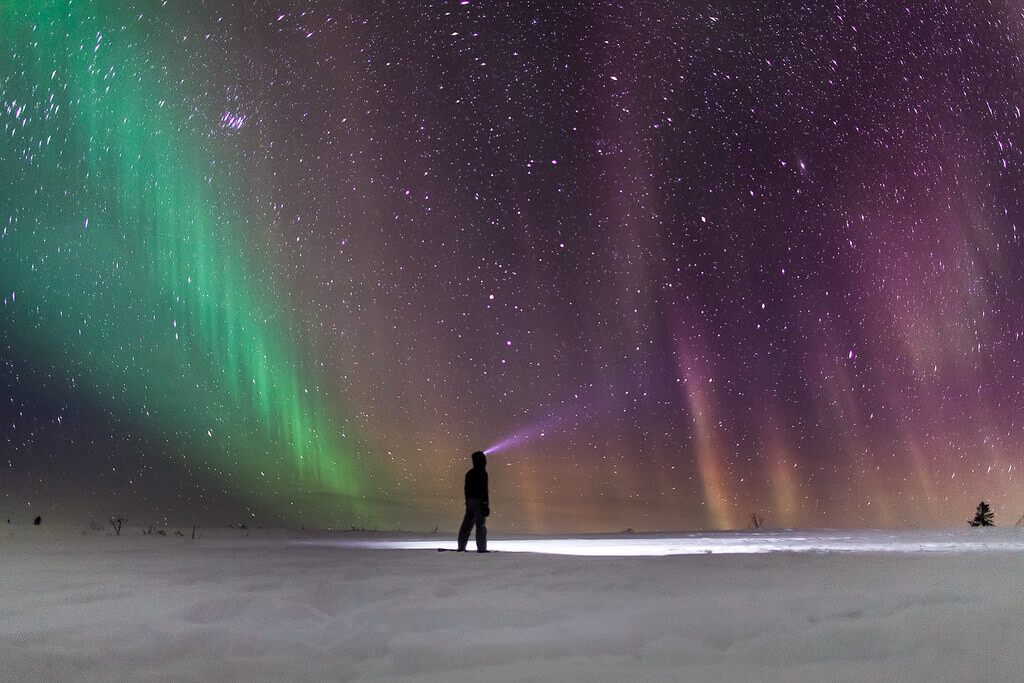
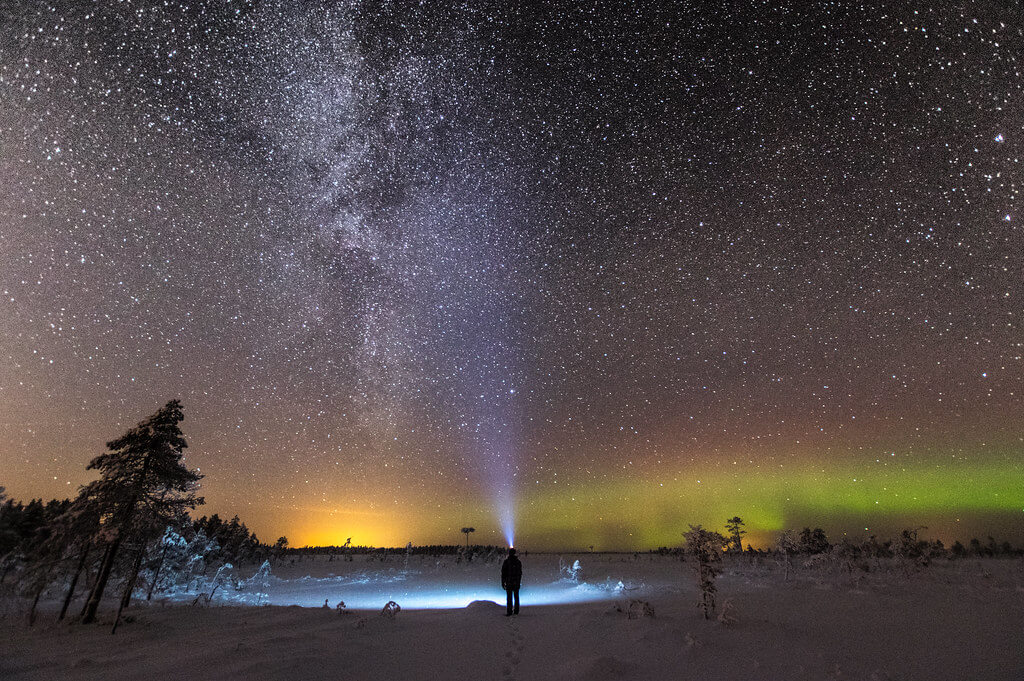
Use a flashlight.
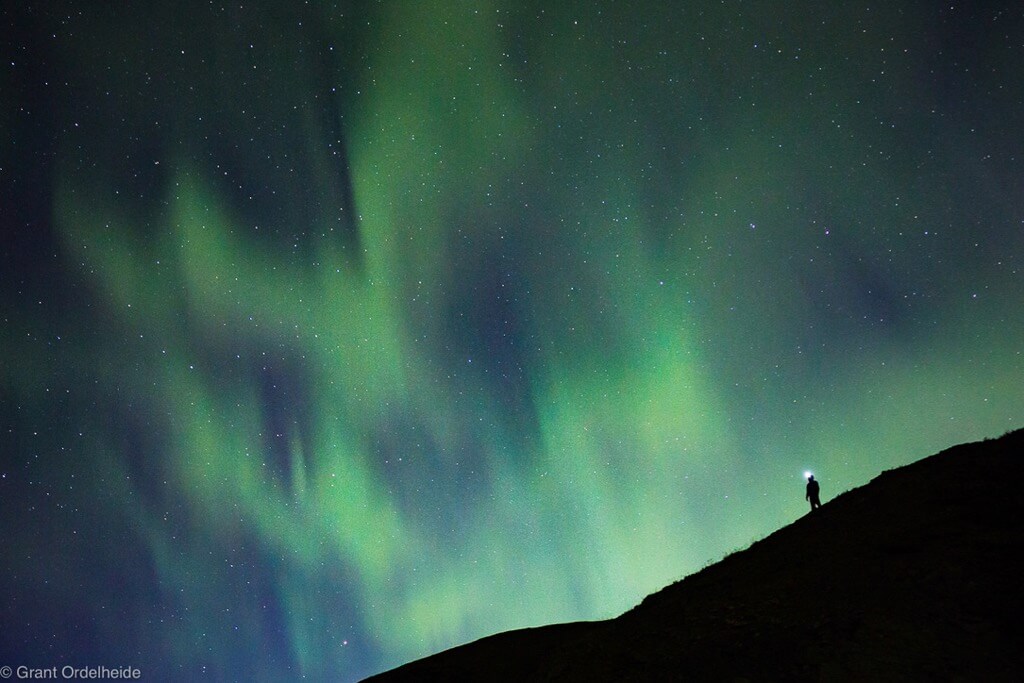
Because a person’s silhouette can look tiny compared to the sky, it can go unnoticed unless you make it more prominent somehow. One way to do this is by using a flashlight or headlamp so that there’s a beam of light coming from the silhouette.
You’ll need to take a long exposure with a tripod to get this look, but you’ll probably already be doing that to capture the aurora. You may need to increase your exposure time to around 30 seconds, though, to make the light beam really shine.
Grant Ordelheide – A person enjoys the northern lights over Denali National Park in Alaska.
Experiment with star trails.
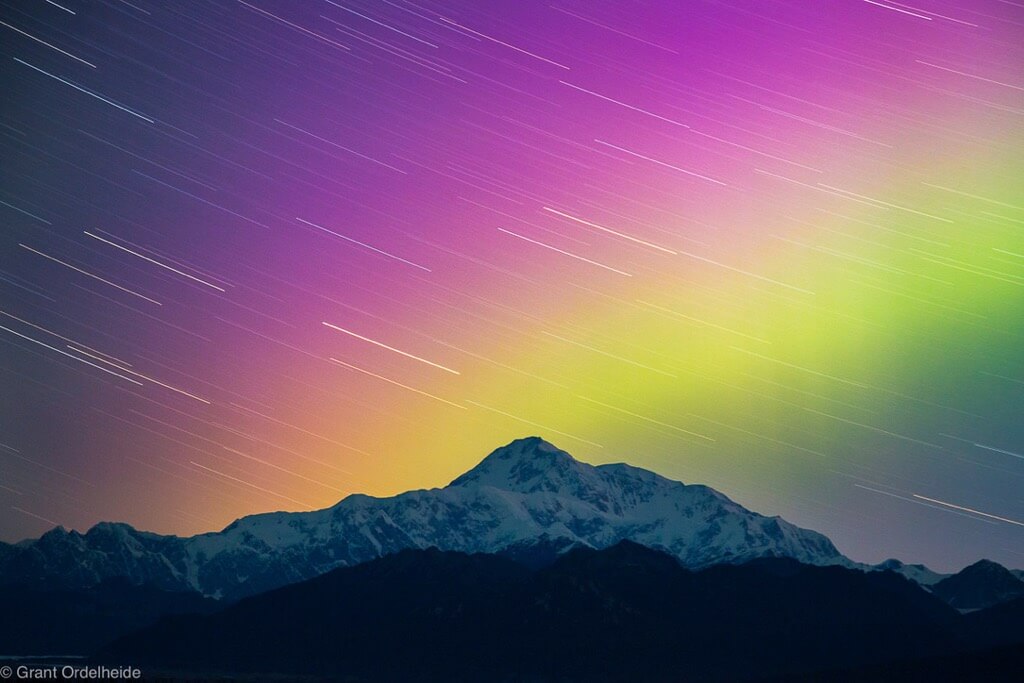
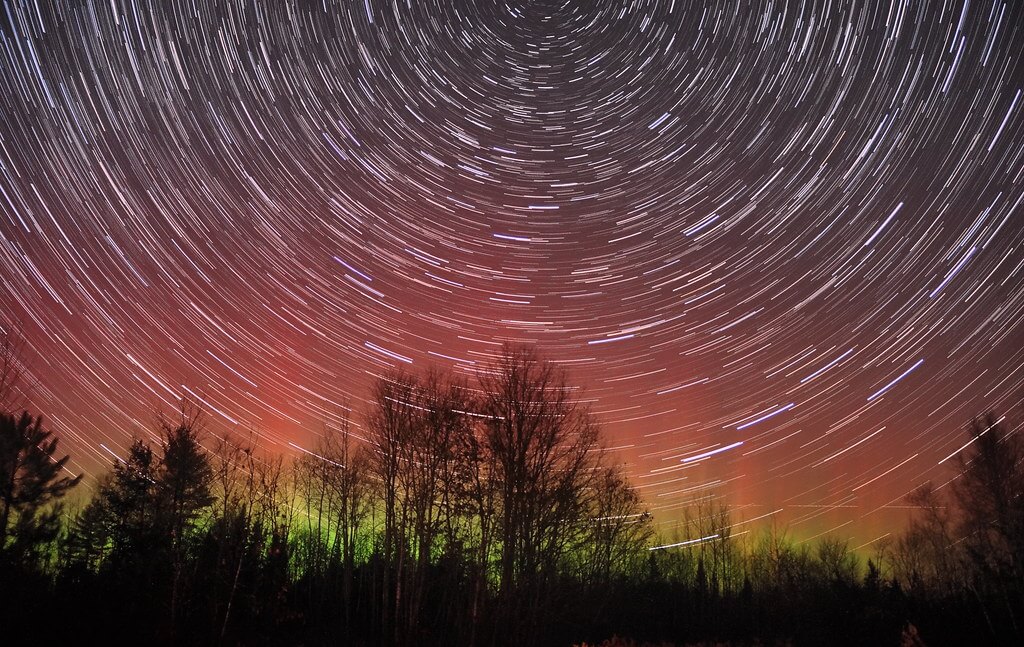
If you increase your long exposure, even more, you can capture star trails alongside the aurora. (For a quick tutorial on star trails, read this post.)
The tricky part of this approach is composing your image so it’s not too chaotic since the star trails and Northern Lights will blend together. Because this combination can be visually powerful, you’ll need to keep other parts of your image clean and simple. For instance, you can push any other elements to the border of the photo or use concepts like symmetry or vertical lines, which can create order within chaos.
Grant Ordelheide – Aurora Borealis over Alaska’s Denali, the highest peak in North America.
Paul Stewart – Star trails and Aurora
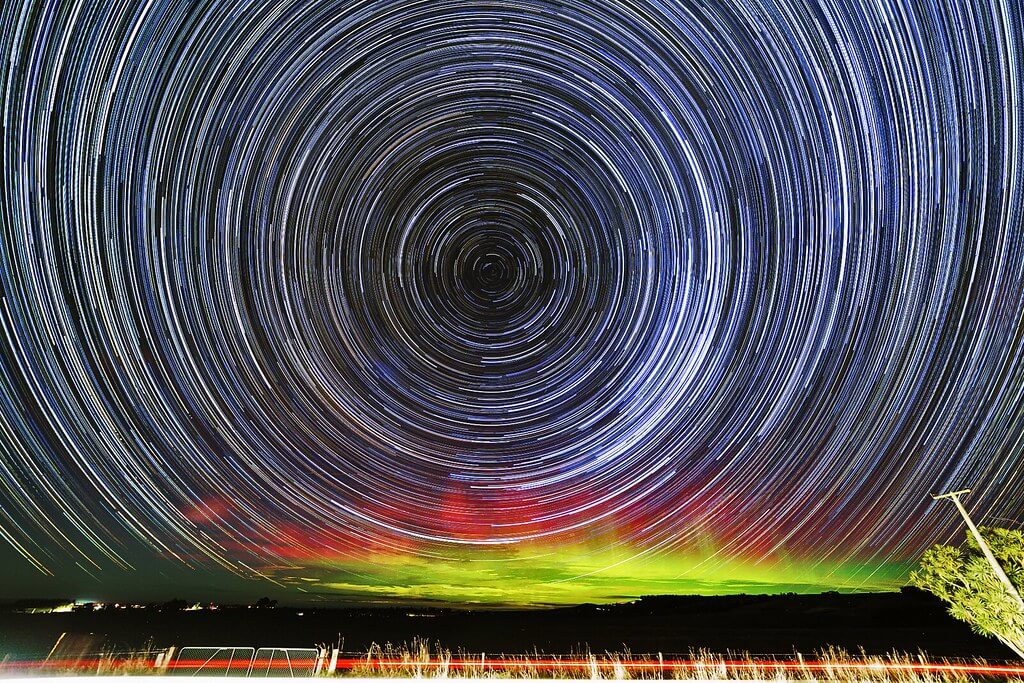
Mike Lewinski – 52 Frames of the Nov 15, 2014 Aurora
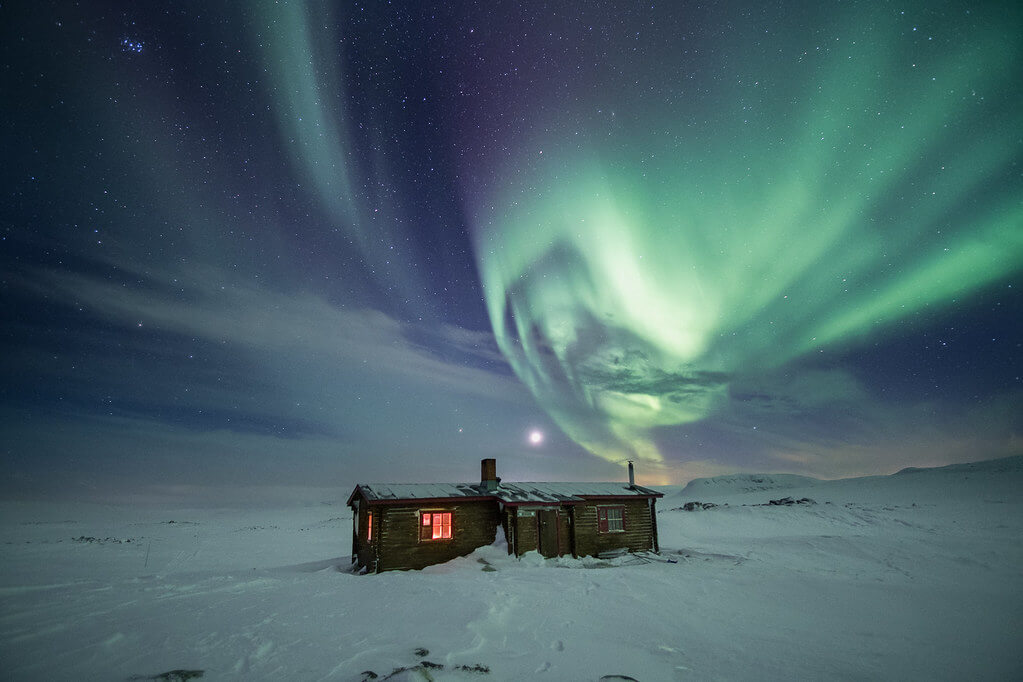
Focus on an interesting building.
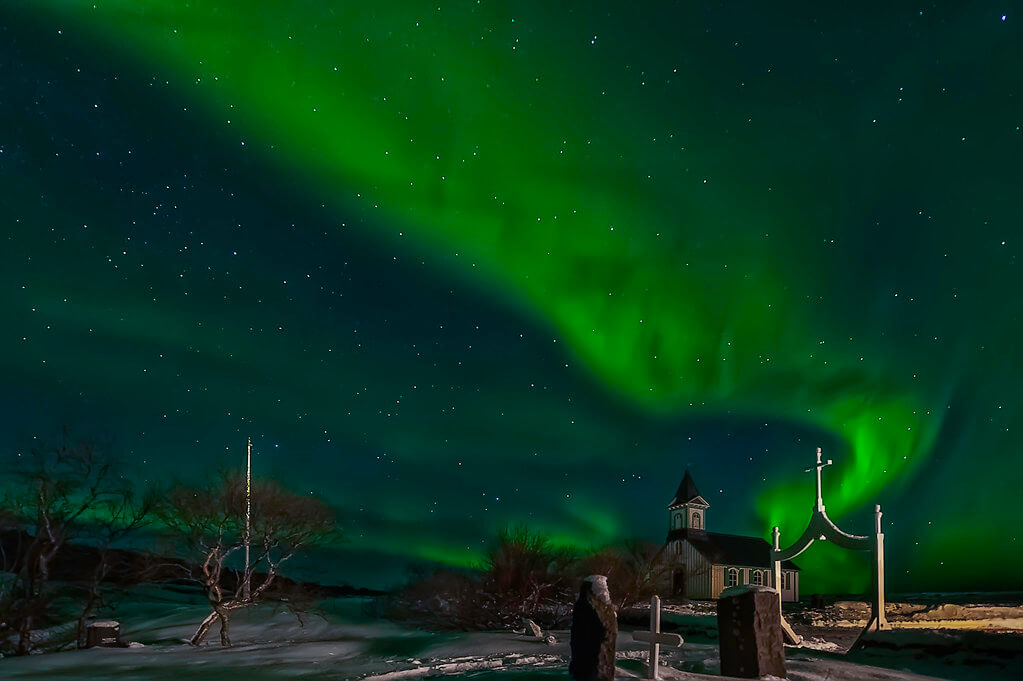
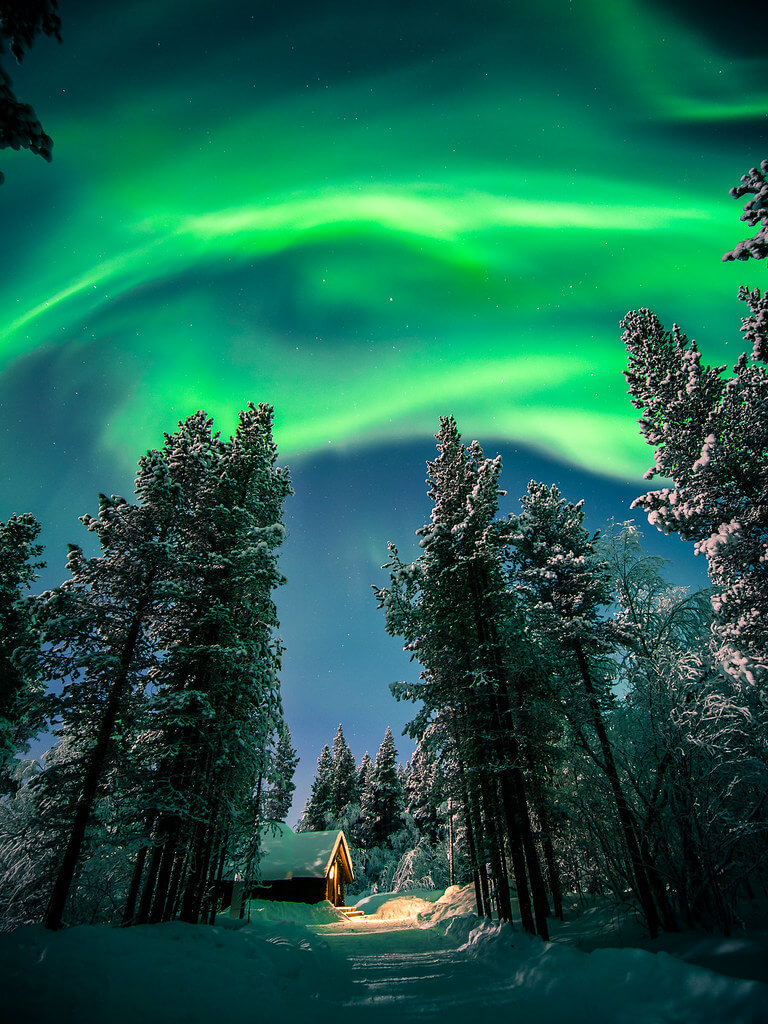
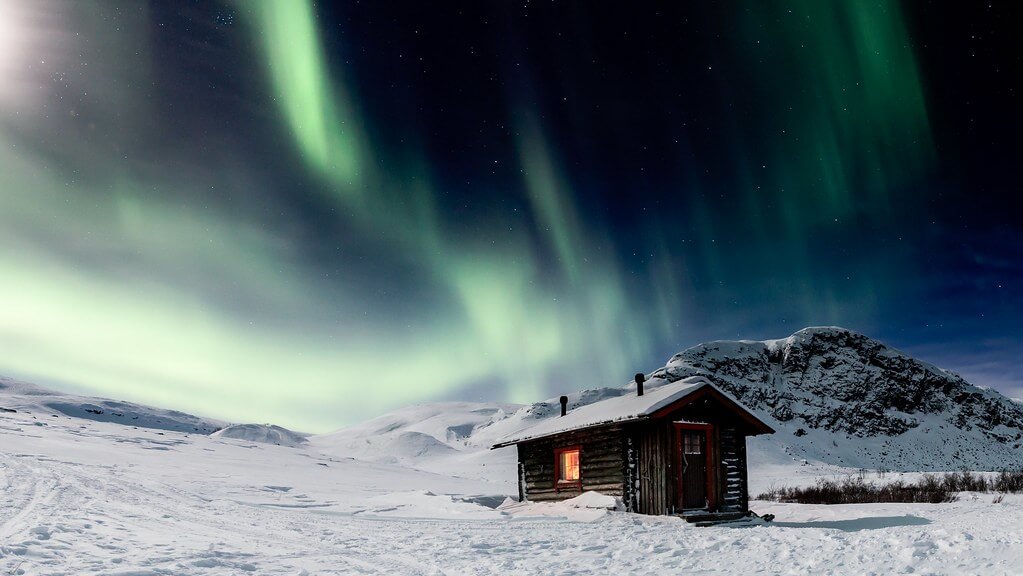
Nighttime, northern landscapes and the aurora borealis often work together to create a remote, otherworldly atmosphere. You can give this atmosphere an extra dimension by photographing an interesting building, like a cozy wood cabin. This home will give your photo a familiar human element, creating a contrast between the wilderness and a piece of humanity.
Giuseppe Milo – The Northern Lights – Ivalo, Lapland
Hille Thomasson – meekonjärvi…
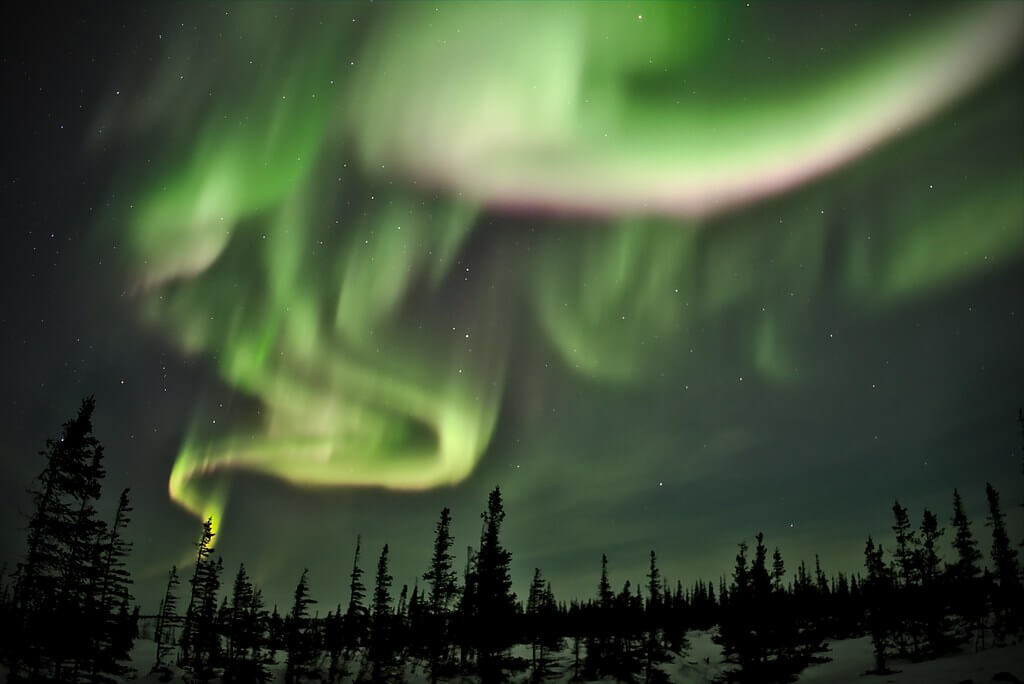
Look straight up.
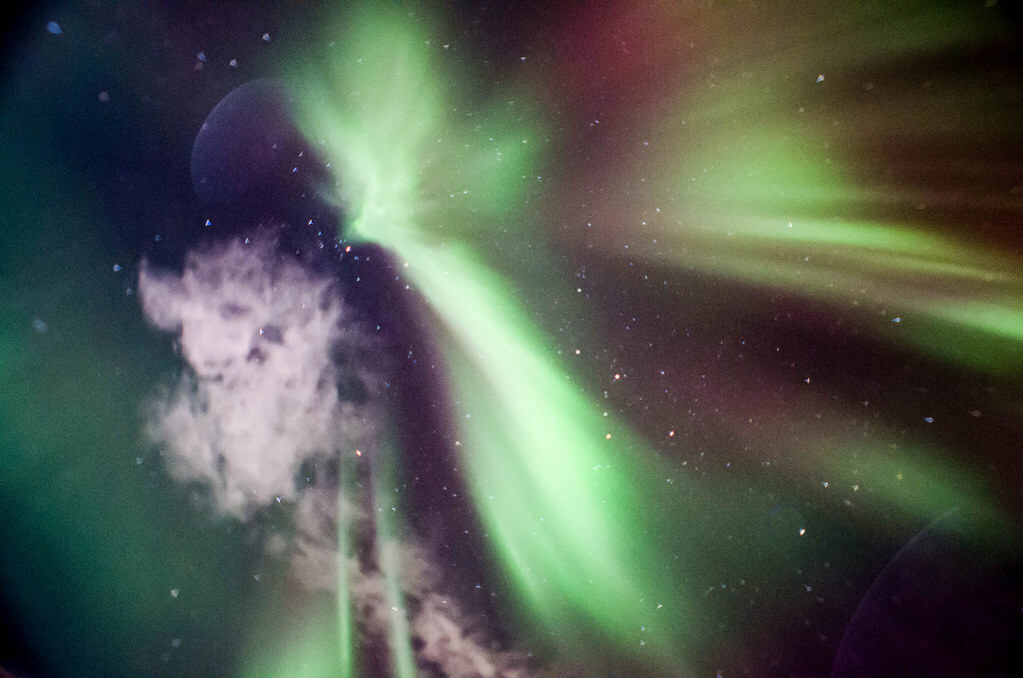
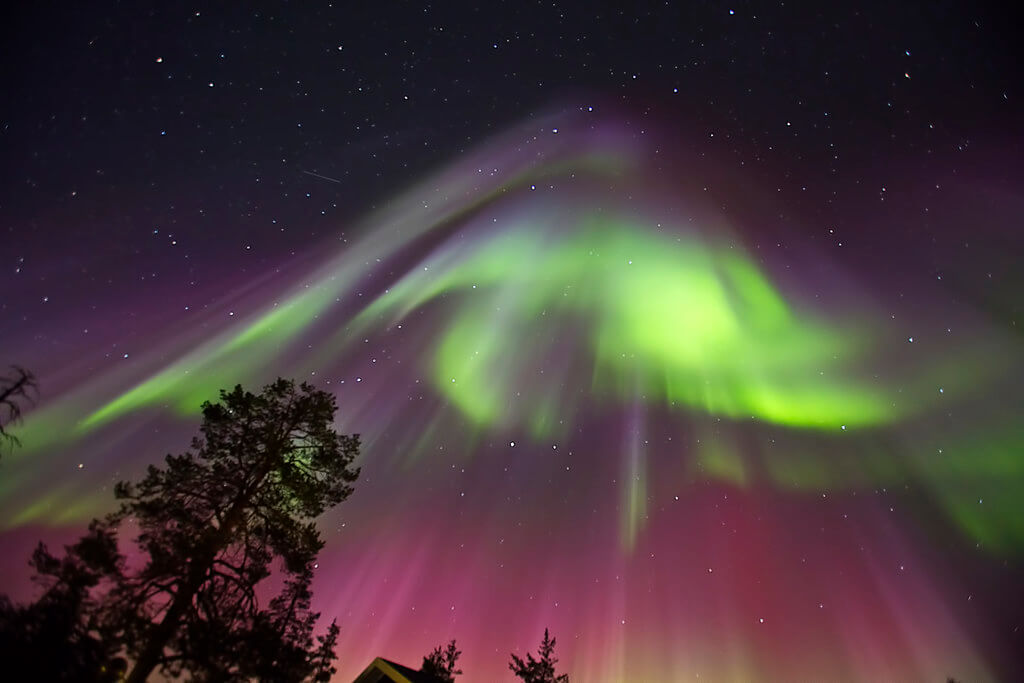
If you go really far north or plan your shoot for an aurora storm, you’ll be able to shoot the Northern Lights straight above you. This perspective can create a type of abstract image, focusing on the interesting shape and colors of the aurora.
However, it can be hard to make a powerful image this way, as you’re relying entirely on the aurora with nothing else to balance or contrast it. If you’re not getting the beautiful image you were hoping for, you can try including some silhouettes while still shooting upwards. Then, the night sky will still dominate your image, only with silhouettes for added interest.
Rebecca – Heart From Man in Moon
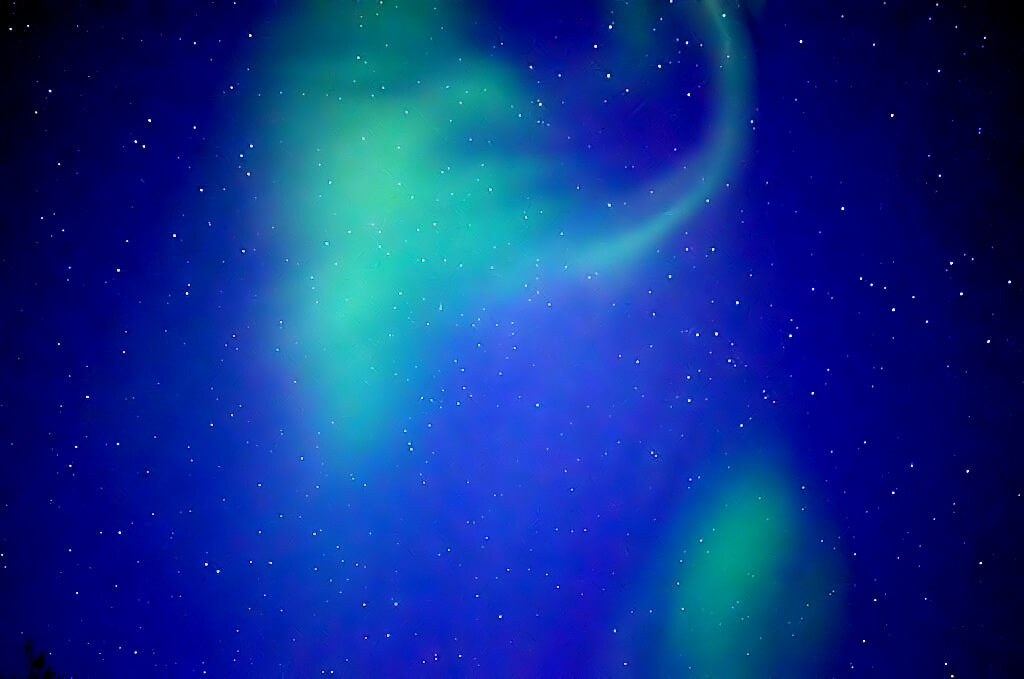
Dave Grubb – Northern Lights pyramid + meteor – Finland
Watch for the aurora during northern flights.
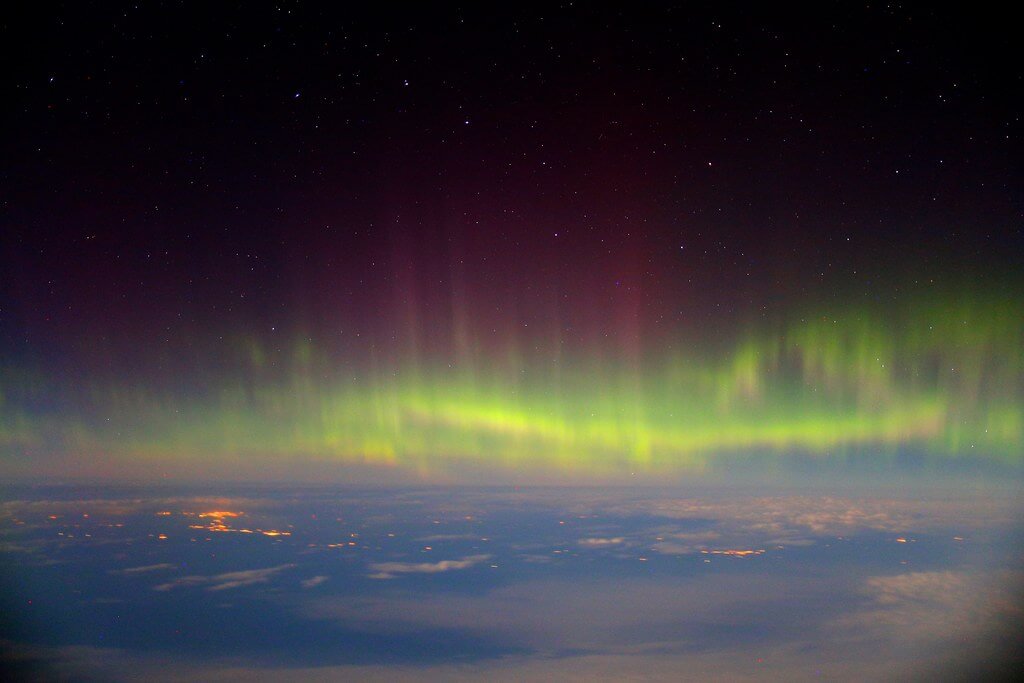
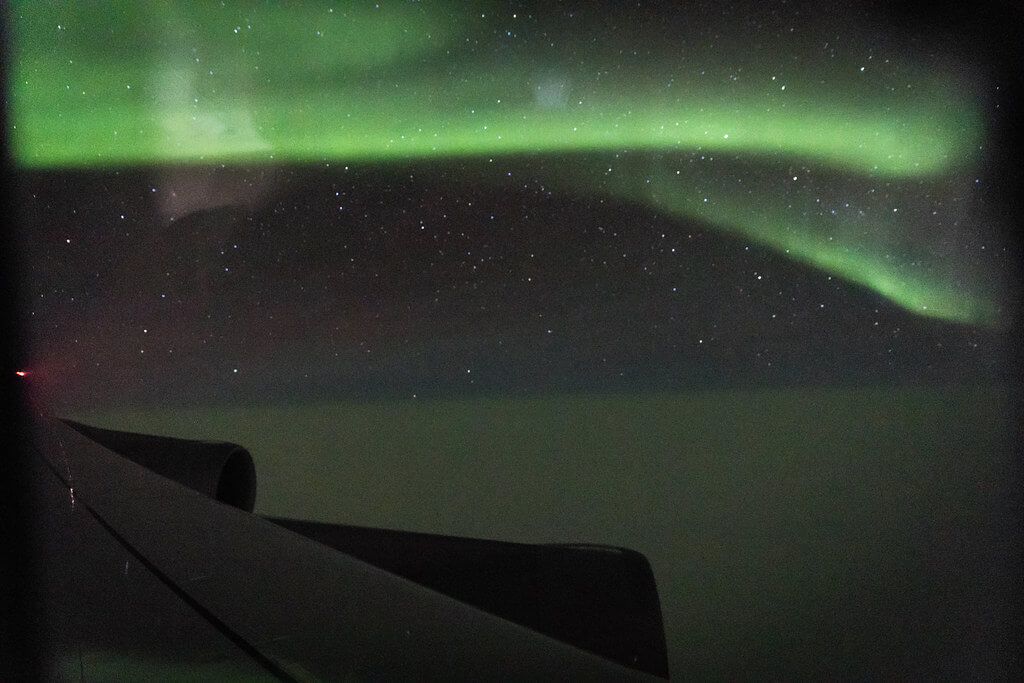
For a truly unique perspective, you can shoot the Northern Lights from an airplane high in the sky. The advantage of shooting from a plane is that you’re less dependent on the weather. If there’s cloud coverage, the plane will likely fly above it. The aurora will also look brighter from higher up, and you’ll see the subtle changes in its movement.
For tips on getting these special photos, read this article about seeing the Northern Lights from a plane from The Points Guy. Then, start to plan your trip!
Paul Williams – Somewhere over Canada …
