The exposure triangle is a way to understand the three elements that determine a photo’s exposure. These three elements are ISO, aperture and shutter speed, which together result in a subject’s exposure value (EV). If you’re a new photographer and/or need a quick review of what these elements are, here’s a crash course for the exposure triangle.
What are the components of the exposure triangle?
ISO
The ISO rating is an international standard that measures the image sensor’s sensitivity to light. A lower ISO means the sensor is less sensitive to light, while a higher ISO means more sensitivity. A sensor that’s very sensitive to light can capture images in low-light environments without using flash. However, that sensitivity can also make the image look grainy.
Aperture
Aperture is the opening in the lens that determines how much focused light will reach the image sensor. It’s measured in f-stops. The beauty of the f/stop is that regardless of a lens’ focal length, the f/stop measures the same amount of light. For instance, f/4 on a 50mm lets in the same amount of light as f/4 on a 120mm. Although the diameter differs, the amount of light remains the same because the length of the lens is also different.
Shutter Speed
Shutter speed is measured in fractions of a second and determines how fast the shutter opens and closes. This controls a key element in photography: light, or specifically the amount of time light registers on the image sensor (or film). The shutter speed captures the world in split seconds, but it can also be slowed down to a few seconds or remain open even longer.
Jochen Vander Eecken - Sneak Preview.
It’s critical to remember that a change in any one of these elements will influence the others and impact the final image. For example, by changing the aperture, you change the depth of field. By changing the ISO rating, you change the amount of light needed to create an image. By changing the shutter speed, you affect how motion is captured. In other words, you can’t control a single element by itself. You have to take into account how the other two elements will be affected and change the final exposure.
Fortunately, each element in the exposure triangle has a relative “stop of light” value. So, if you reduce the shutter speed to increase the light by one stop, you can regain the original EV by adjusting the ISO rating and/or decreasing the aperture by the same stop value.
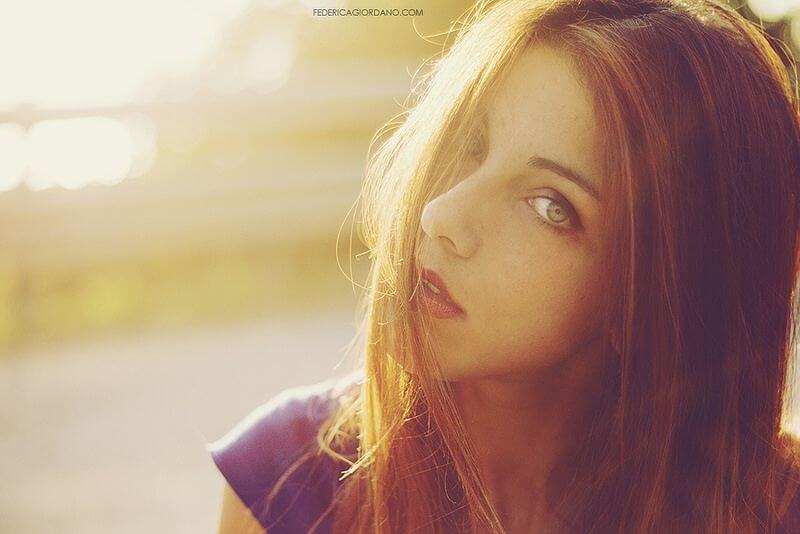
Federica Giordano - last light
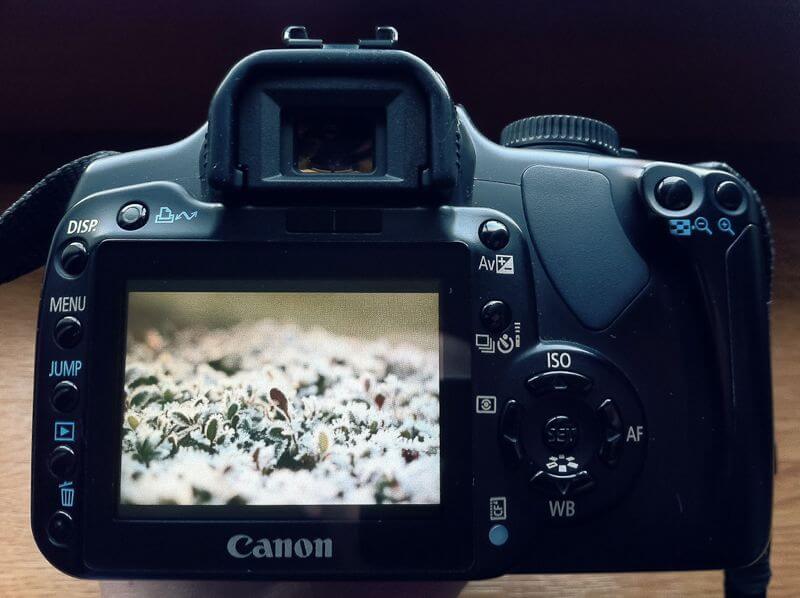
Here’s a real world example. Let’s say you’re at the beach with a friend while the sun is setting. You take out your camera, do a quick meter reading with the shutter set at 1/60th, and get an EV on your friend’s face of f/4. You set the aperture to f/4 and take a photo.
Then, you look at the image on the display screen. You love the way the red and purple light dances on your friend’s face, but you don’t like the depth of field. There’s too much background: the life guard station, other people, etc. You want the DOF to be as shallow as possible, which means you need to increase your aperture setting.
You open the lens wide open to f/1.4. This is a 3-stop difference, which lets in 8x as much light. To get back to the same EV that produced such great colors, you need to increase the shutter speed by 3 stops. You crank it up to 1/500th and quickly take the picture again.
Viola! You have a photo with the EV that gave you an amazing quality of light AND with the shallow DOF so the background isn’t distracting.
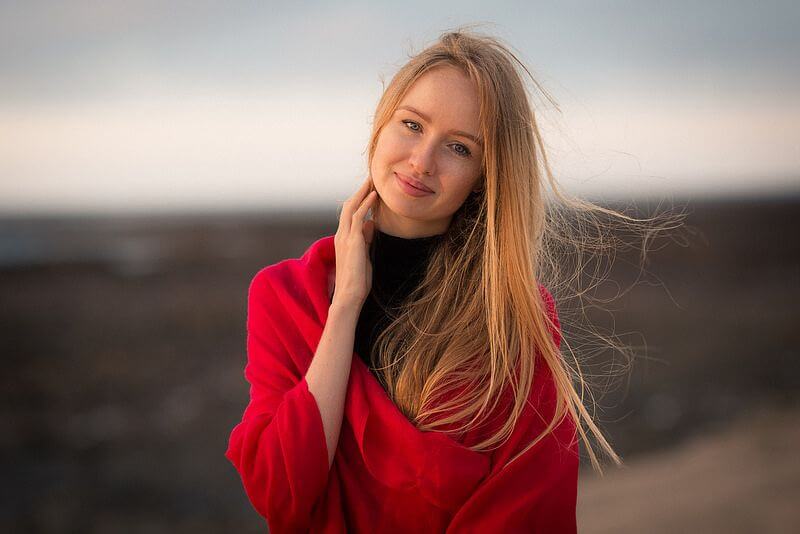
Amine Fassi - Ksenia
If you struggle to get correct exposures, try using exposure bracketing. For this technique, you take 3 exposures–one at the designated exposure value (EV), one 1/3 of an f/stop above, and one at 1/3 of an f/stop below. On some cameras, you can set the ISO, f-stop and shutter speed to get a certain exposure value. Then, the camera will automatically shoot the upper and lower bracketed exposure when you press the shutter release.
When you review the bracketed exposures, you’ll be able to see subtle but key differences in the images, especially if there’s any over- or underexposure. Professionals bracket all the time to make sure they get the best possible negative for later.
You can tell when an image is under- or overexposed when there’s an excessive loss of image information in the highlights and shadows. Generally, there’s no way of “finding” that lost image information with digital cameras.
For instance, if the subject emits so much light that the image sensor is overwhelmed, it records that section of the image as zero. The same thing happens when the subject emits so little light that image sensor believes there’s nothing there. No matter how much tweaking you try during post-processing, there’s no recorded information to be discovered. (Incidentally, this is not always true with film and the photo-chemical process.)
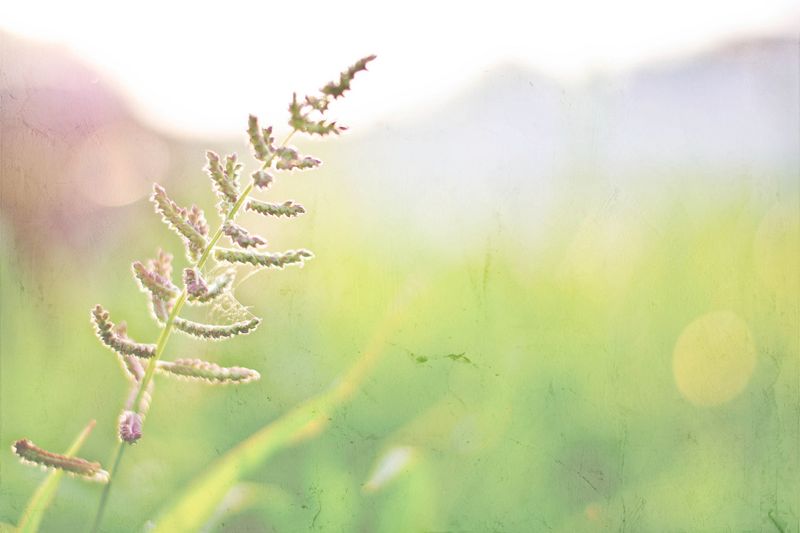
Lindsey - Light Bath…
To avoid under- or overexposing your pictures, you can use the Automatic Exposure Lock or AE Lock that’s available on most DSLRs. AE-Lock is a feature that allows you to lock the EV and take continuous photos without have to resample the lighting in a given scene, as long as you have the camera set to one of the automatic modes (i.e. Shutter-priority, Aperture-priority).
Take time to experiment with the three elements of the exposure triangle, going from semi-automatic to full manual. Consistently getting excellent exposure takes practice, but it’s definitely something you can master.
