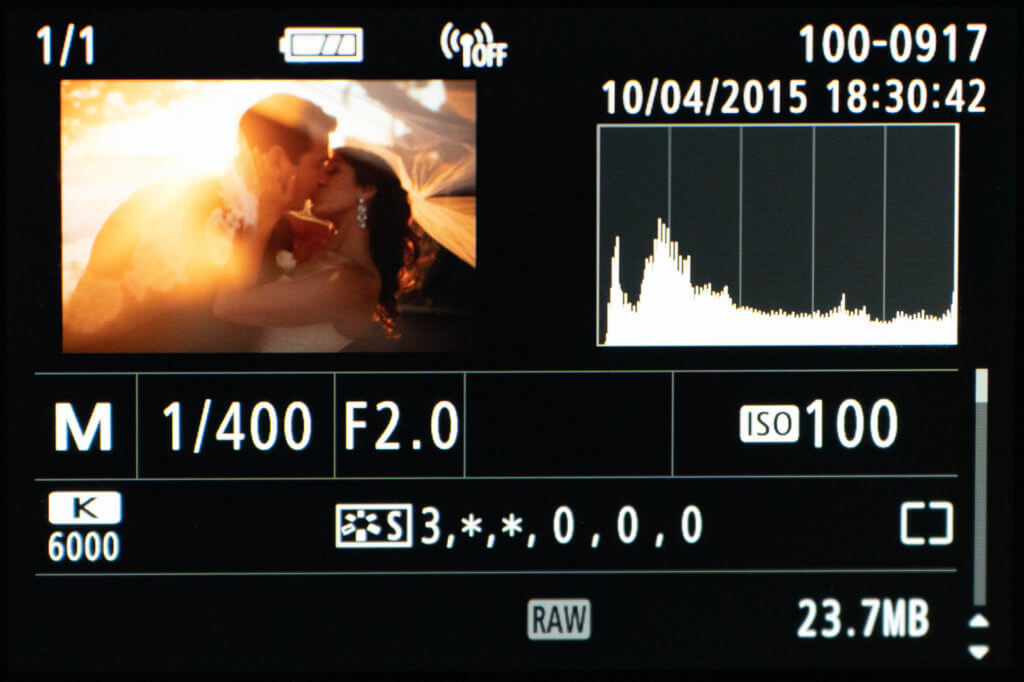
Whether you’ve realized it or not, you’ve likely seen a histogram while editing or browsing through your photos. It’s a graph that shows the tone of your image, from black (on the left) to white (on the right). The higher the peak, the more pixels of that tone are present in your image. If you’re unfamiliar with the histogram, it’s helpful to look at it with a black and white photo first. When your image has strong black or darker tones, like a night shot, the graph will have a higher curve on the left side of the graph. The opposite is true for light and/or white tones; the peak will be on the right side. In this article, we’ll review the importance of the histogram in photography and show you 3 ways to use them for better photos.
What is a Histogram in Photography?
First, let’s get started with a review of what exactly a histogram is. In photography, a histogram is a graphical representation of the tonal values in an image. Tonal values represent the brightness of an image, and the histogram shows how many pixels there are for each tone. The left side of the histogram represents the shadows, the middle represents the midtones, and the right side represents the highlights. By looking at the histogram, you can see if an image is correctly exposed and make adjustments accordingly. You can also use the histogram to identify areas of an image that are over- or underexposed. When used correctly, histograms can be a valuable tool for achieving optimal results in your photography.
3 Ways to Use a Histogram in Photography
Knowing how to use the histogram can help you achieve the results (and effects) you want from your photos. Here are three ways you can use the histogram to improve your photos.
1. Check the exposure.
When you look at the histogram after taking a photo, you can see right away if the photo is underexposed or overexposed. The histogram is more reliable than the LCD screen, which doesn’t always show the photo’s exposure clearly. Using the histogram can help you decide whether to take another photo with different exposure settings (aperture, shutter speed, ISO), instead of discovering flaws when you get home.
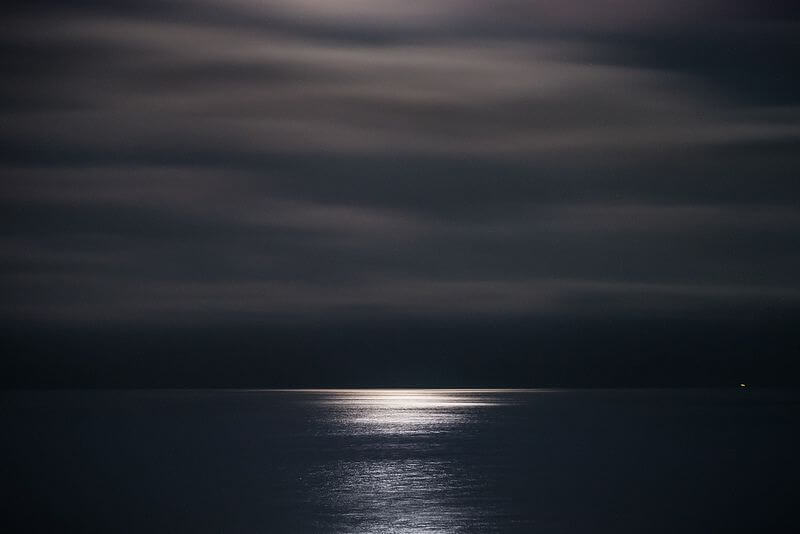
Amine Fassi – Night reflection
2. Notice missing details with your histogram in photography.
With exposure, there’s a wide range of what you could consider “art.” However, you want to watch out for severe spikes or gaps in the deep black or deep white sections of the histogram. Extreme spikes/gaps in these sections indicate that there’s missing image information, which can’t be brought back during post-processing.
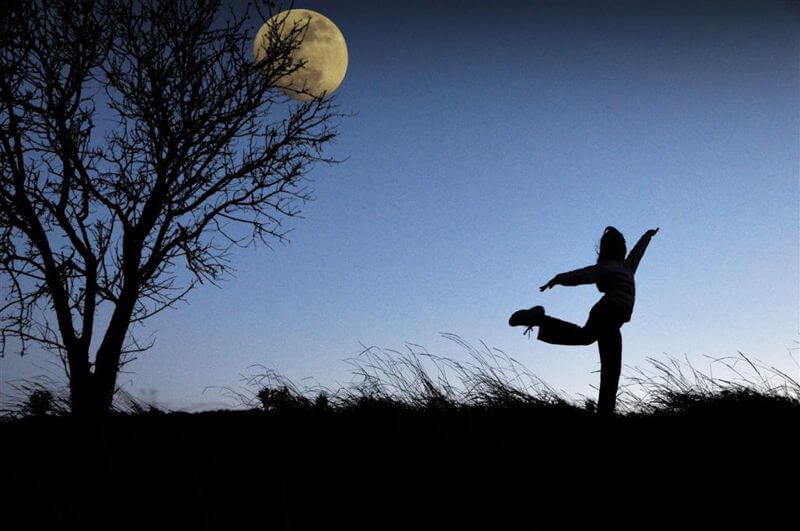
The spikes/gaps show exactly where image detail is lacking. You might actually want this effect (e.g. with a silhouette), but if you’re not sure, take another shot. Otherwise, during the printing process, you may not be able to accurately replicate the image.
Ana GR – dancing to the Moon
Again, the screen on the back of the camera is unreliable because it looks different depending on the brightness levels of the screen and the brightness of the environment. The histogram gives you an accurate, mathematical reading of the image to ensure that you’re not blowing out your highlights or clipping your shadows. If you’re shooting RAW, you can likely bring back anything, i.e. correct the exposure for anything, that isn’t completely gone, i.e. clipped or blown out.
3. Adjust color intensity.
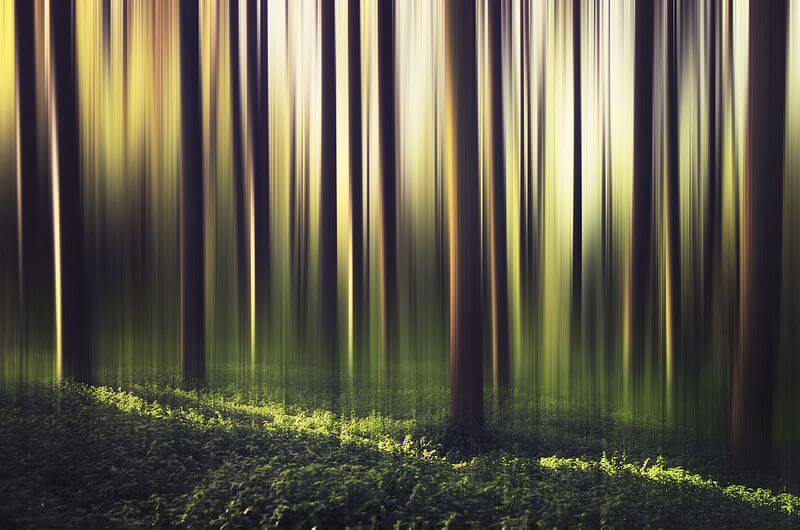
Understanding how the histogram works can make post-processing much easier. When you’re doing adjustments in an editing program like Photoshop, you can target not only the tonal values, but also the color intensity of the image using the histogram. While you can certainly get awesome shots without it, paying attention to this tool can help you create the images you want, with precisely the colors and tones you imagined.
Elizme – Transformation
These photos were selected from our Flickr group. Next time you use the histogram to create a great image, share your photo with the group so we can admire your work!
Conclusion
When I began learning photography, like most, I started in ‘P’ mode. After reading a few books and watching a handful of tutorials, I started venturing in the ‘AV’ mode and got comfortable. I then started working with my mentor, the first thing he encouraged me to do was to switch to Manual mode and taught me how to read a histogram in photography. The histogram is an important tool that every beginning photographer should master. It will help you properly expose your photographs. We hope this article helped you further understand the concept. Another important and related tool is the highlight alert on the camera, which we’ll cover in another article.
