Macro photography is a unique style that requires a specialized technique to get sharp, close-up shots. Lighting, focusing, and composition are all a bit different when you’re shooting a subject from this close.
With that in mind, I’ve put together a few key areas of macro that you should be aware of. These points are all foundational knowledge you need to know in order to capture a perfect macro image.
Composing Background Blur
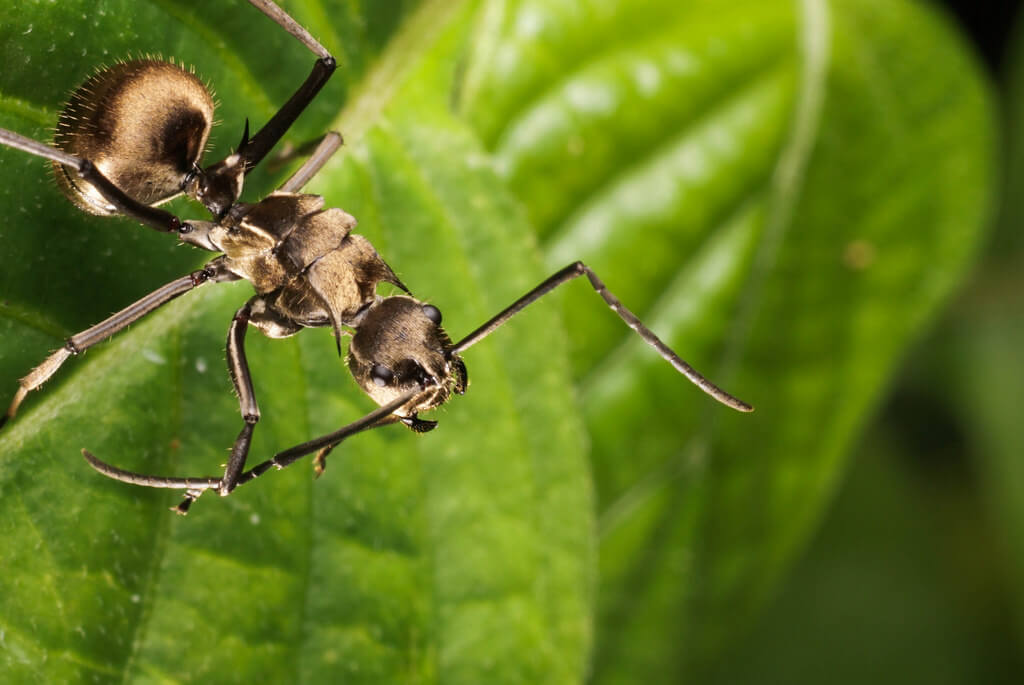
Working on the macro level means that you’ll almost always have a blurred background. The hyperfocal distance is much more dramatic in macro photos, so although there isn’t much physical distance between your background and main subject, it’ll be thrown way out of focus – even when using smaller apertures.
Although you’ll have this great isolation of your main focal point and your environment, you still need to consider your background and whether or not it complements your image. The amount of bokeh and shapes your background consists of will make a huge difference on your final image.
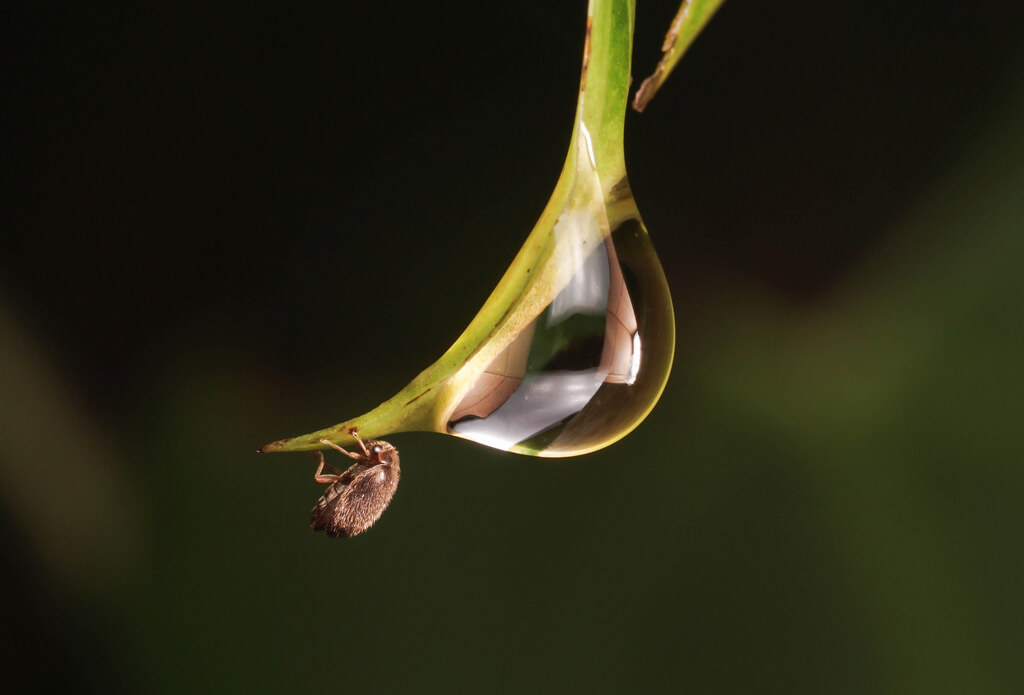
Also consider readjusting your aperture for your background. Make it wider to blur it more, and smaller to make objects more identifiable. There is no cookie-cutter rule to this technique as each situation is different. In some photos, you may want to focus on the background a bit since it has elements that complement your main subject (like in the image below). In others, you may want to use a wider aperture to completely blur out your environment.
Manual Focus
When you’re photographing with a macro lens, it’s quite difficult to use autofocus. If you’re off by any margin, your focus will not be where you want it to be. In other words, your front-to-back focus has a very small range, and your autofocus probably won’t hunt correctly.
Autofocus on the macro scale is extremely delicate, which is why manual focus is often preferred. There’s one difference, though. Instead of manually adjusting your focus ring, move your head closer or further away from your subject to pinpoint your focus. This is more accurate than using your focus ring and will allow you to really make sure your depth of field is how you want it to be.
Lighting
One issue with macro photography is that you’re usually dealing with a very low-light environment. For example, shooting the center of a flower that’s shaded by leaves is quite difficult to do without additional light.
Also, you’ll usually be shooting at a not-so-wide aperture, since your depth of field is shallow when working on the macro level. Oftentimes, you’ll find yourself shooting at f/8 or above in order to get your main image in focus, which requires a slower shutter speed.
With this in mind, lighting your subject is extremely important to macro photography. Thankfully. you have two great options to assist you: rings lights and reflectors.
Ring Lights
Macro ring lights are widely used and are extremely helpful with lighting your subject. Essentially, you’re attaching a ring of soft light around your lens, which will help illuminate your immediate foreground. This works almost like a portable light box, giving you even and pleasing light without being overly dramatic. For dark environments, ring lights can throw light exactly where you need it.
Reflectors
Instead of bringing in additional lights, you can always use the light around you. If you’re photographing in the outdoors, consider using reflectors to direct sunlight onto your subject, acting as a fill light to shadow sides. They can bring a whole new element to your image.
Pretty much anything can act as a reflector. For example, tin foil can create a dramatic spotlight feel, while white cardboard creates a softer light. Even your own body can reflect sunlight in a soft, complementary way. Play around with possibilities and find what works for your style.
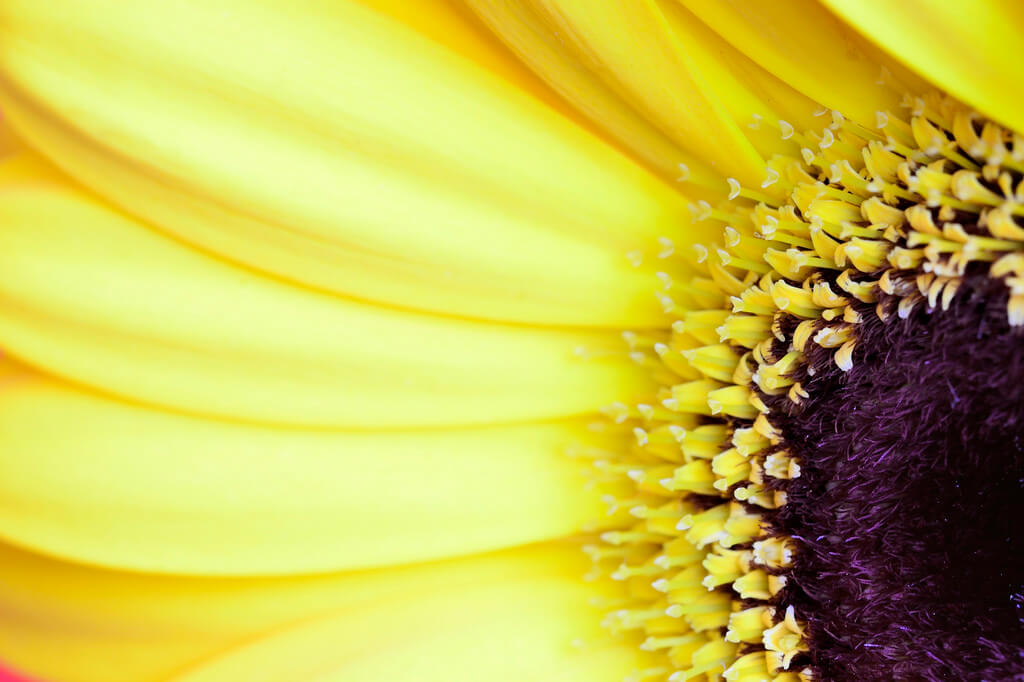
Steven Scott – Yellow and Purple :-)

Macro Filters
If you’re not in the market for an expensive, dedicated macro lens, you can purchase a macro filter that can attach to an existing lens. When I started with macro photography, I purchased the 50mm f/1.8 and a macro filter, both for under $200. With this setup, I was able to produce an award-winning image published in Outdoor Photographer Magazine.
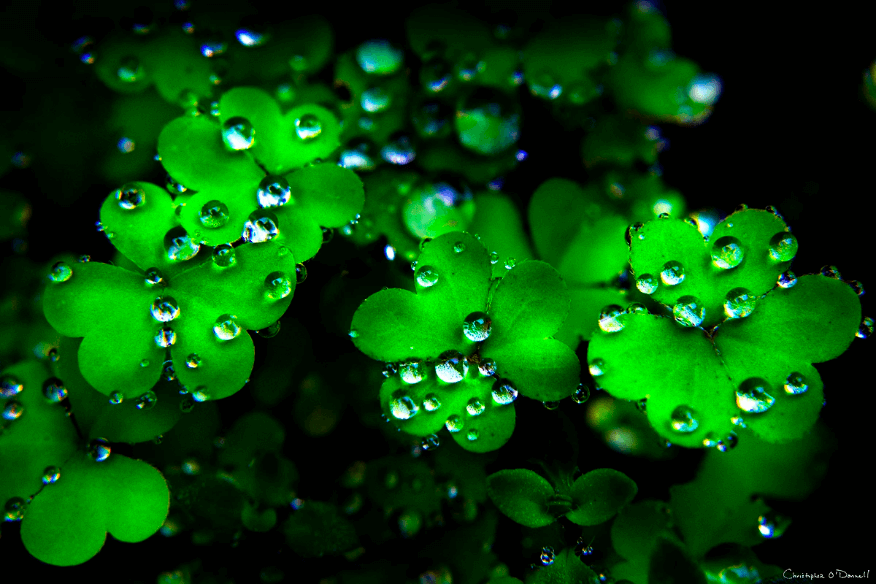
Christopher O’Donnell – Clover

As you can see, there are many different techniques you can use when shooting macro. This guide is definitely not all-inclusive. The best way to develop your own macro style is to learn from professionals. Decide on what you like and what you can live without. As long as you keep developing your skill, you’ll fall into a unique workflow that allows you to produce stunning macro imagery.


